A video campaign produced by Malou Reedorf in collaboration with Propagandakontoret - www.propagandakontoret.dk
How to edit car pictures
Follow me as i do a step by step edit of a car shoot

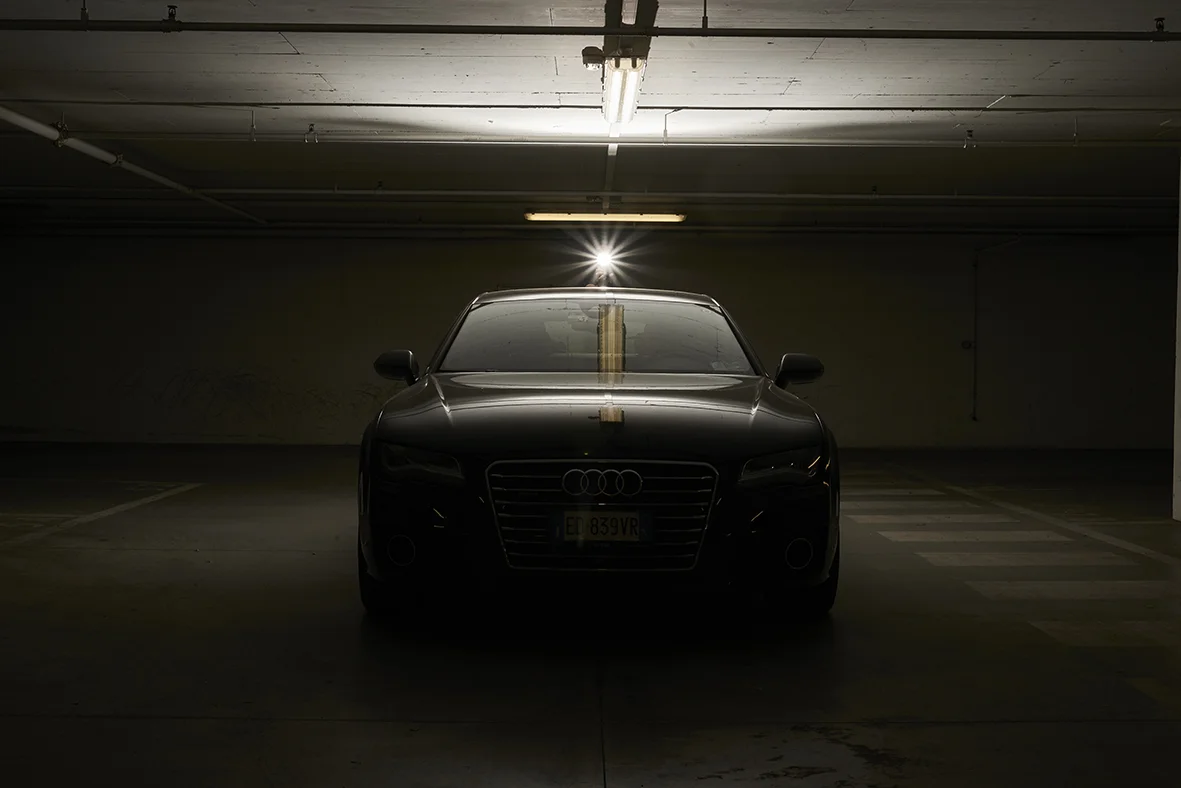
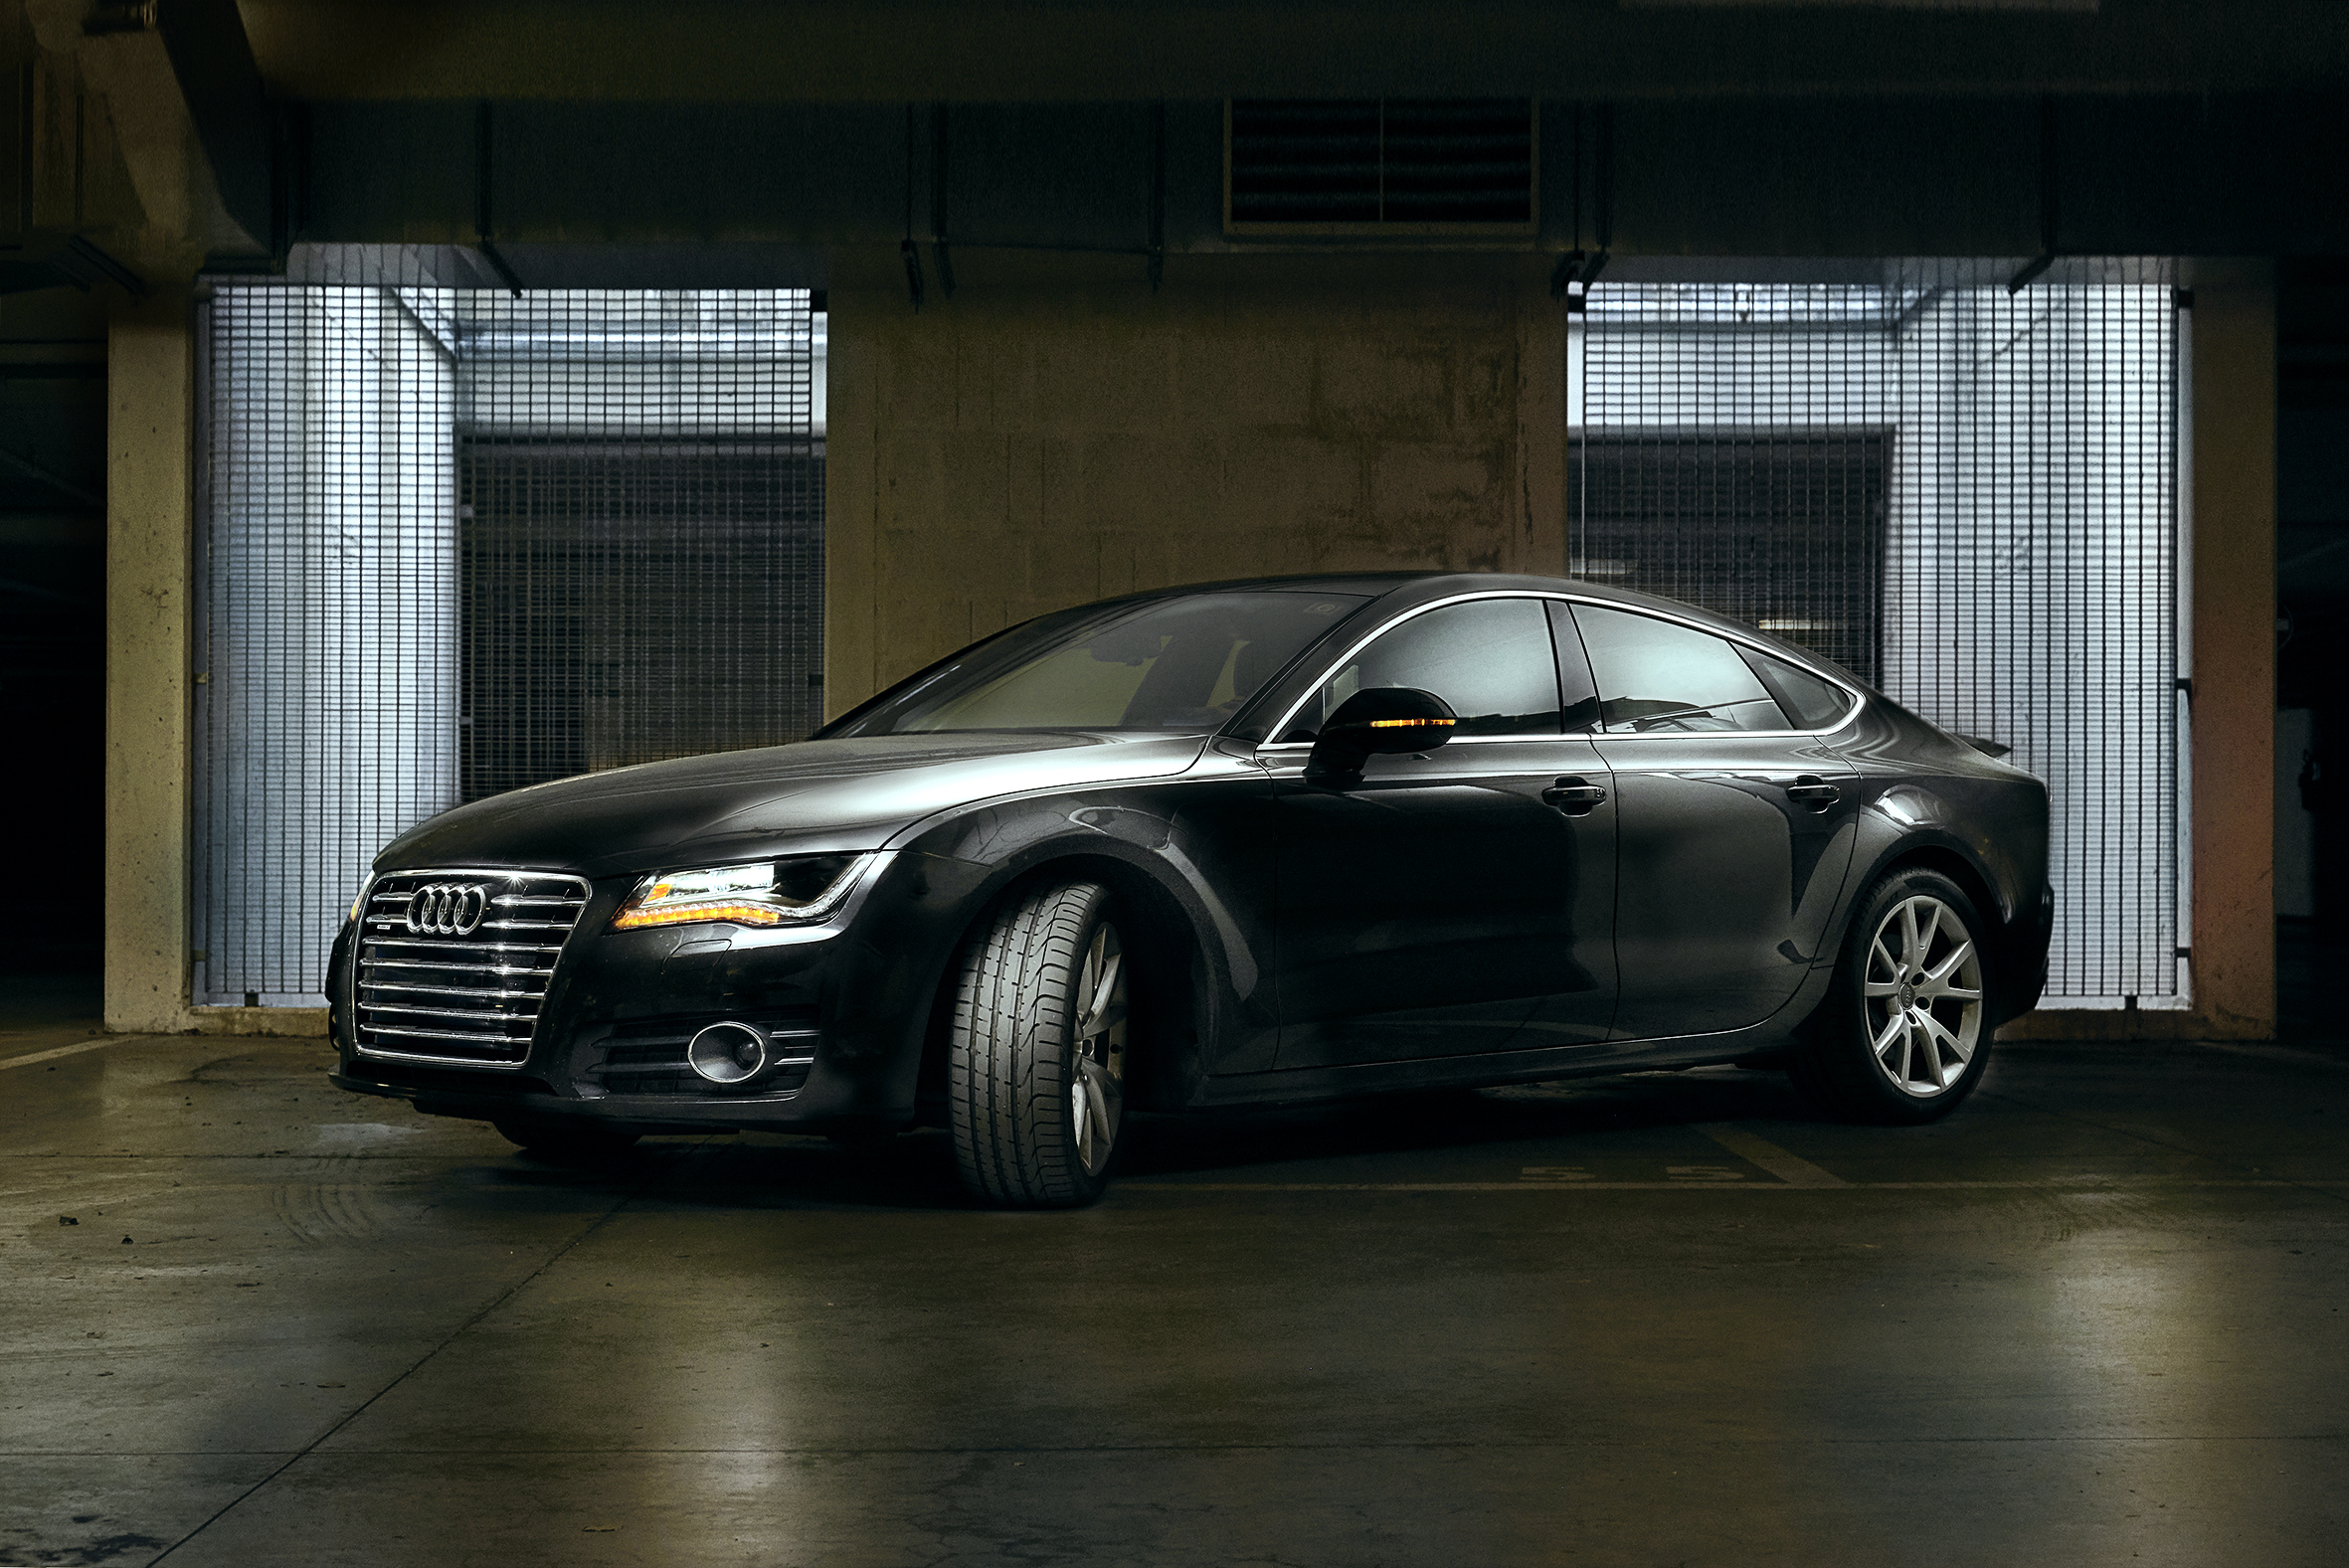
Before…

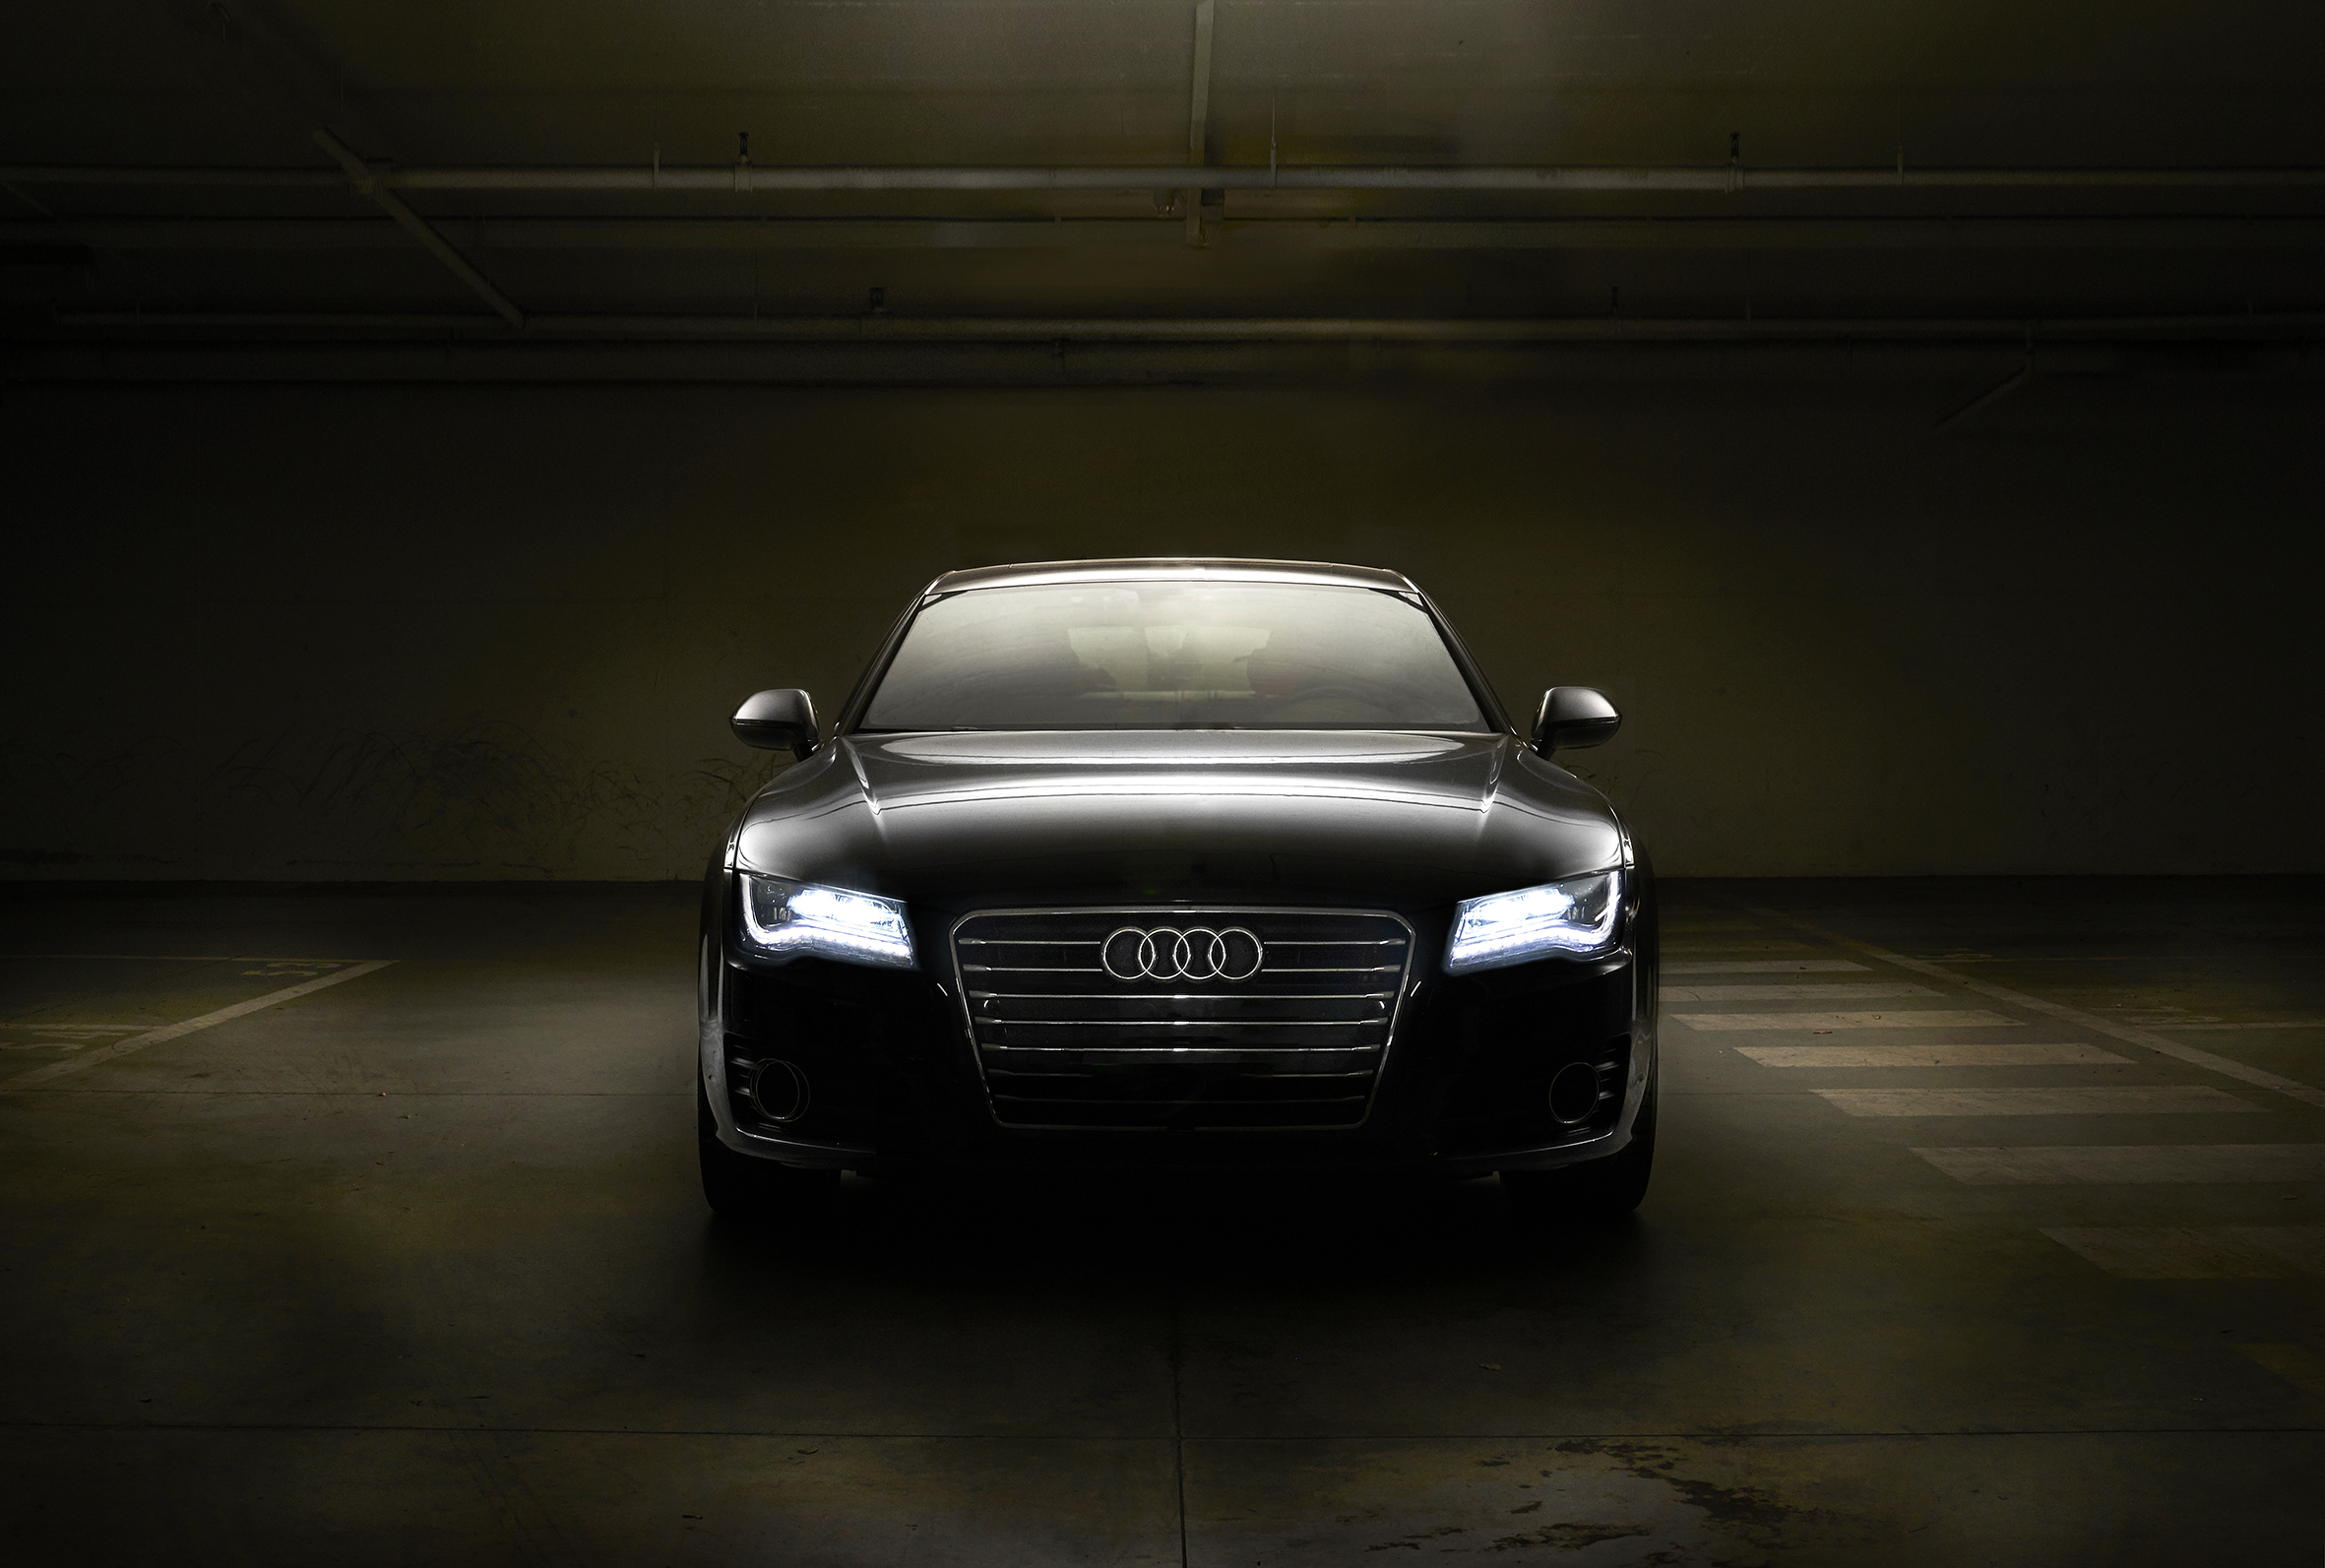
…and after
What a difference!
So, let's get to it. Last time I made an article describing one of my first experiences with car photography. This time I want to show you how I combined my different shots into the perfect picture.
As I mentioned in the other article, the base picture is usually the picture where you like the background the most. Usually my base picture is a picture without no light, so my background keeps dark. The base picture could also be the picture where the only light you see is the lights of the car. For this particular picture I choose to use this one where the light comes from above, as I really like the light it casts on the ground.
I start by choosing the pictures that I want to use, where the light is just how I like it. When selecting the pictures, I imagine all the different parts that I want to put focus on and leave the other parts in the dark. I highlight the parts of the car that makes the car special and ultimately will be the factors that sells the car.
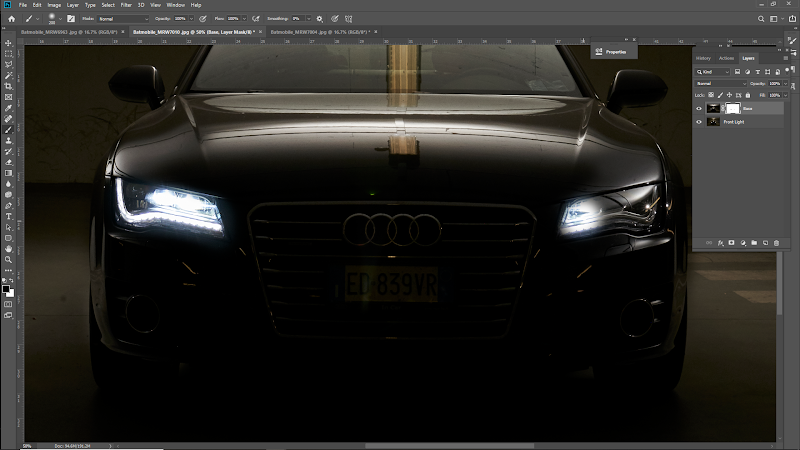
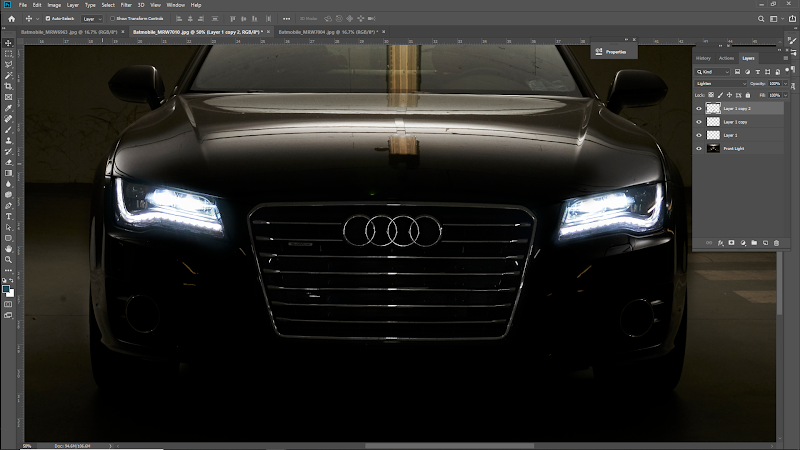
This image is created by 5 different pictures. When you have found your base picture, you drag the first image over it (holding down ctrl+shift so it places exactly over the other layer), so it creates a layer on top of the base image. First, I focused on the right side of the front light. When you drag it over, make sure that you unlock your base layer and move it above. For your convenience I called my base layer “Base” and the other layer “right light”. I change the order of my layers, so the “base” is on top. Then I create a mask on the base layer. You make sure that your layer mask is selected and that you color with black in it. You want to color where you want the “right light” layer to be visible.

When this is done, and you are sure that there is no more you want to get from that image, you can go ahead and merge the two layers. Find an image that has the same feature highlighted of the car on the opposite side. Again, make sure your base layer is on top when you make your layer mask. Now I bring the picture where the car lights are turned on in, using the exact same method.
From this image, I also have a great light on the emblem and the grill of the car, that I also bring in to the “base” picture. I merge the images, and while I am here, I use the “content aware” tool (that you find under “image”, “fill” or by pressing shift+F5) to remove the license plate as well as removing the yellow color that I have on the grill using the “sponge” tool on desaturate.
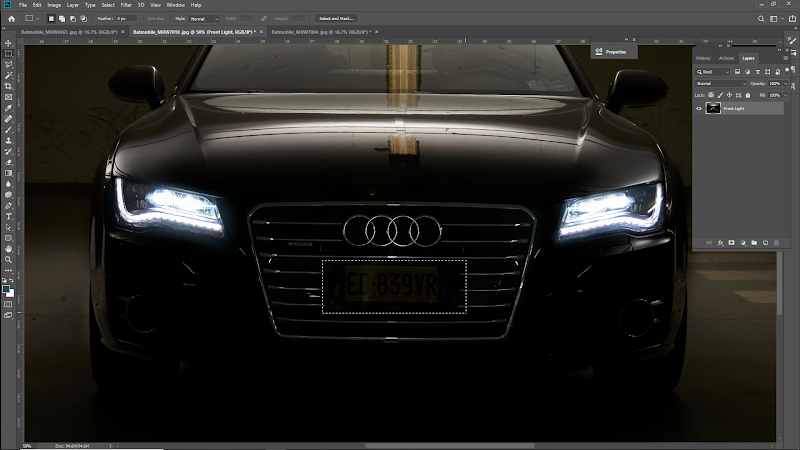
When removing the license plate, my lines in the grill did not come out so well, so I removed them by using the “spot healing brush” tool and copied the line above. It works like this. Take your “mask” tool and mask off the line that you like. Push ctrl+J, to copy the mask into a new layer. Set the blending mode of the layer to “lighten”. This way only the light parts shows. Move the layer down where the line is missing. Do this for all the lines that are missing.
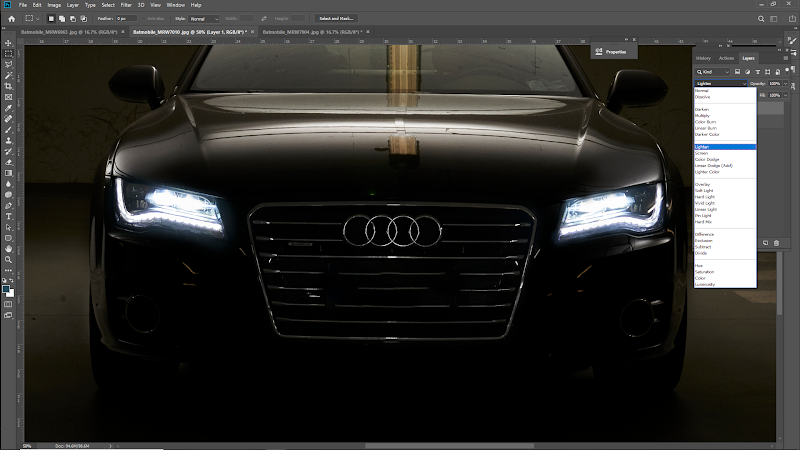
Flatten the image and continue to add pictures and light to your car. When you have added the pictures that adds something to the car, you might realize that there are some places where you do not have perfect symmetrically lighting. This is what you are going to do. Mask of the area where you have the lighting that you want to duplicate to the other side. Use the ctrl+J to copy into a new layer. Set the blending mode to “lighten”. Push ctrl+T for transform and flip horizontally. Place the new layer where it should be and add a layer mask. Paint with black on things you might not want to see. Use this technique on all the places where you want to add some highlights.

Flatten the image and continue to add pictures and light to your car. When you have added the pictures that adds something to the car, you might realize that there are some places where you do not have perfect symmetrically lighting. This is what you are going to do. Mask of the area where you have the lighting that you want to duplicate to the other side. Use the ctrl+J to copy into a new layer. Set the blending mode to “lighten”. Push ctrl+T for transform and flip horizontally. Place the new layer where it should be and add a layer mask. Paint with black on things you might not want to see. Use this technique on all the places where you want to add some highlights.
These are some other steps you want to take:
Use the “Spot healing brush” tool to remove all lines or dust that are distracting to the picture.
Use the “content aware” tool to remove the larger problem areas that you want to remove in the picture. In my case I used it to remove the lamp that is above the car that is giving me a reflex.
When all this is done, I used the “sponge” tool on “desaturate” to make my car neutral in color.
To finish the picture, have a look at the background and decide what you want to do. On this picture, I brightened up some spots on the floor by using the “history brush” tool in “screen” mode. When you are using this tool, it is important that you are in the present history state in the tap “history”. I also added some spots of color by using the “sponge” tool on “saturate” to create some life in the picture. Parking garages always contains the most beautiful mix of color in the concrete that just needs to be encouraged a bit. Give the picture a little “level” and “curves” if needed and finally, you can straighten up your image. It is important that crop and straighten are the last things you do, as you need your pictures to fit perfectly together when you merge them.

This is how you get a super cool car picture.
Go out and shoot great things!
If you liked this article and applied it, I would love to hear your feedback and see your pictures! Go to my Facebook @MakeUpArtistMalouReedorf and send me a message. I would love to connect with you!
Malou Reedorf is an international PermaJet ambassador.


… if curious, this was the first car picture that I did!

Behind the scenes
Come with us behind the scenes as we shoot a native Indian photo-shoot for the Instagram influencer Diamanda.
Die Südtirolerin
Behind the scenes of a front cover shoot for the South Tyrolean magazine “Die Südtirolerin”.
How to shoot a car!

How to shoot a car!
So, I never really studied how to shoot cars, but I was always fascinated by car pictures. I decided that the only way that I would really learn was to go ahead and try it. I wanted to share my experience with you and maybe inspire you to try it out too!
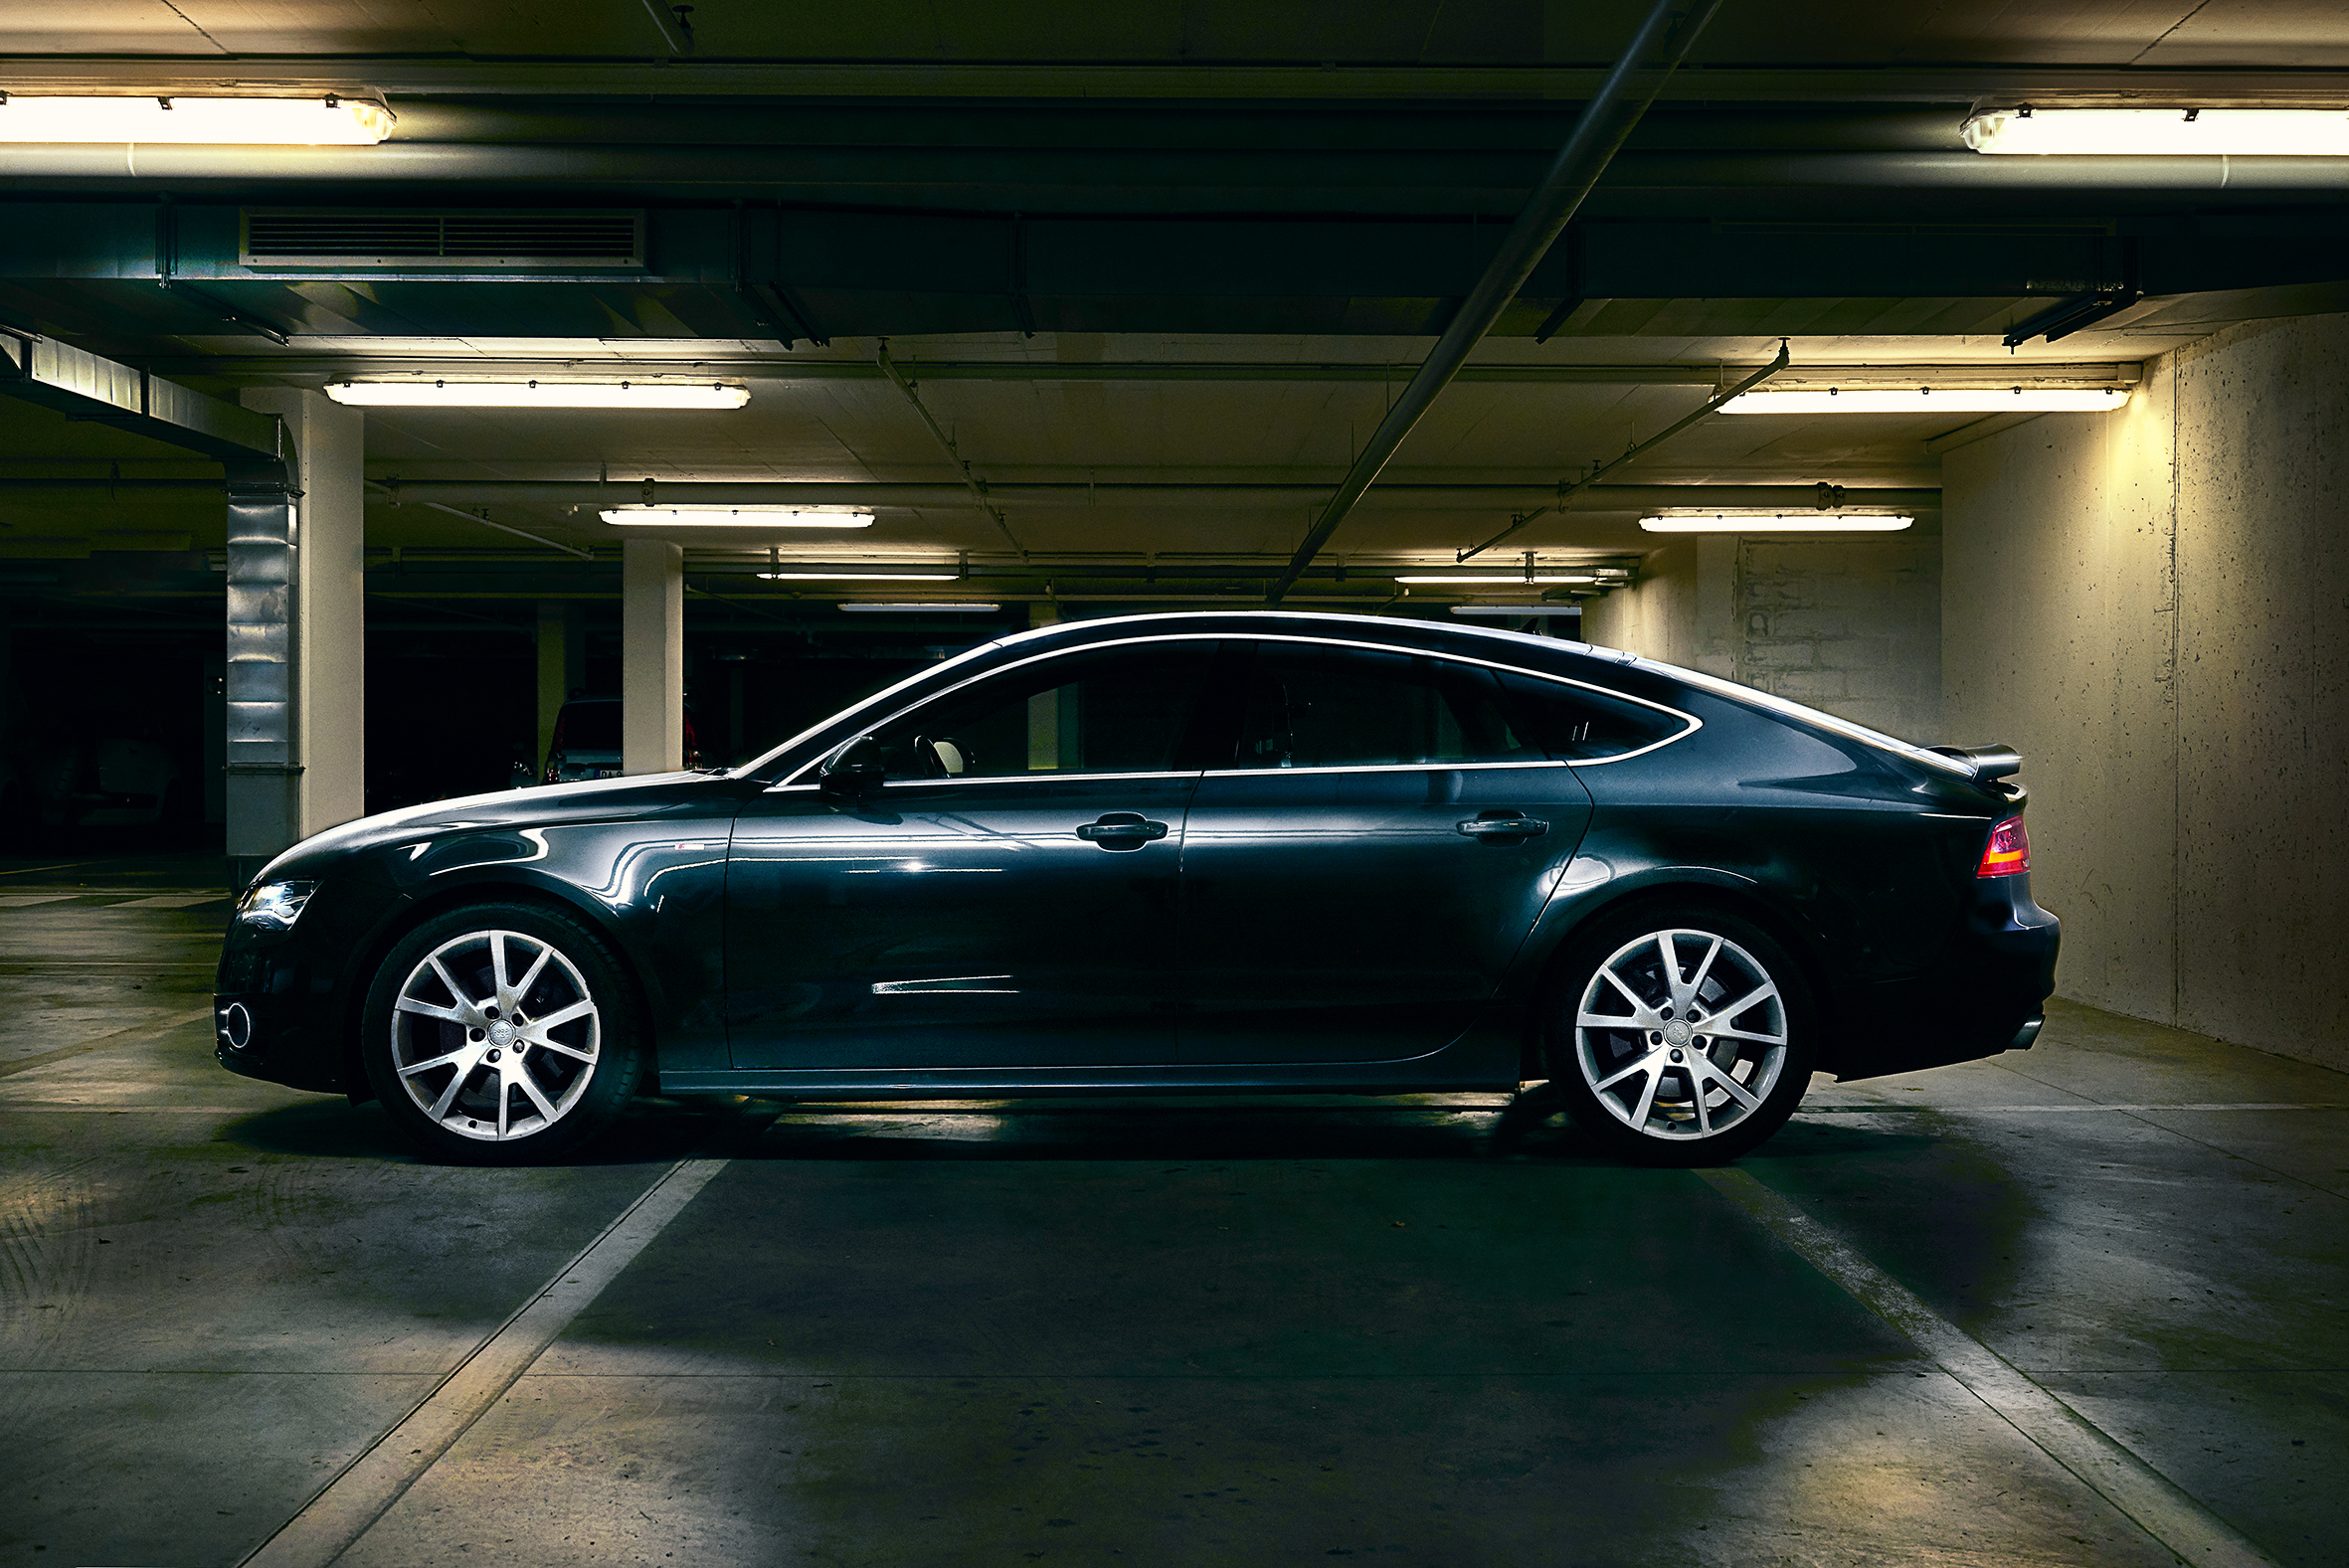
I have always loved parking garages, so what better scenery to shoot a car than in one. To do the practice shoot, I wanted a car that would inspire me and of course look cool on social media when I posted it. I found that one of my friends has this car that he calls “the Batmobile”, which sounded promising. The Batmobile is a beautiful Audi A7, long, black and very sexy. All in all, a great model for me to practice with. With my background in model and fashion photography, I know that having an inspiring model in front is so important, especially when you try out new things.
Having an assistant is a MUST!
So, I quite quickly discovered that having an assistant, even when shooting cars that are not in motion, is essential. The owner of the car was luckily available. Even with no experience as an assistant, he was an important player. Shooting amazing cars can very quickly become very frustrating if you do not have help. Just moving the car to the right angel and running around with the flash can take you a long time and give you a considerable headache when alone.
The equipment
When you have found your location, your assistant and your car, you should think about your gear. As I am not a car photographer, I do not have any specific car shooting equipment. As I just wanted to make it as easy for myself as possible, I decided just to bring one light, my speedlight. So, for the shoot I did, the essential equipment, beside my camera, was: speedlight, tripod for camera, remote shutter release (RSR) and wide-angle lens. That is all folks!
We all know that lighting is everything!
As I have some experience in shooting motorcycles, I decided to use the same technique. This technique is basically merging the pictures together that has the light that I like. Because cars are so glossy, and the light can be difficult to control in one shot, I decided to take several shots moving my flash (the assistant moved it). The setup was this: fixed camera in the right position depending on the angel of the car that I wanted to get, and one speed light moved around by my assistant. Every time the light was lighting up a feature of the car that I liked, I would push my remote shutter release. The RSR is very important as I in post-production will merge all the pictures together. If I push the release button on the camera, I might move the camera. We tried two different lighting techniques. Pointing the light right at the car and pointing it up to the ceiling. As the ceiling in the basement where we were shooting was quite low, the latter worked well and gave a beautiful smooth light without it going everywhere. When the assistant was moving the light, we were very conscious of doing everything systematically. We would find the angel of the light on the left and then go to the same spot on the right. You want to make sure that you have exactly the same direction in the light. And another tip, take more pictures from more angles than needed, just so you don't miss a spot!
You want to start with a base picture. This picture is the base of your photo, where the surroundings are as you want them. I always prefer to have my background dark, so my subject stands out. Then you turn on the car and take a picture without flash, but just with the lights of the car. After this you go ahead and shoot with light from all angles.
Shooting cars is a lot of fun and for me a great learning experience. You really learn to look at your light and let the light and the shapes inspire you. In a later article I will show you how exactly I edited these pictures.
Go out and shoot great things!
If you liked this article and applied it, I would love to hear your feedback and see your pictures! Go to my Facebook @MakeUpArtistMalouReedorf and send me a message. I would love to connect with you!
Malou Reedorf is an international PermaJet ambassador.

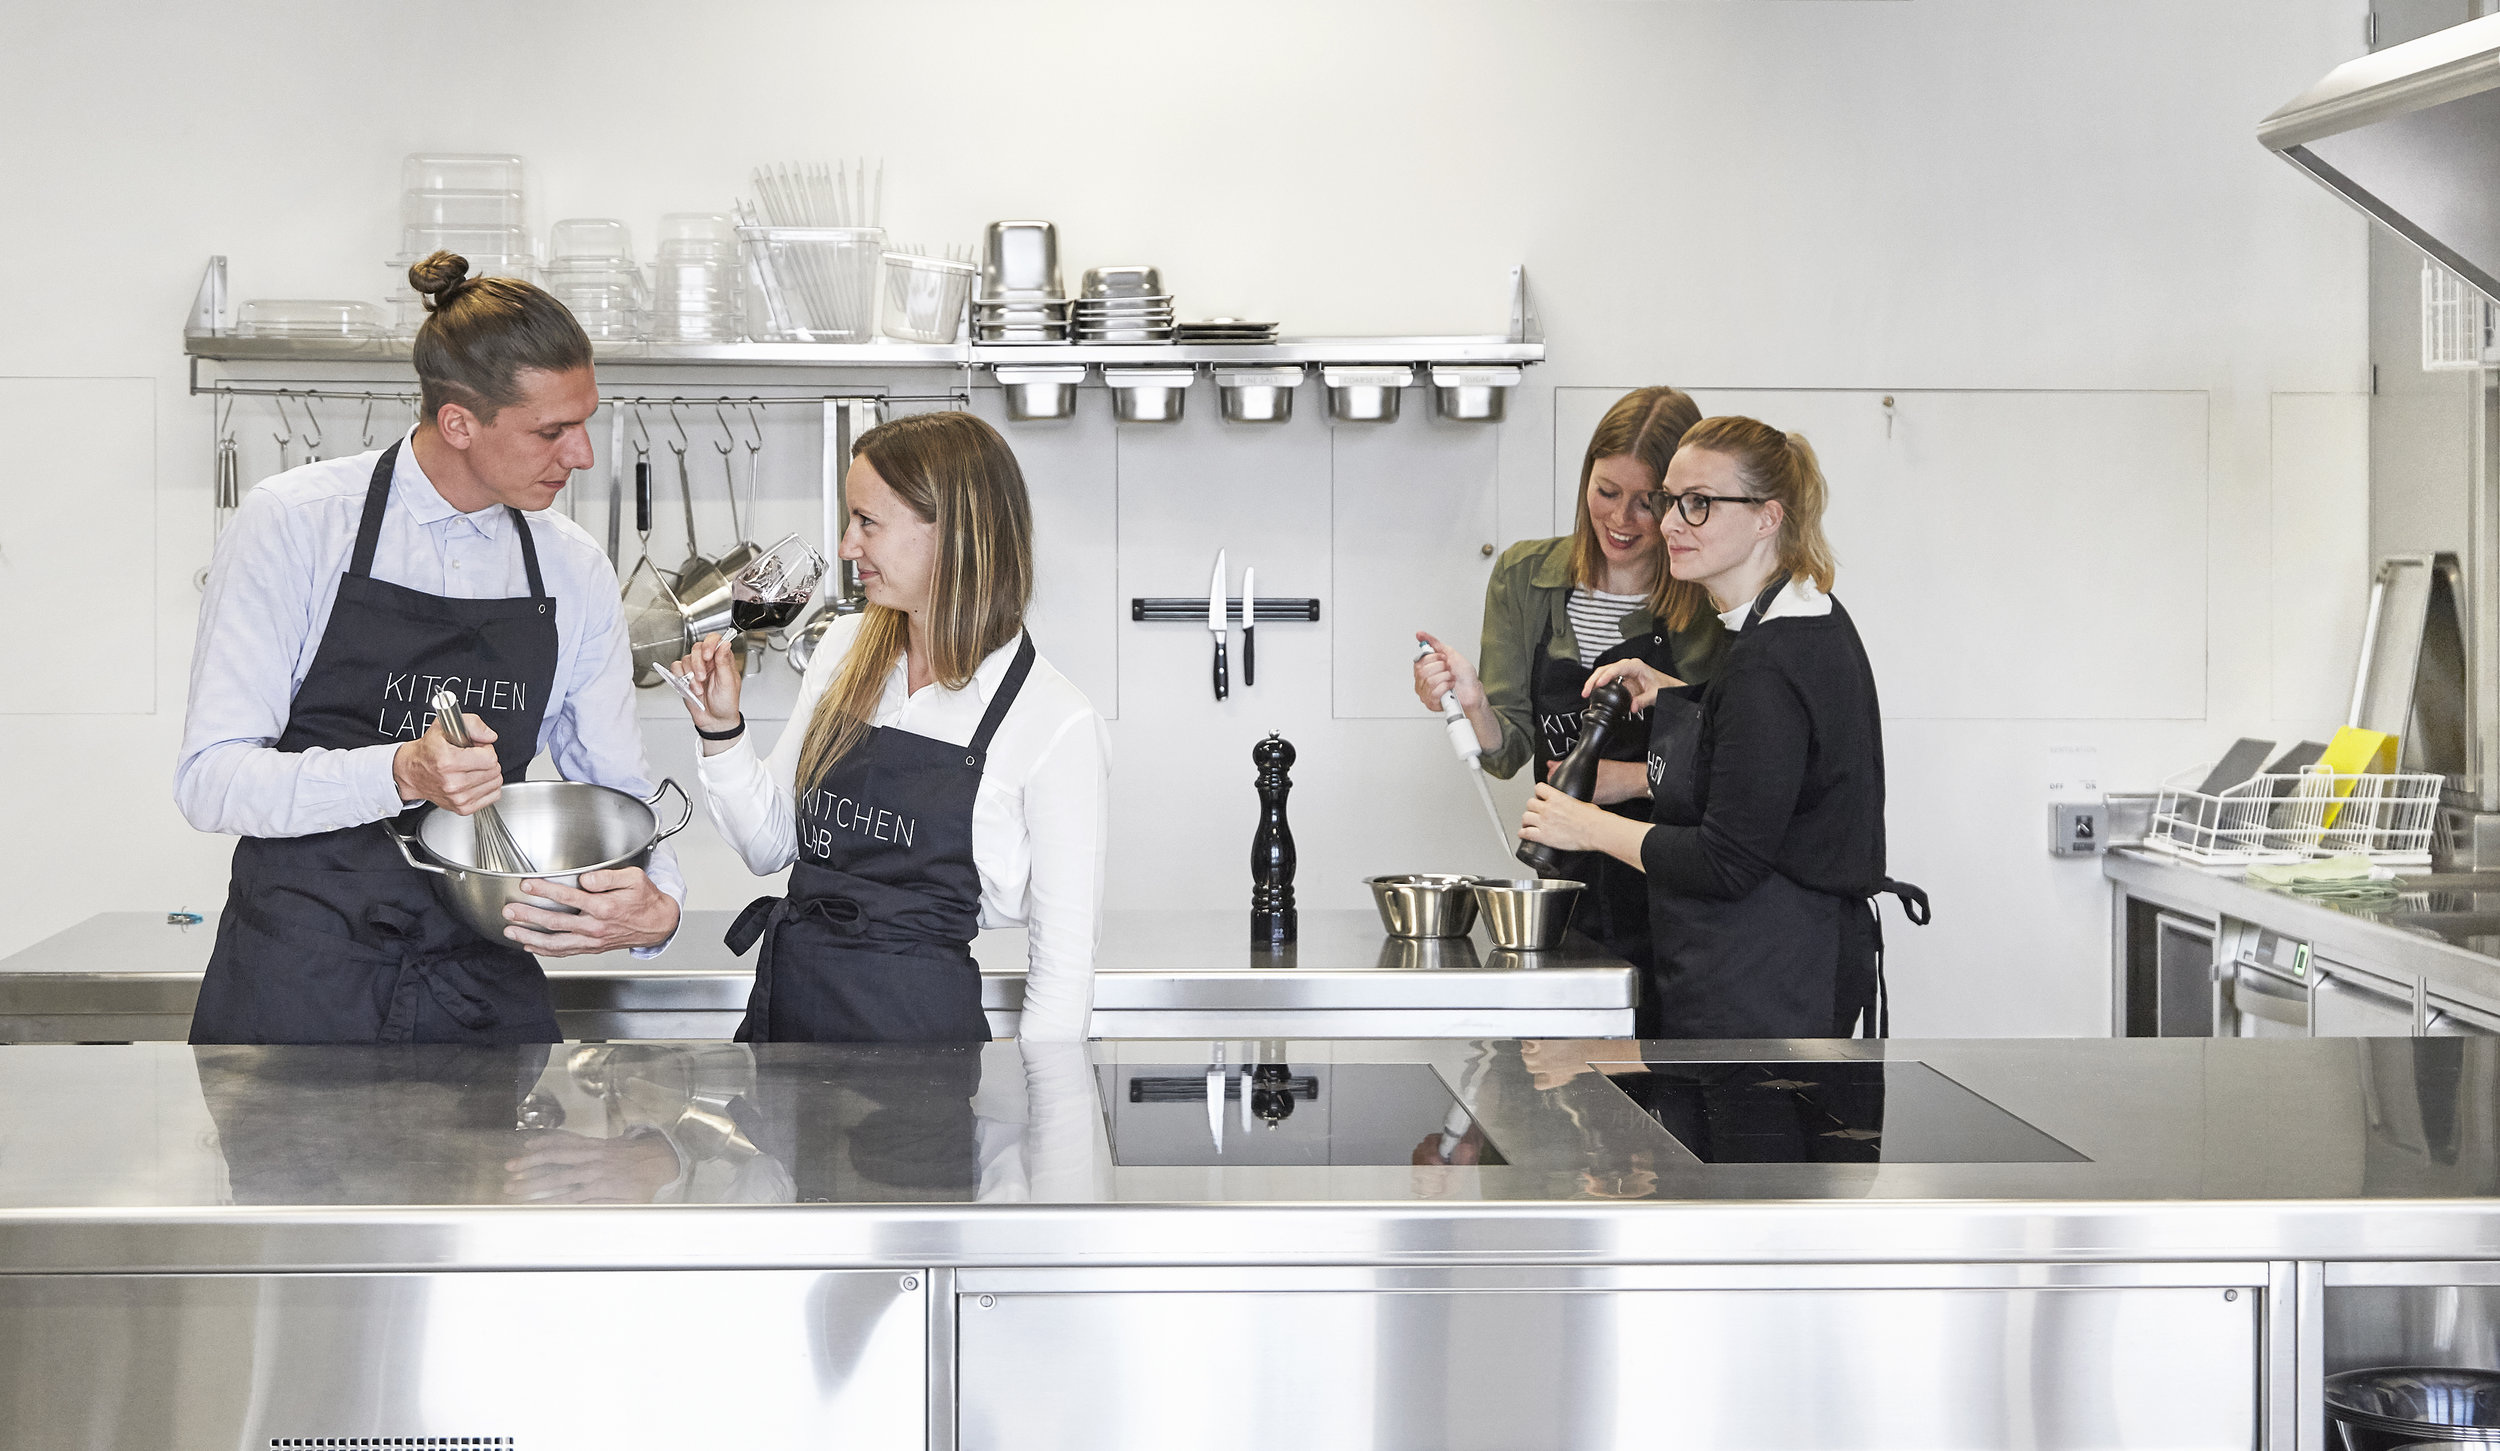
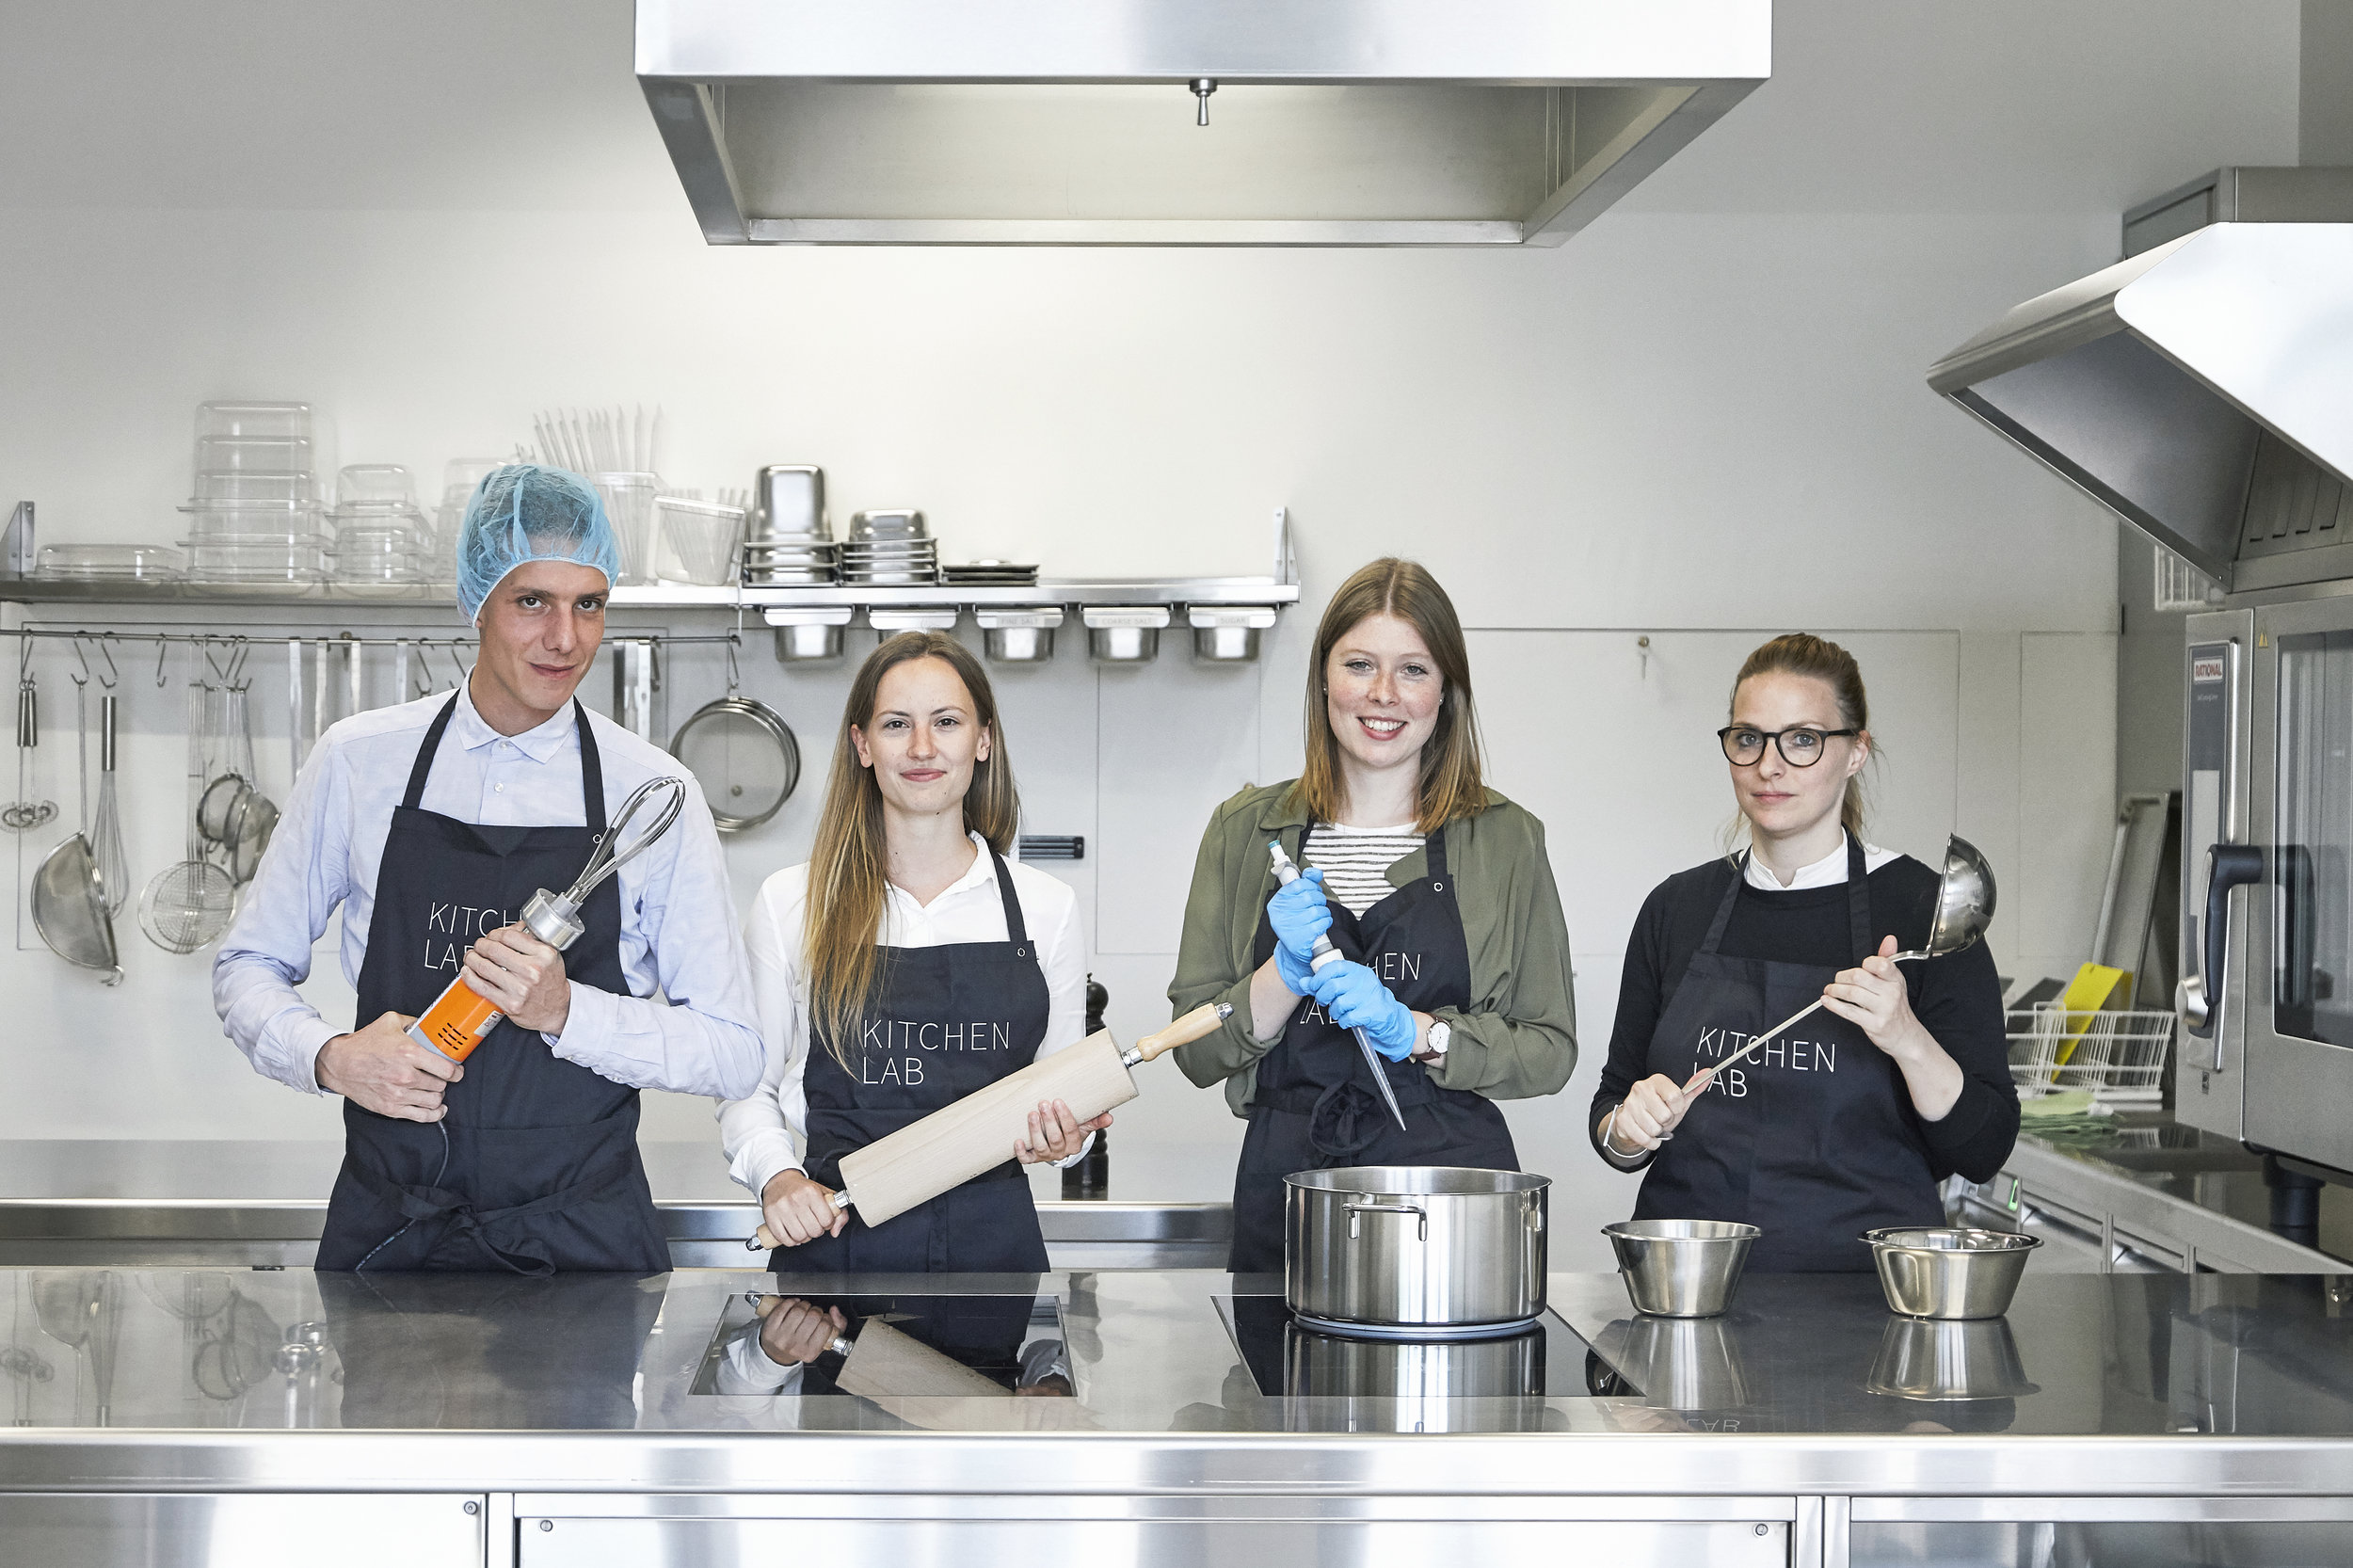
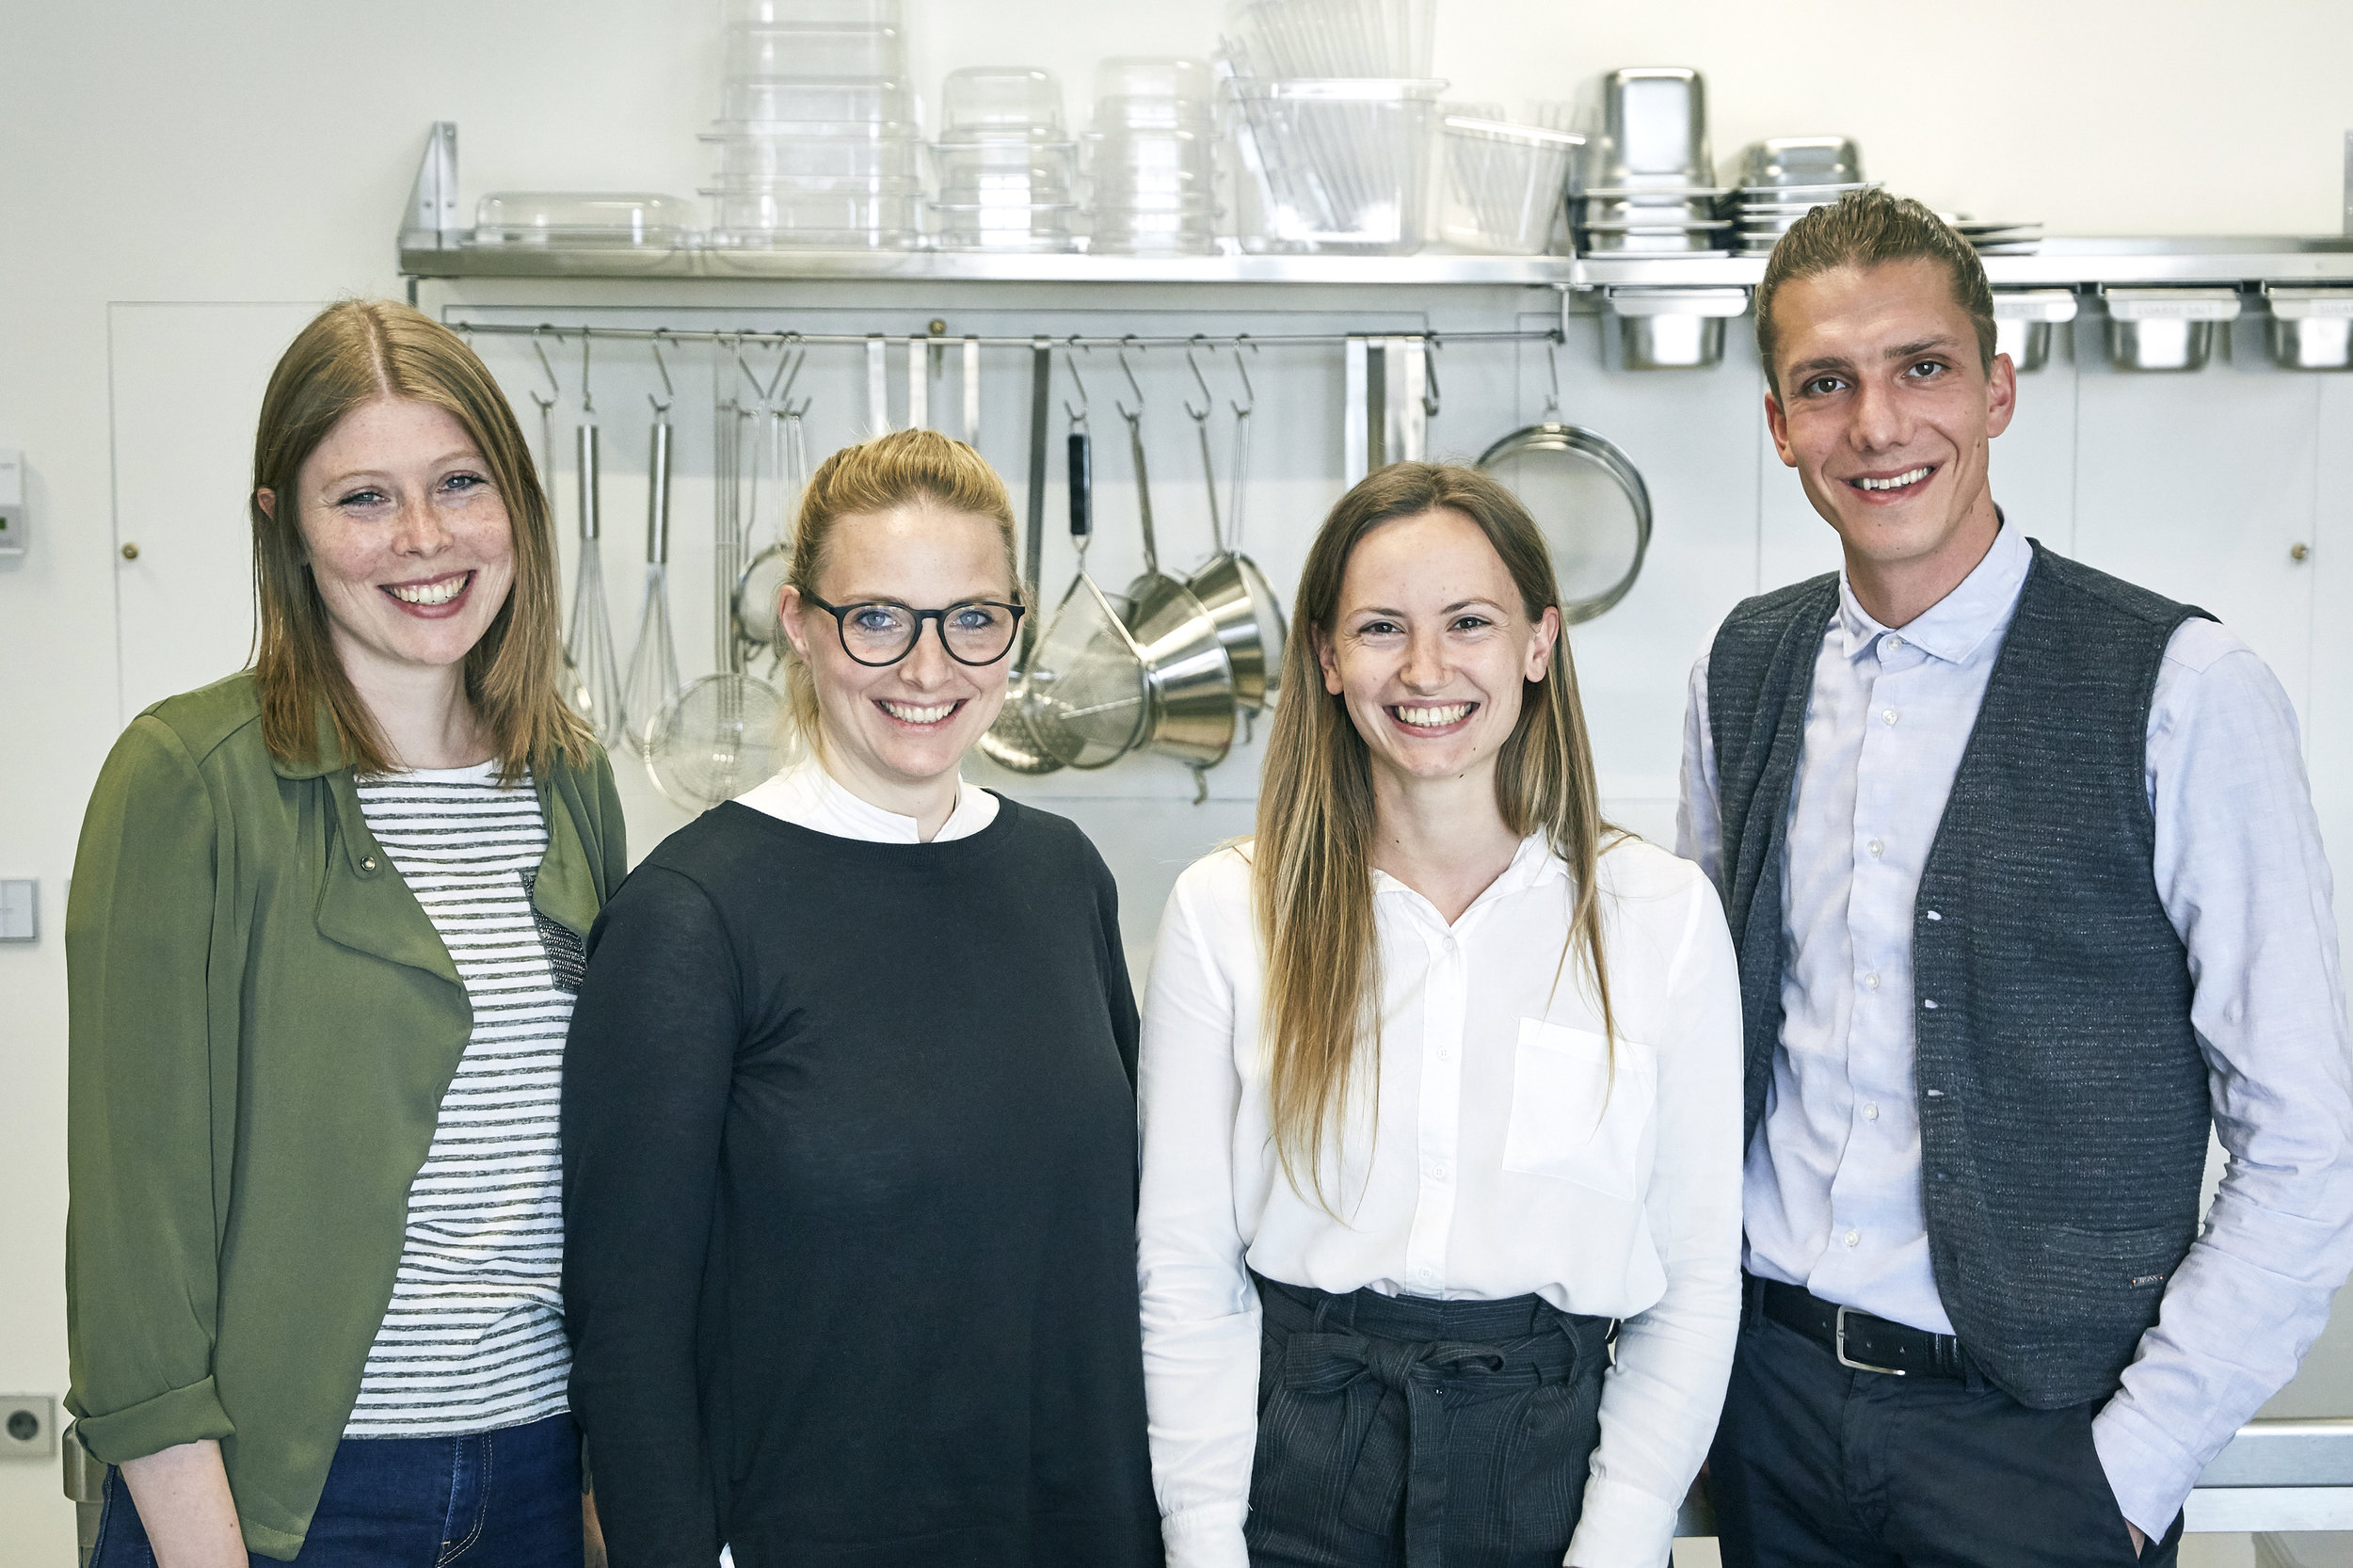
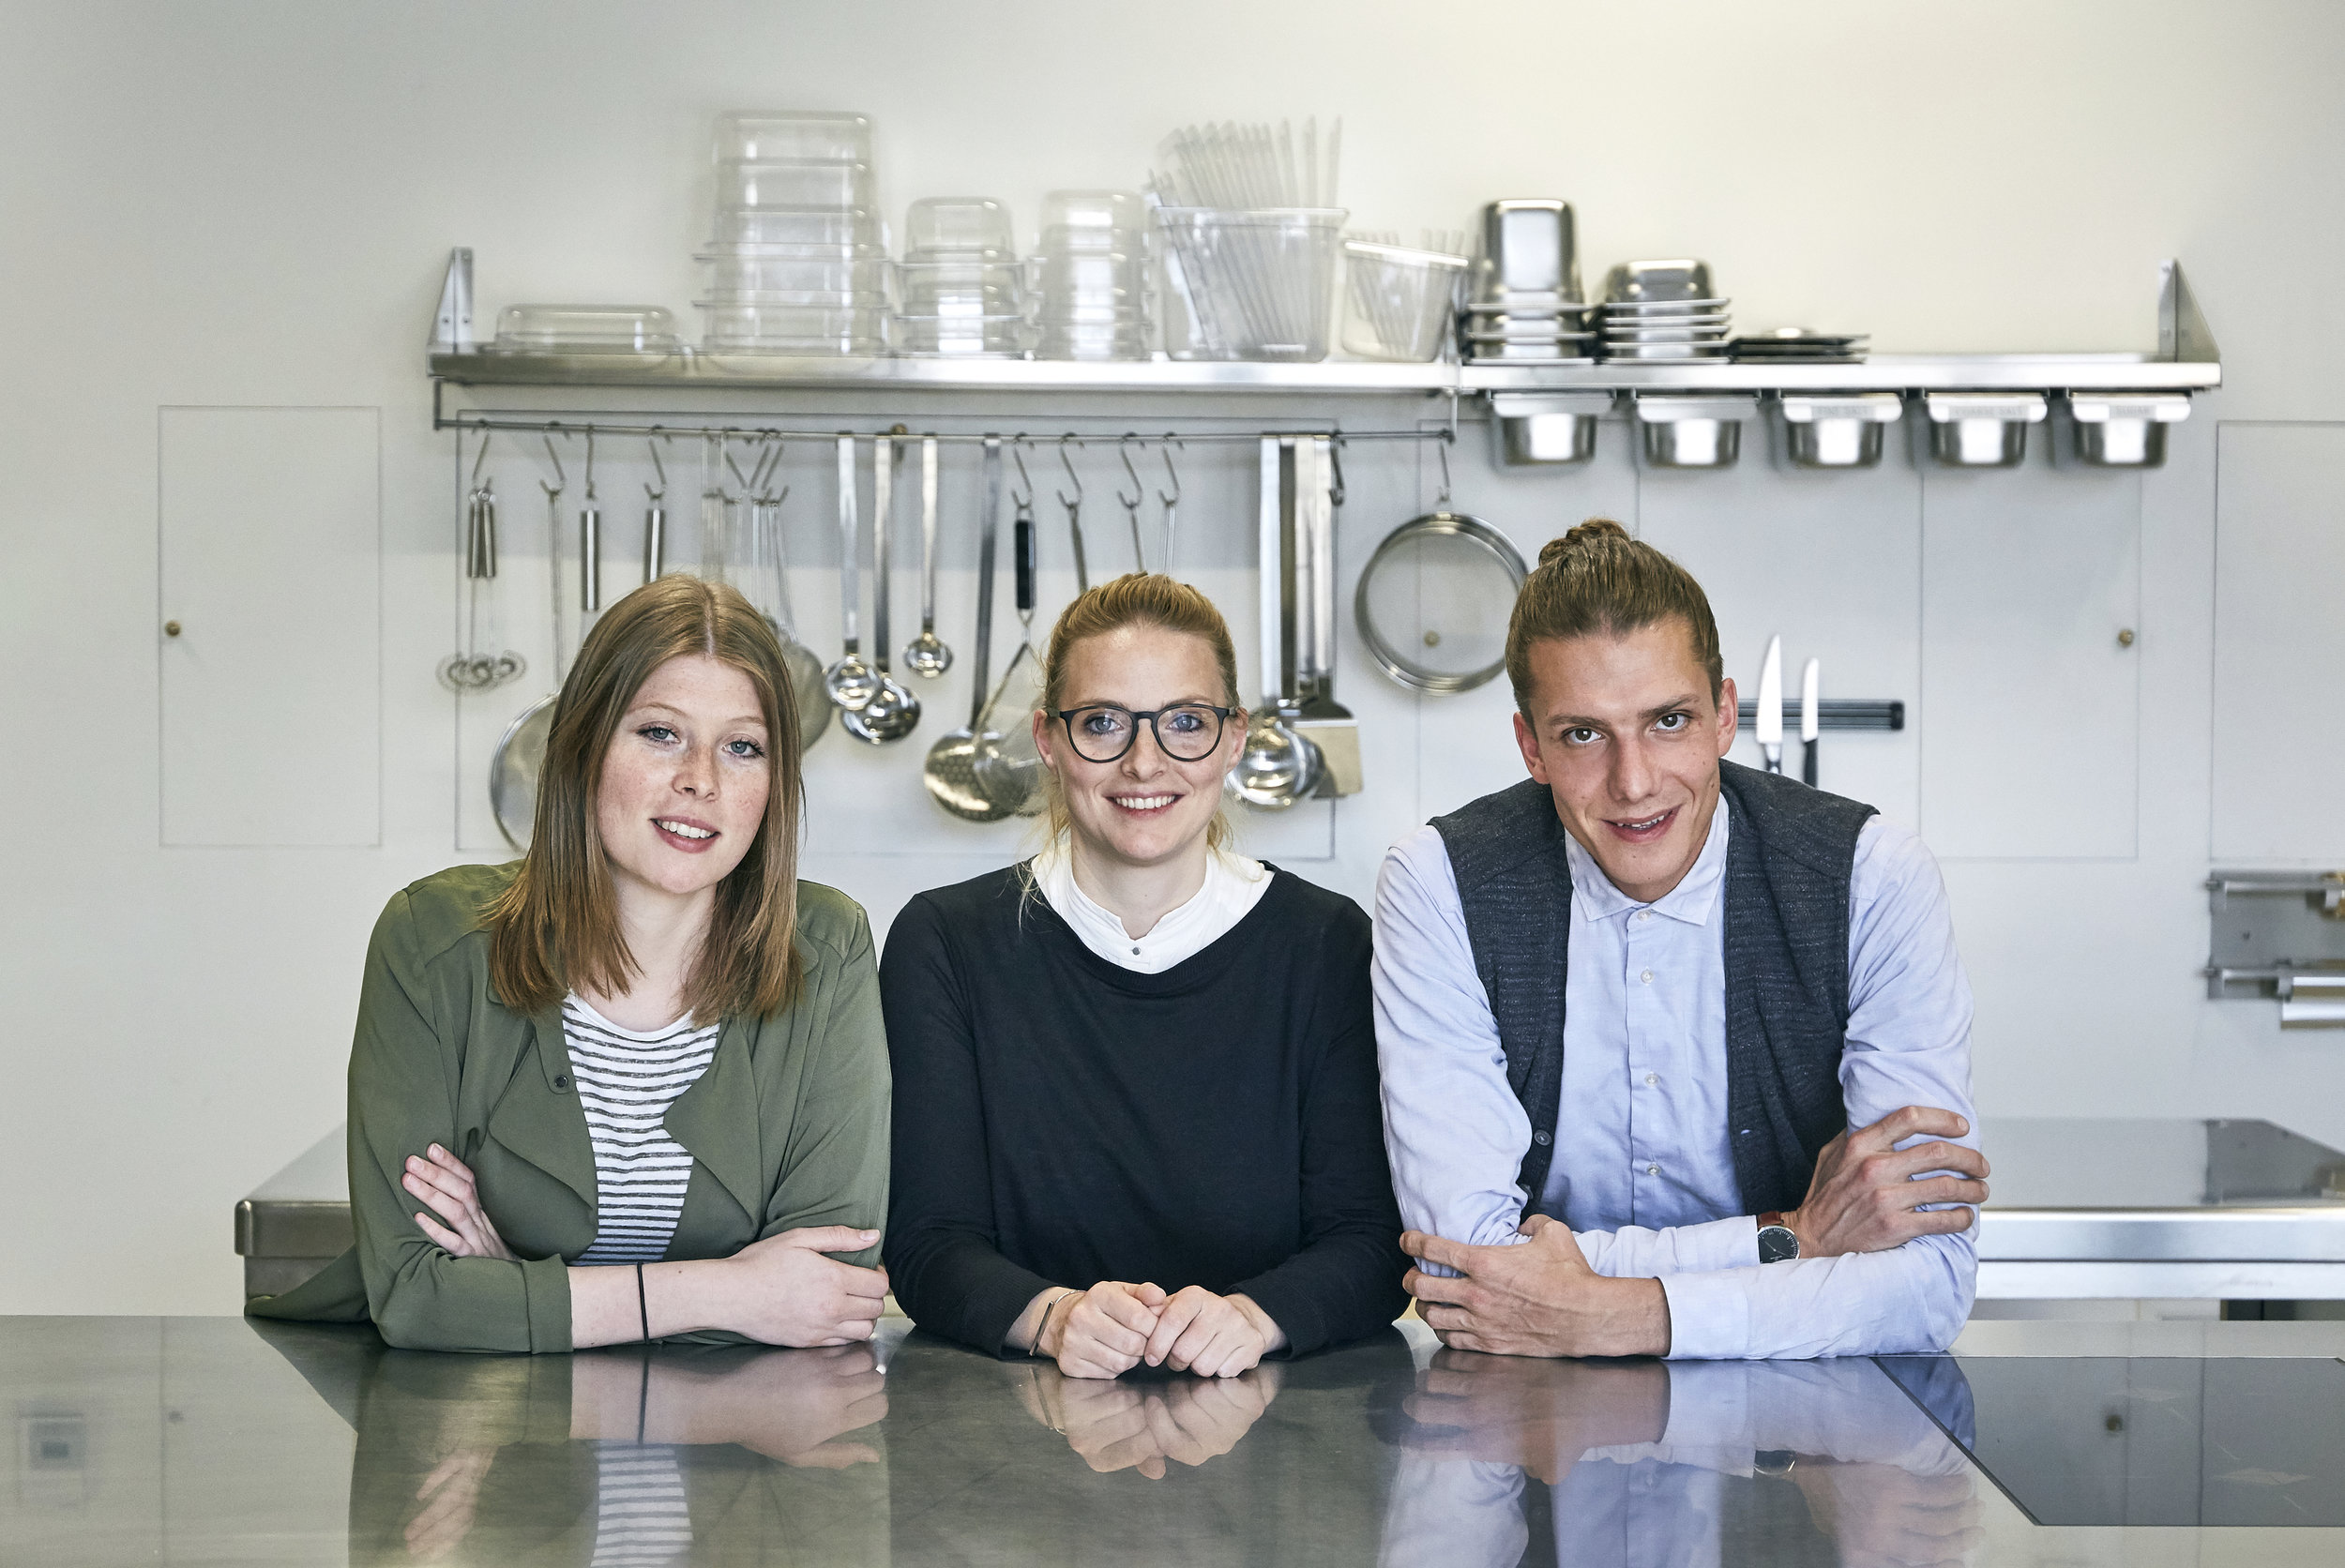
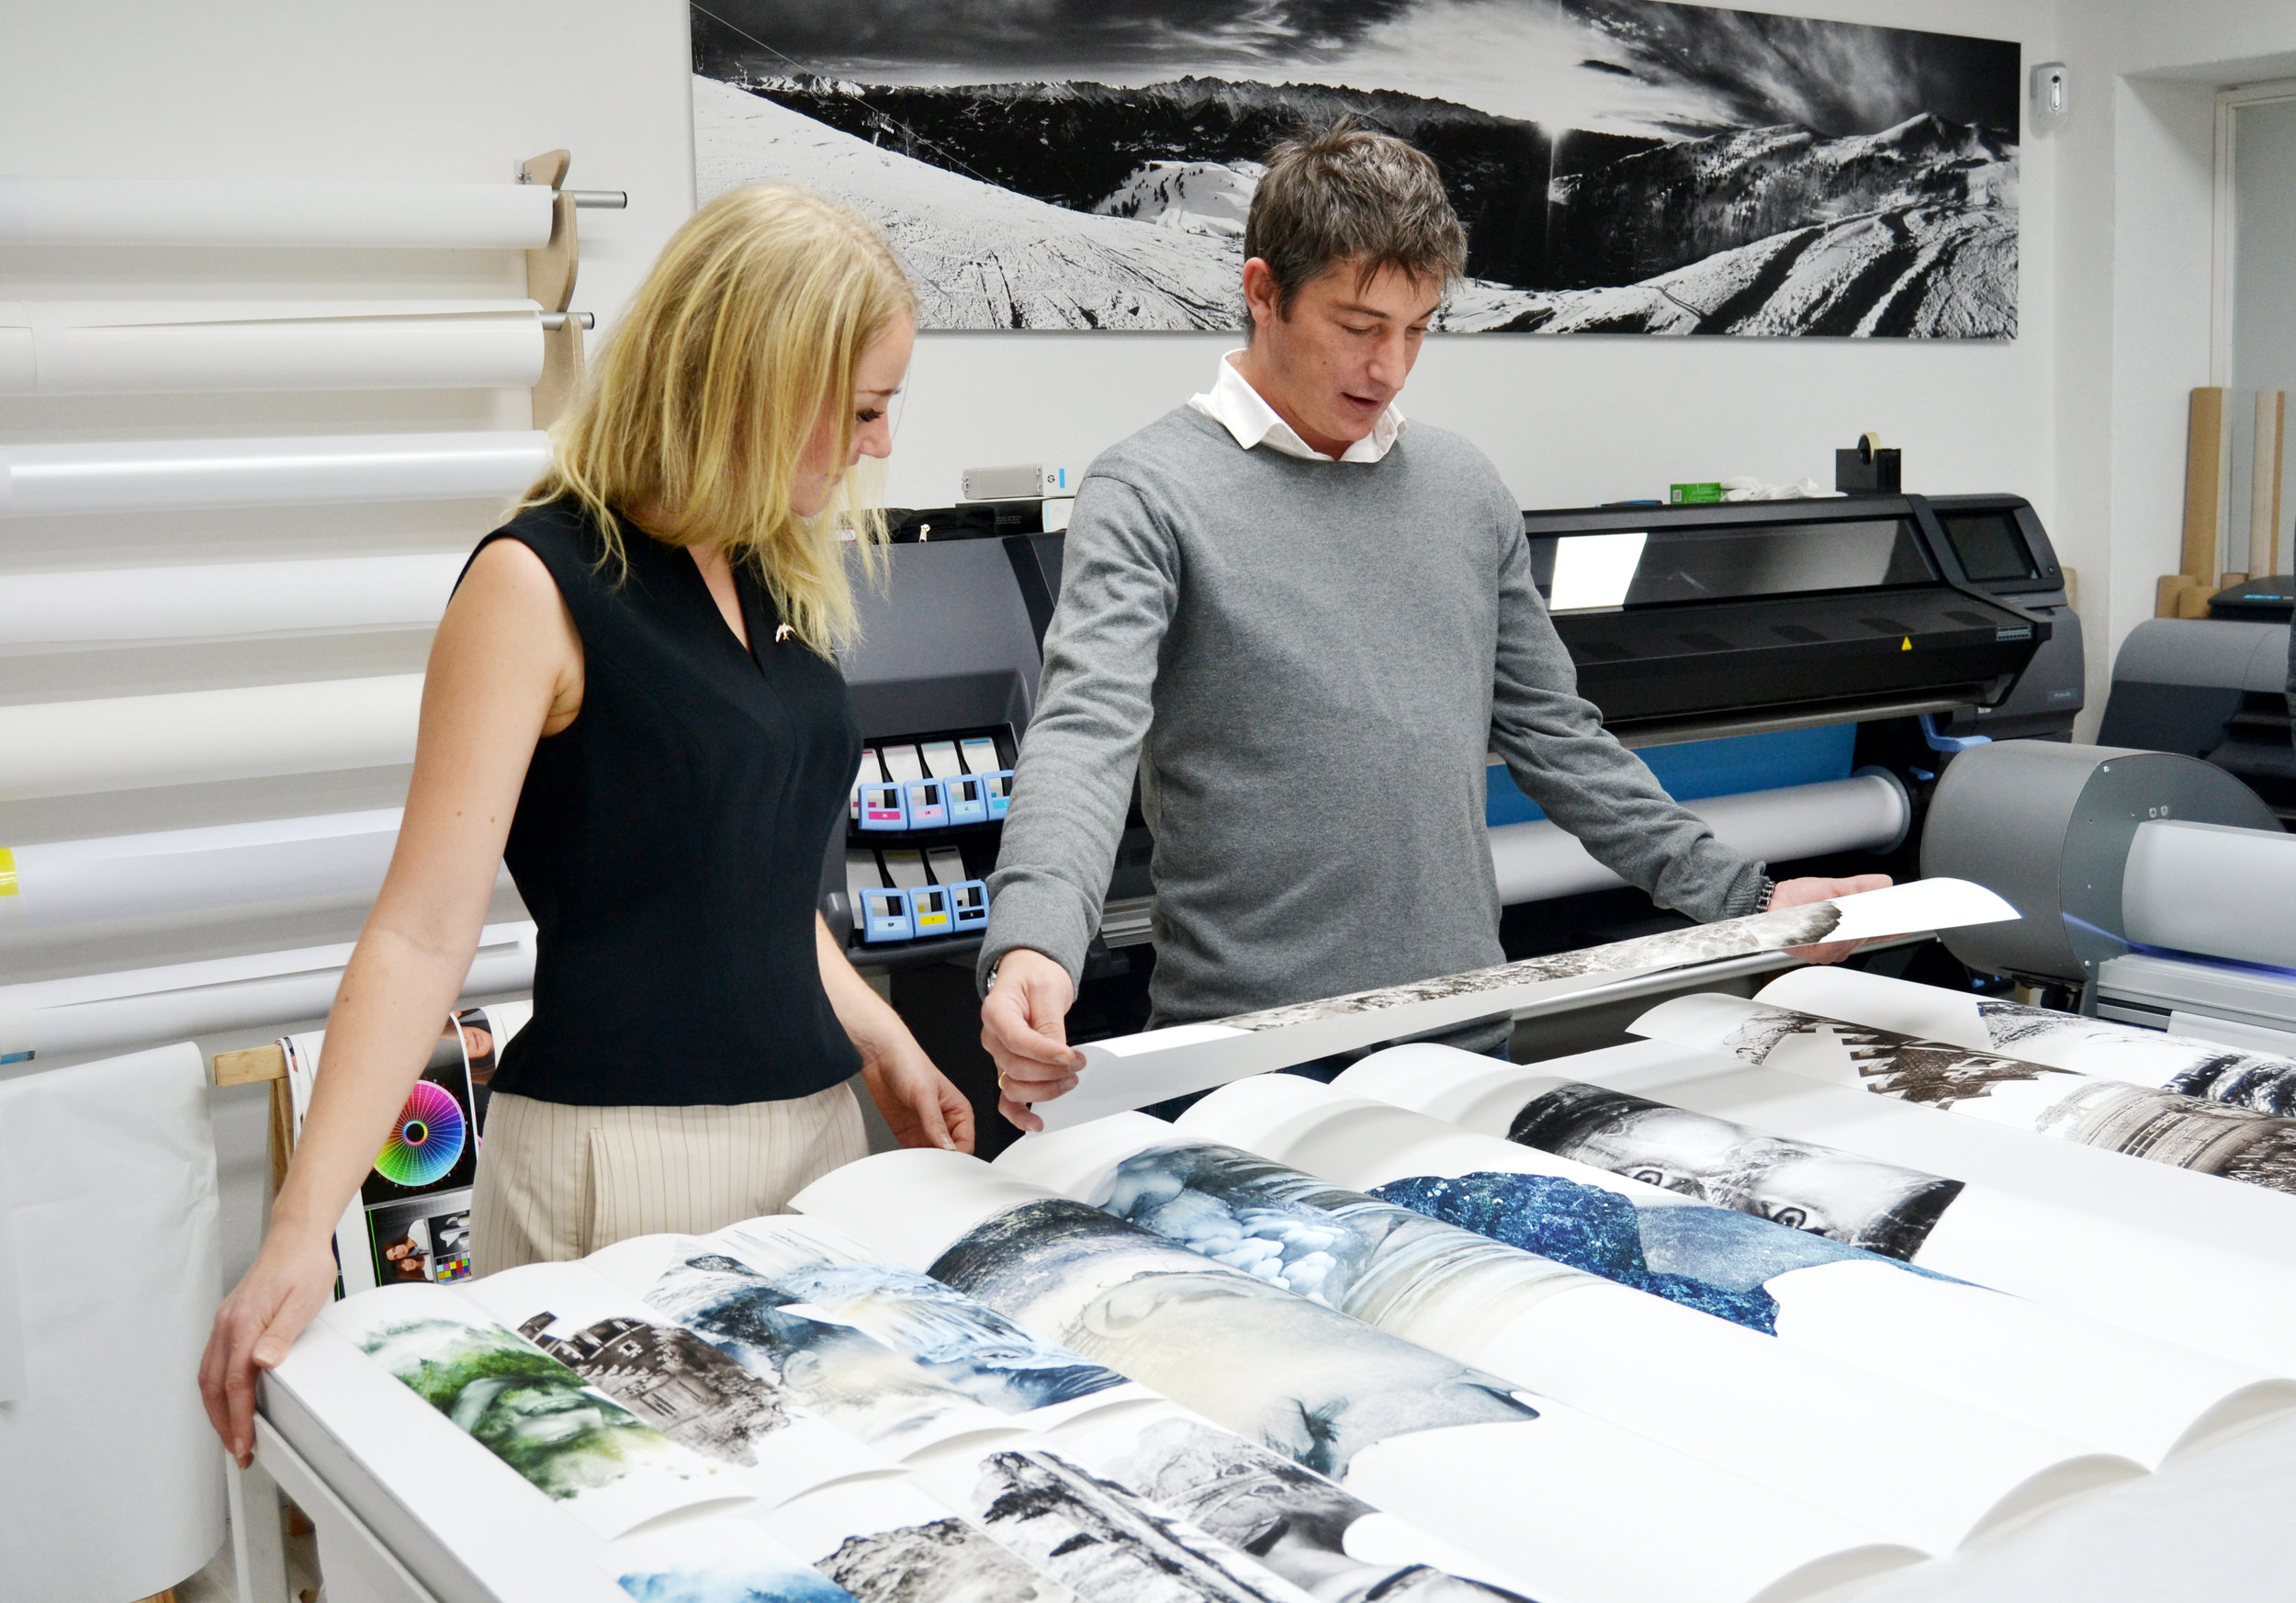
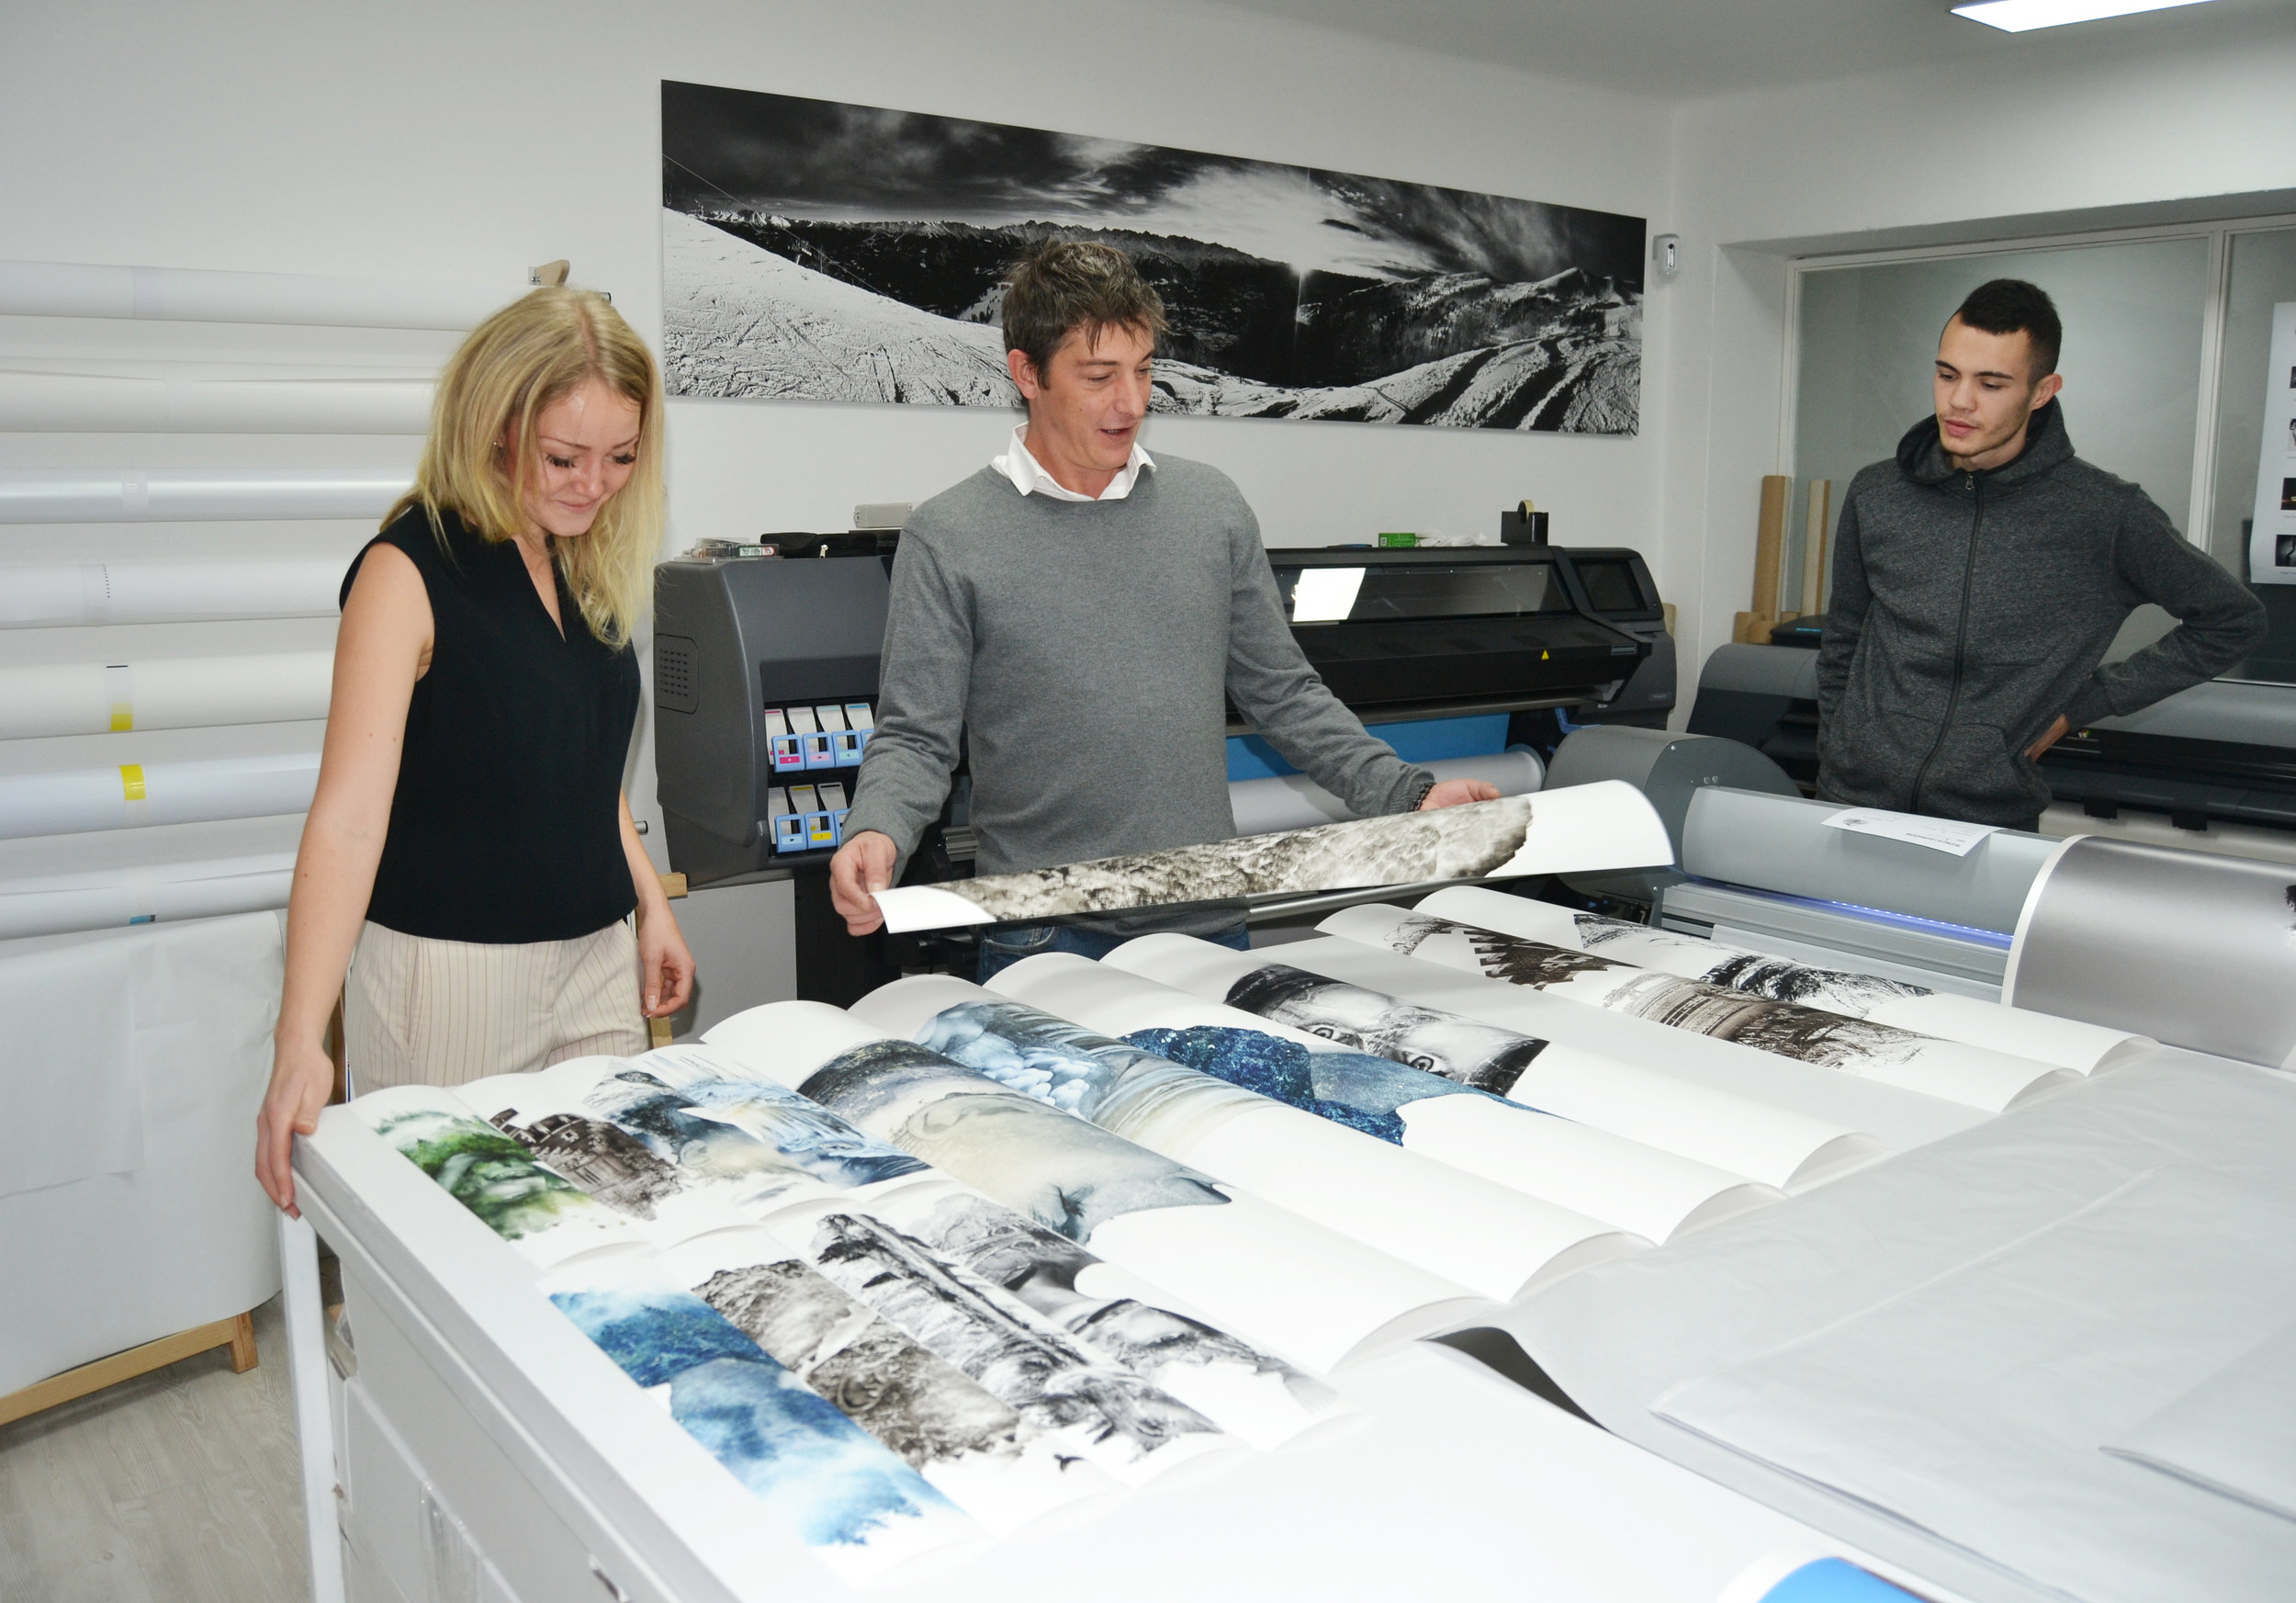
Pictures for the new Kitchen Lab - NOI Techpark

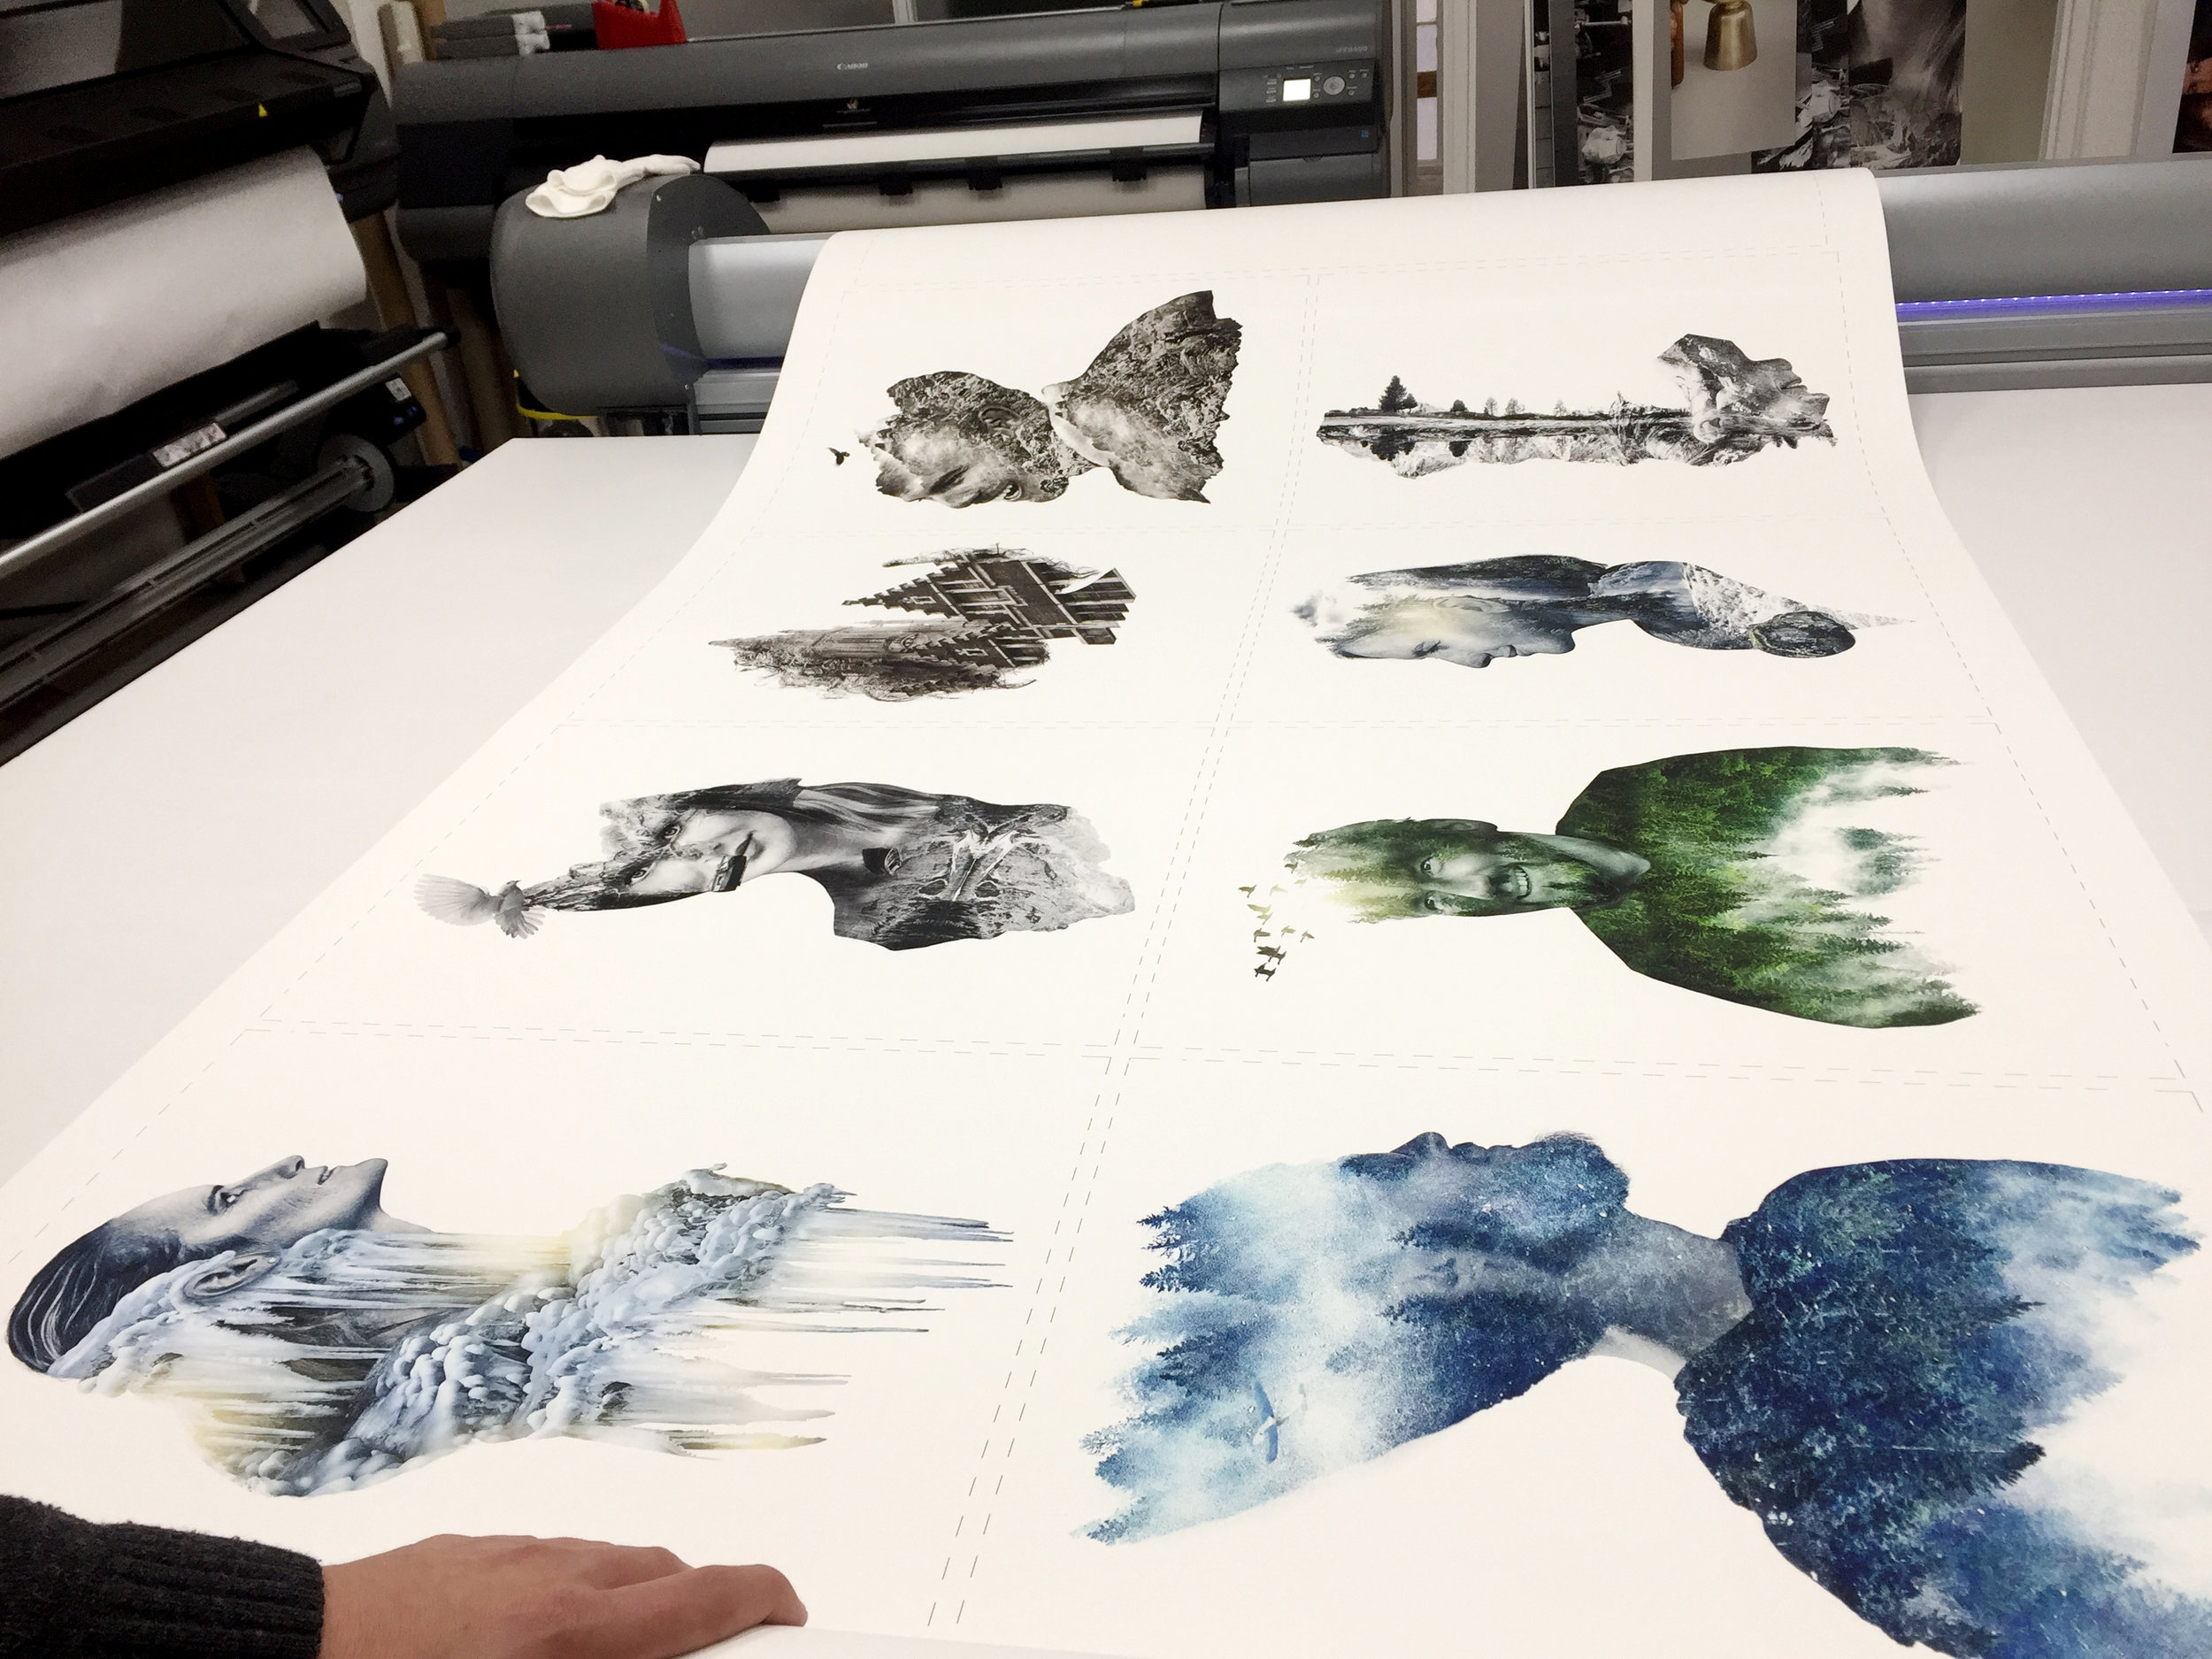
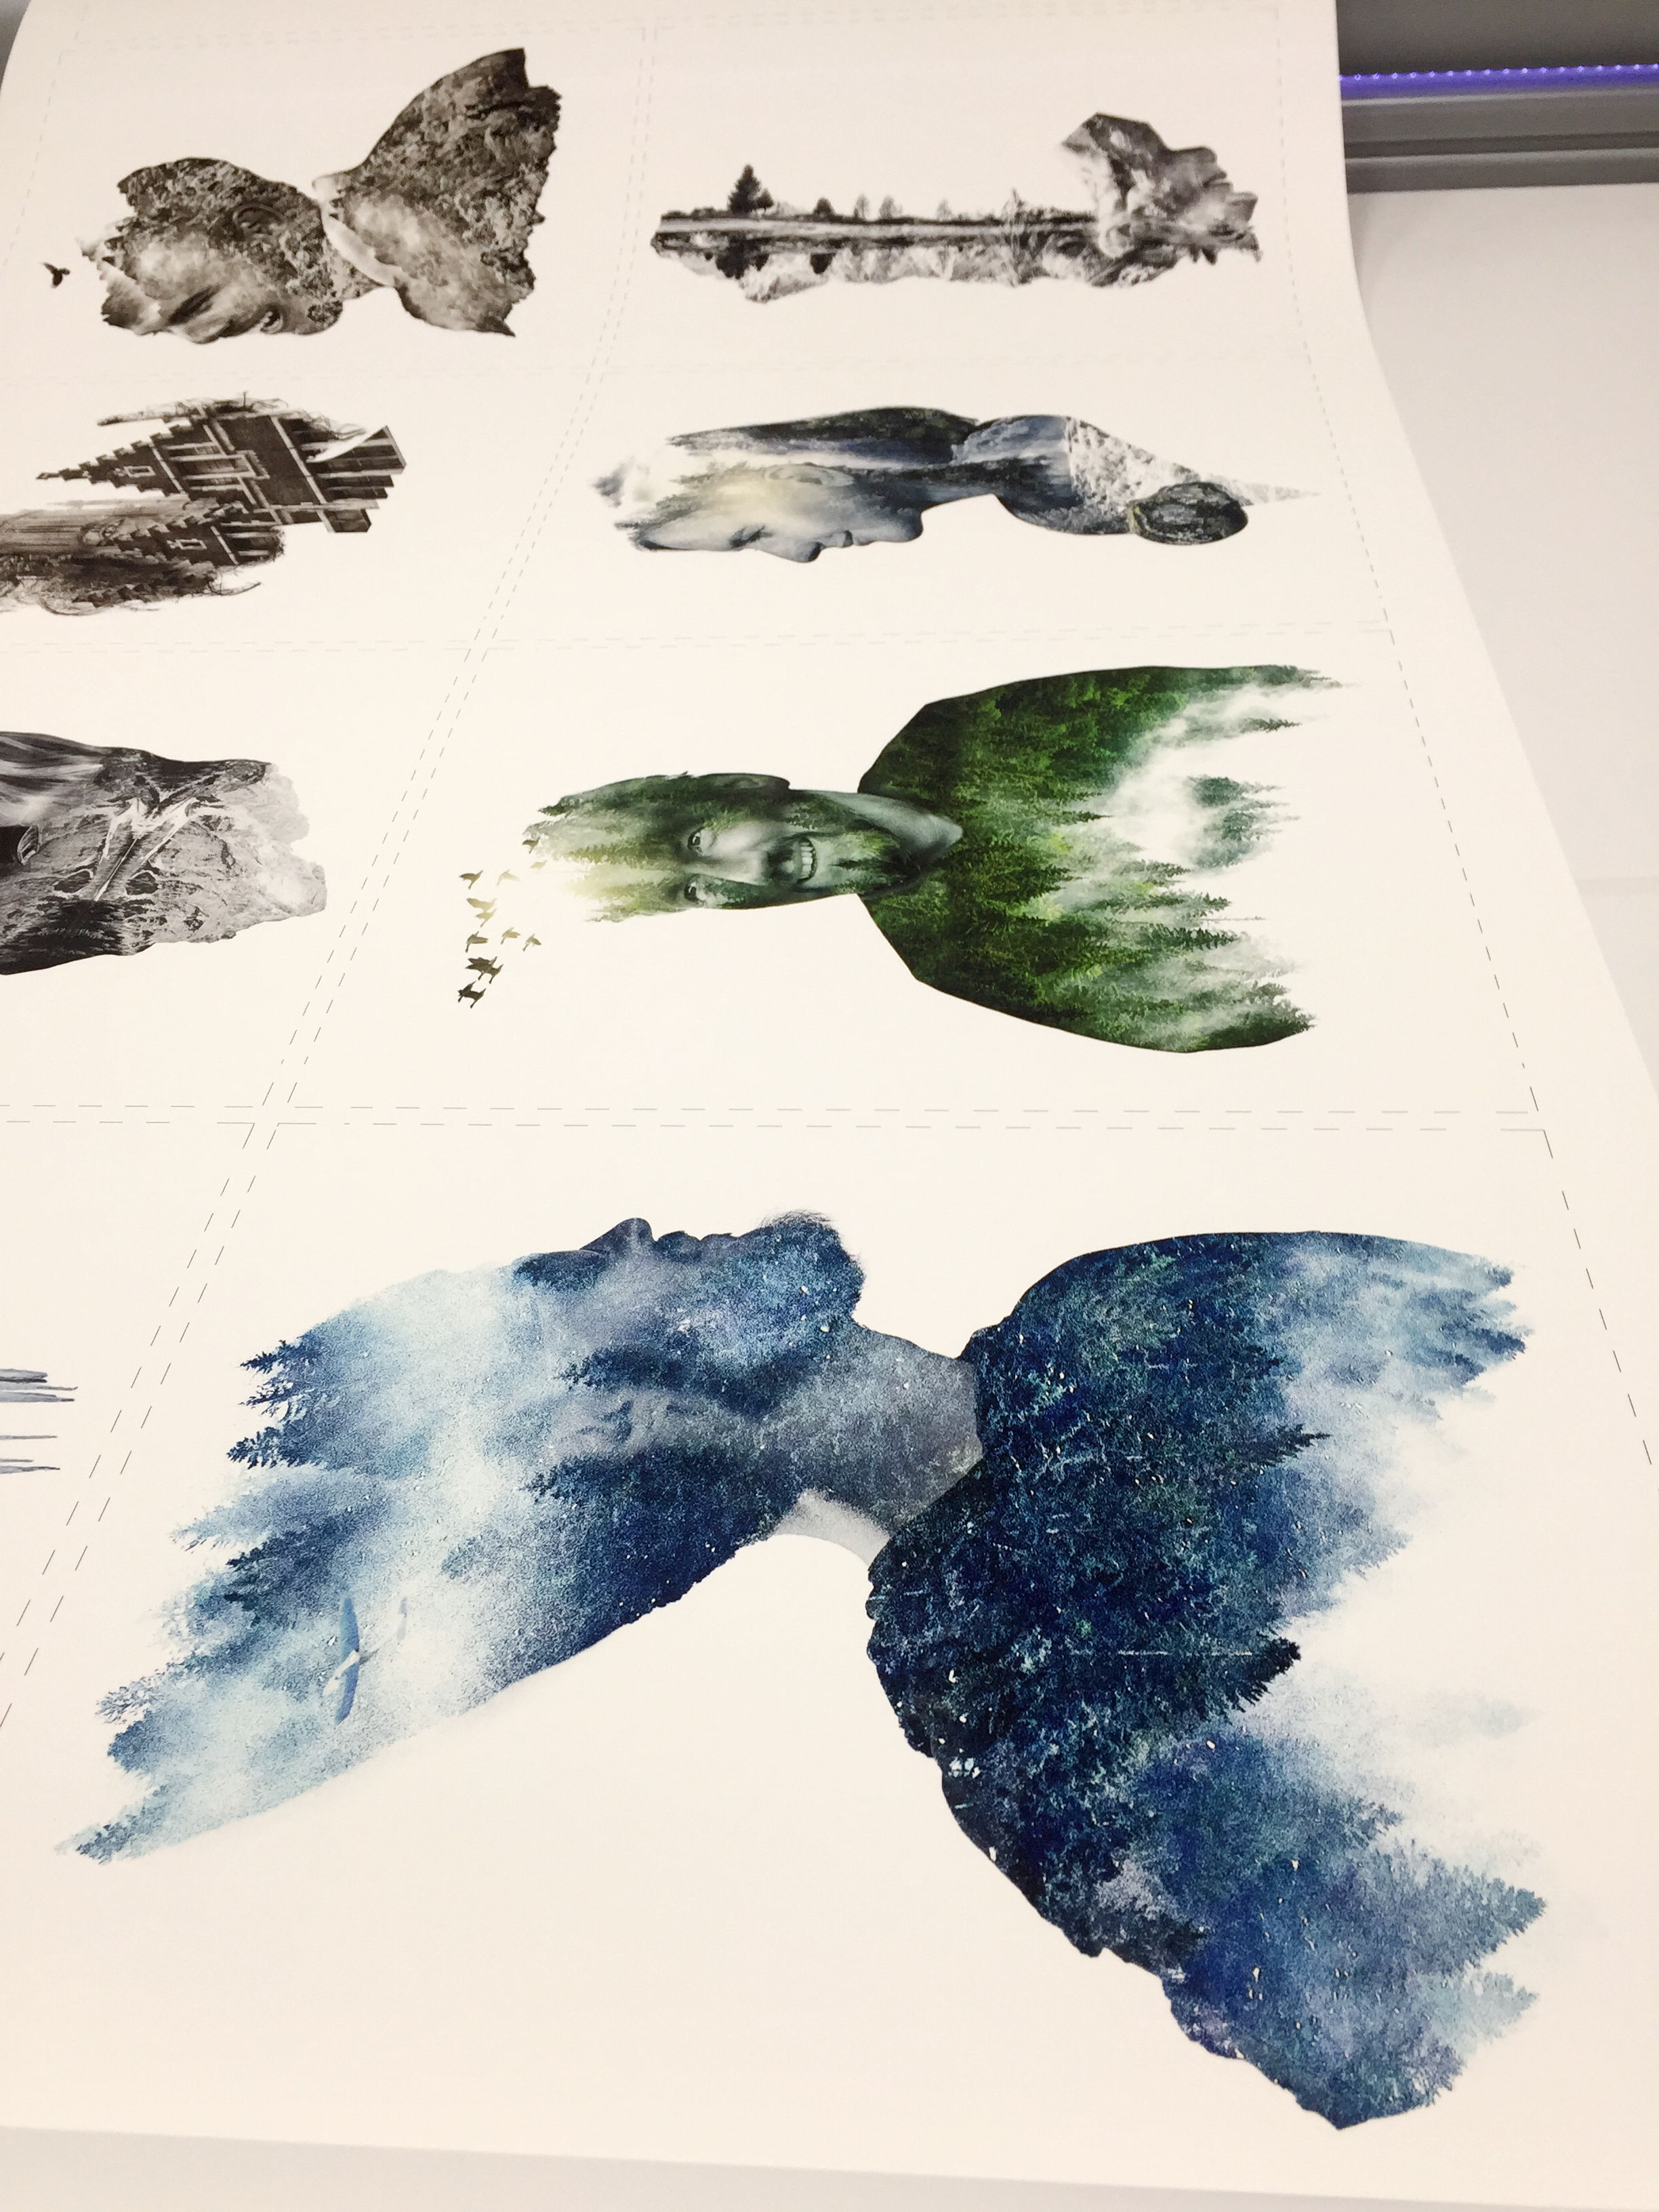
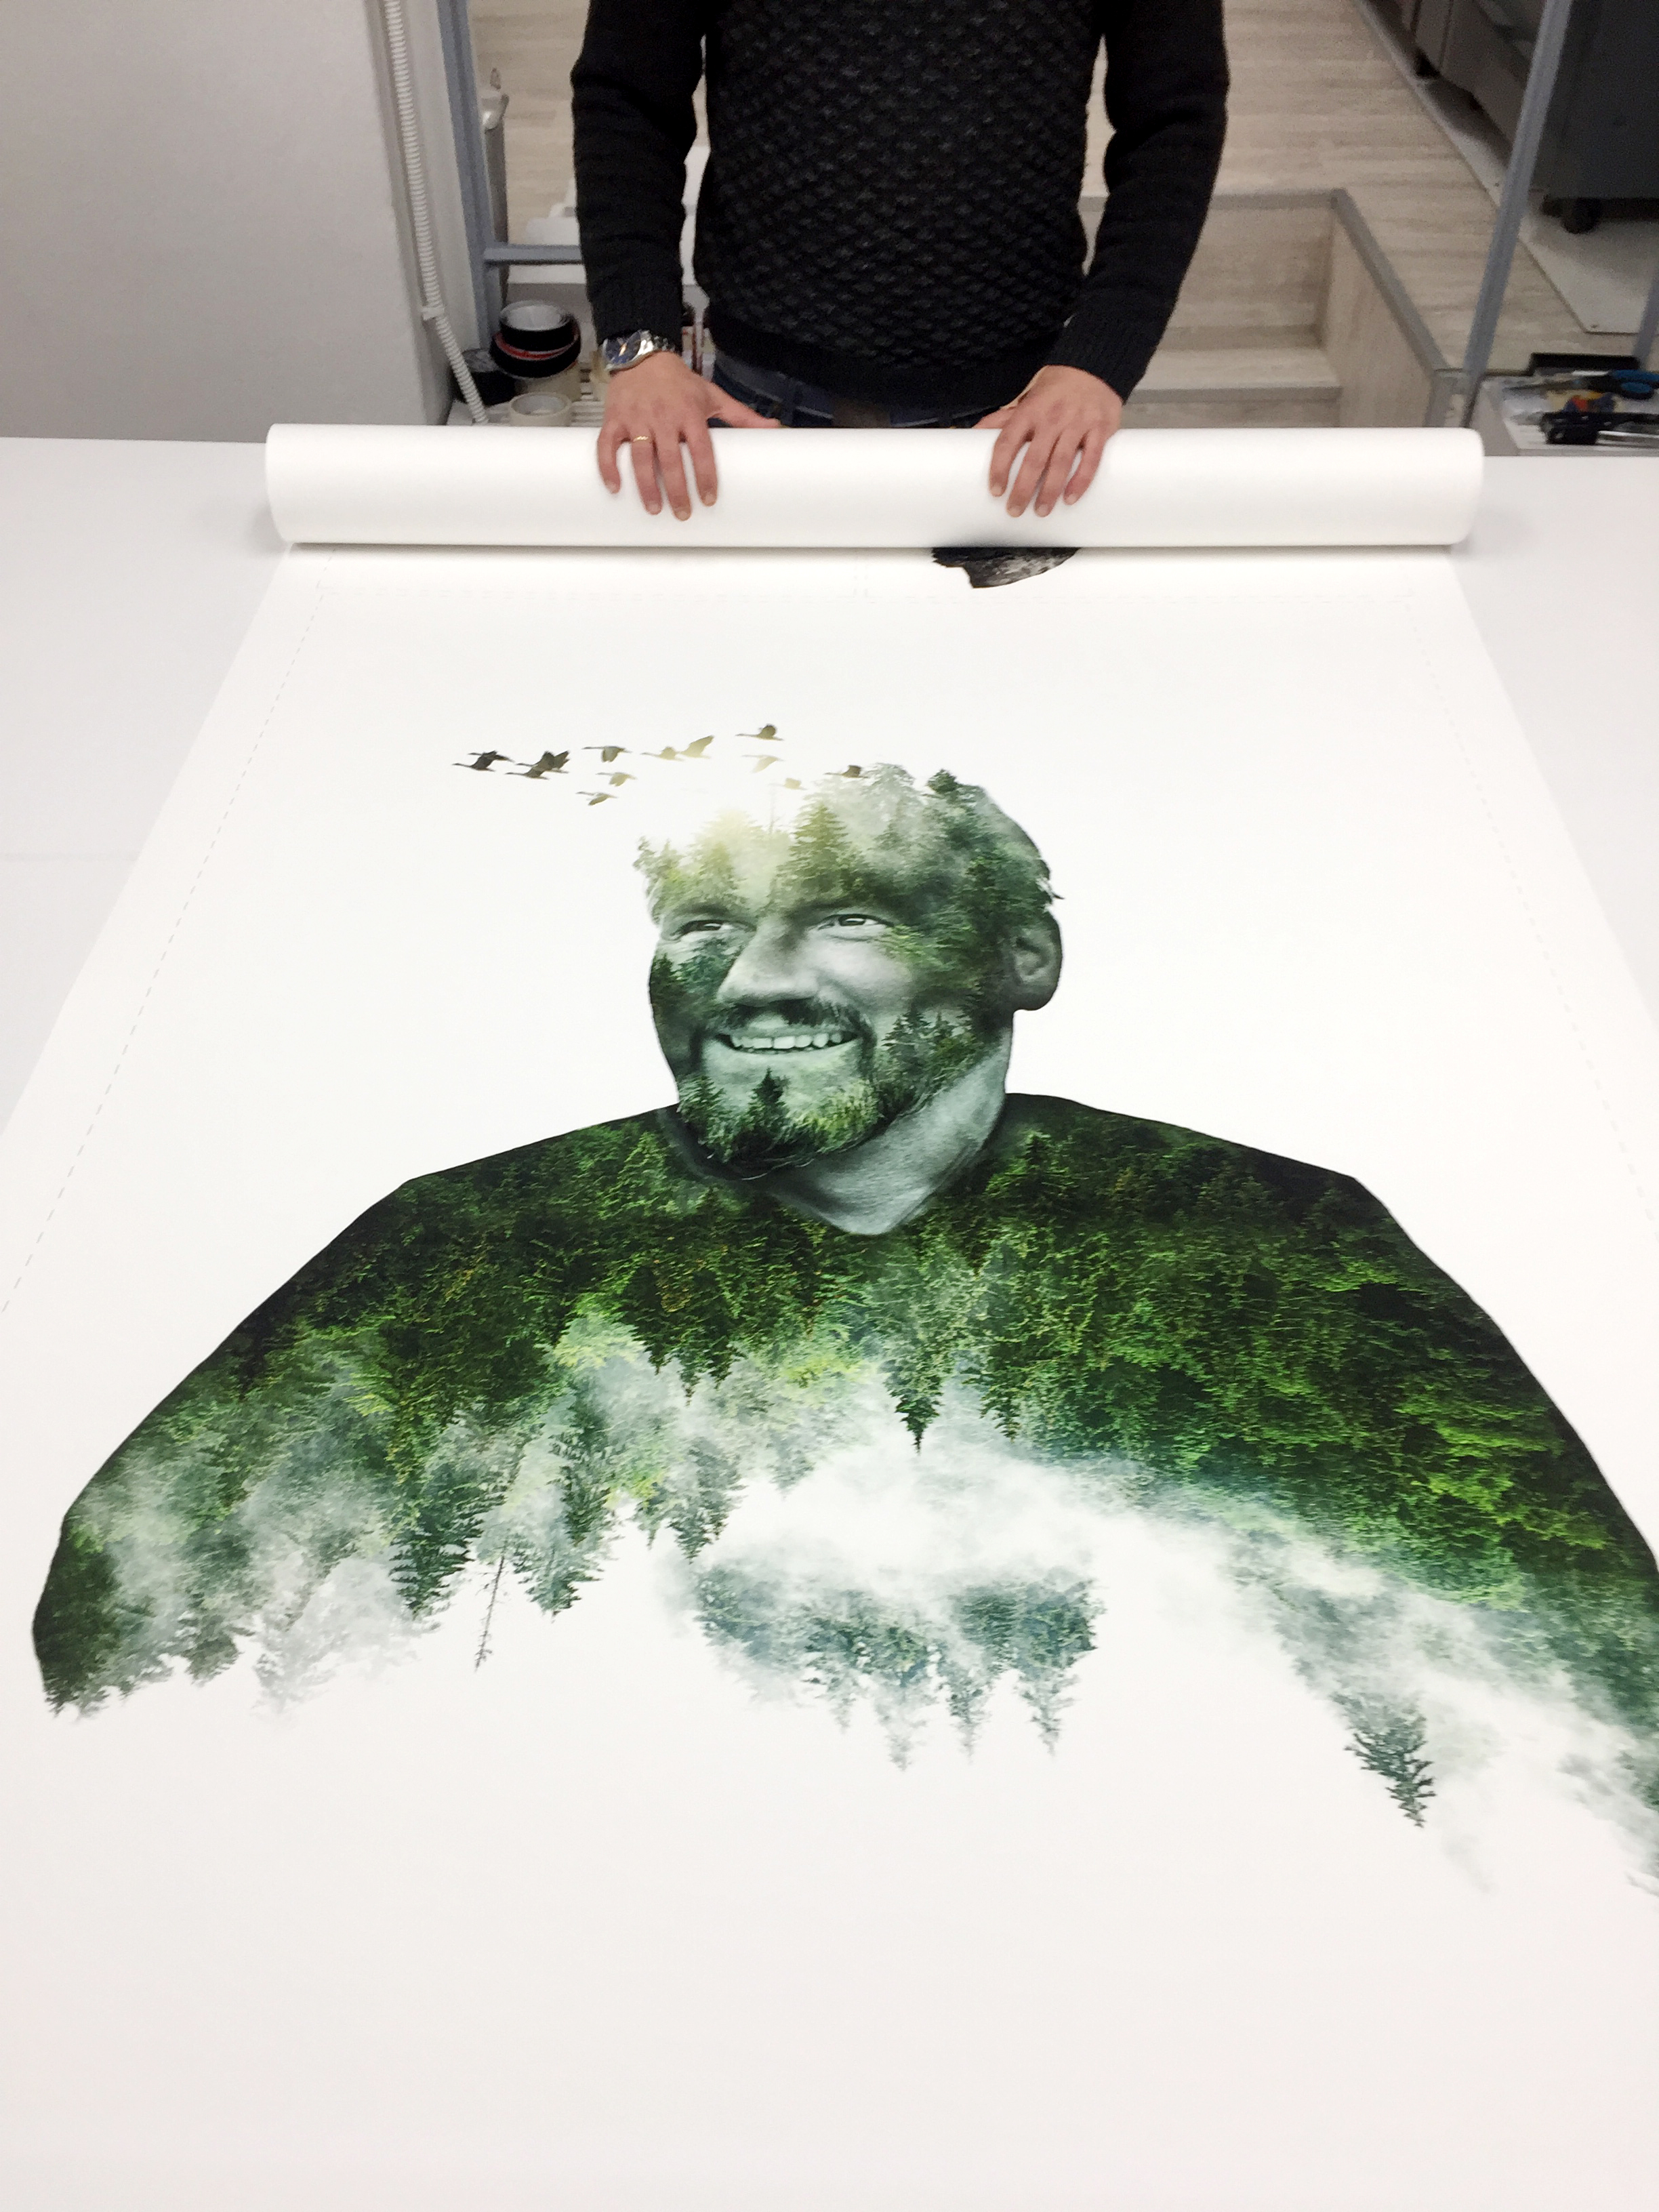
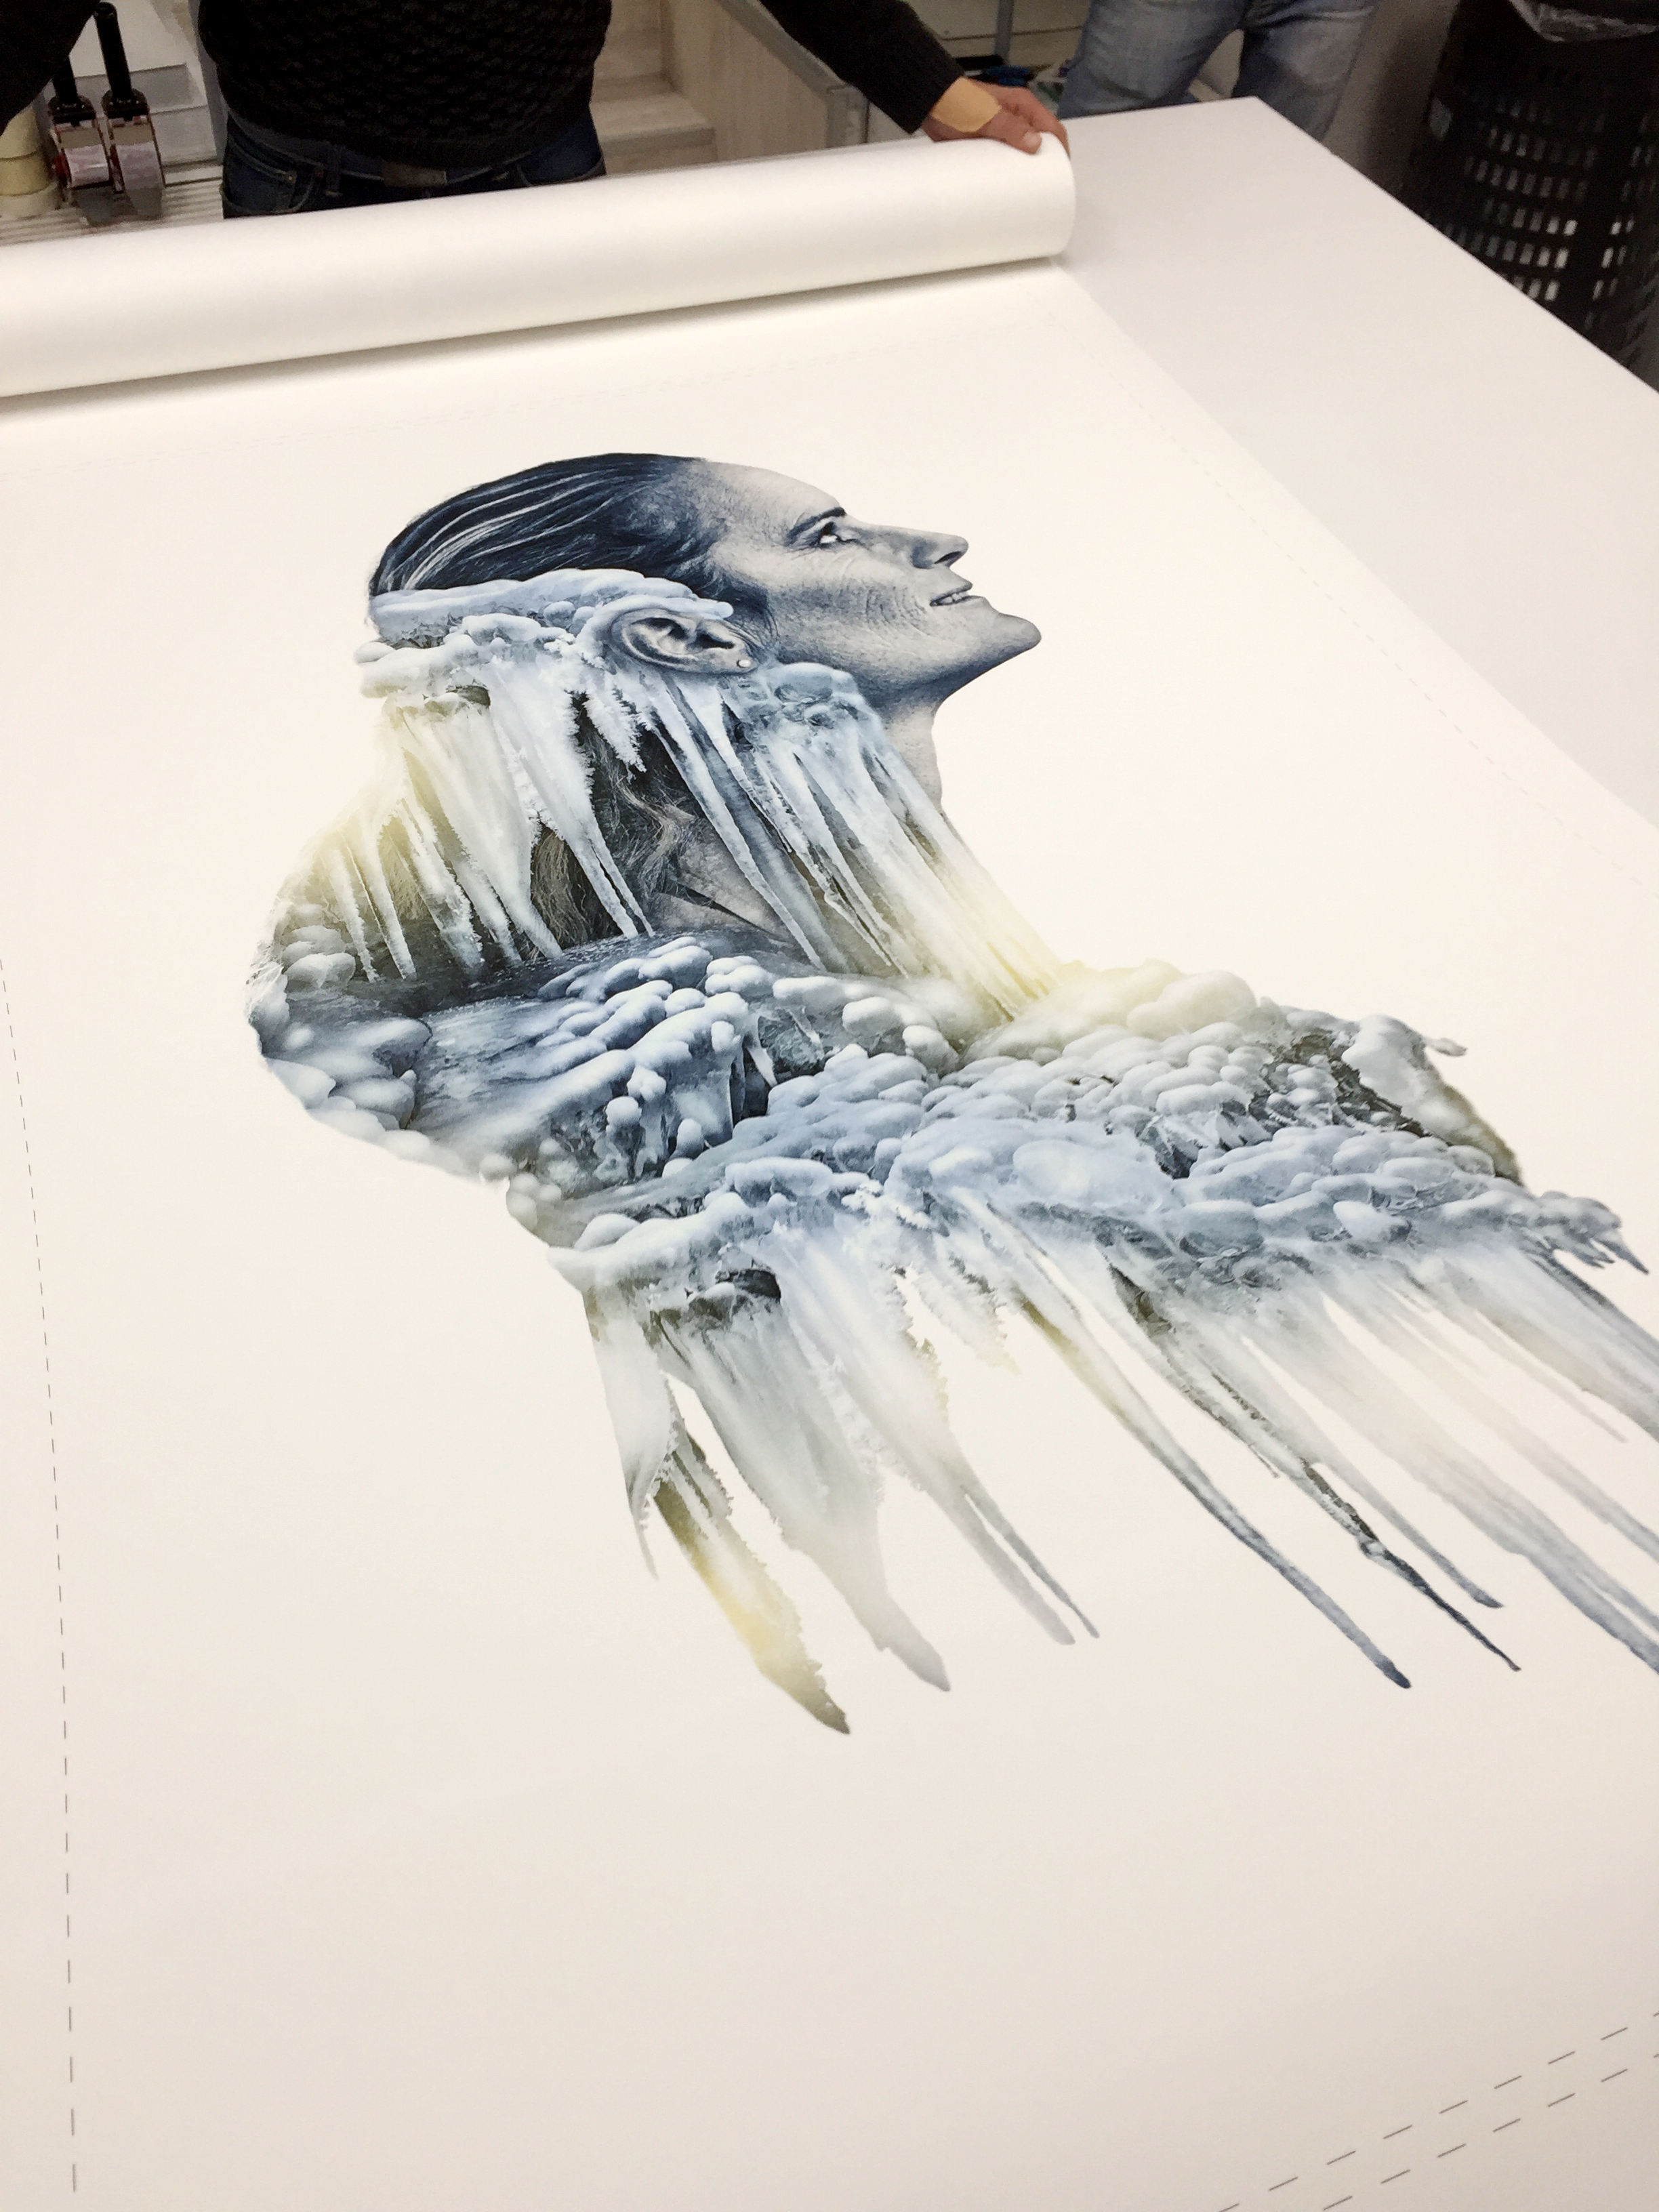
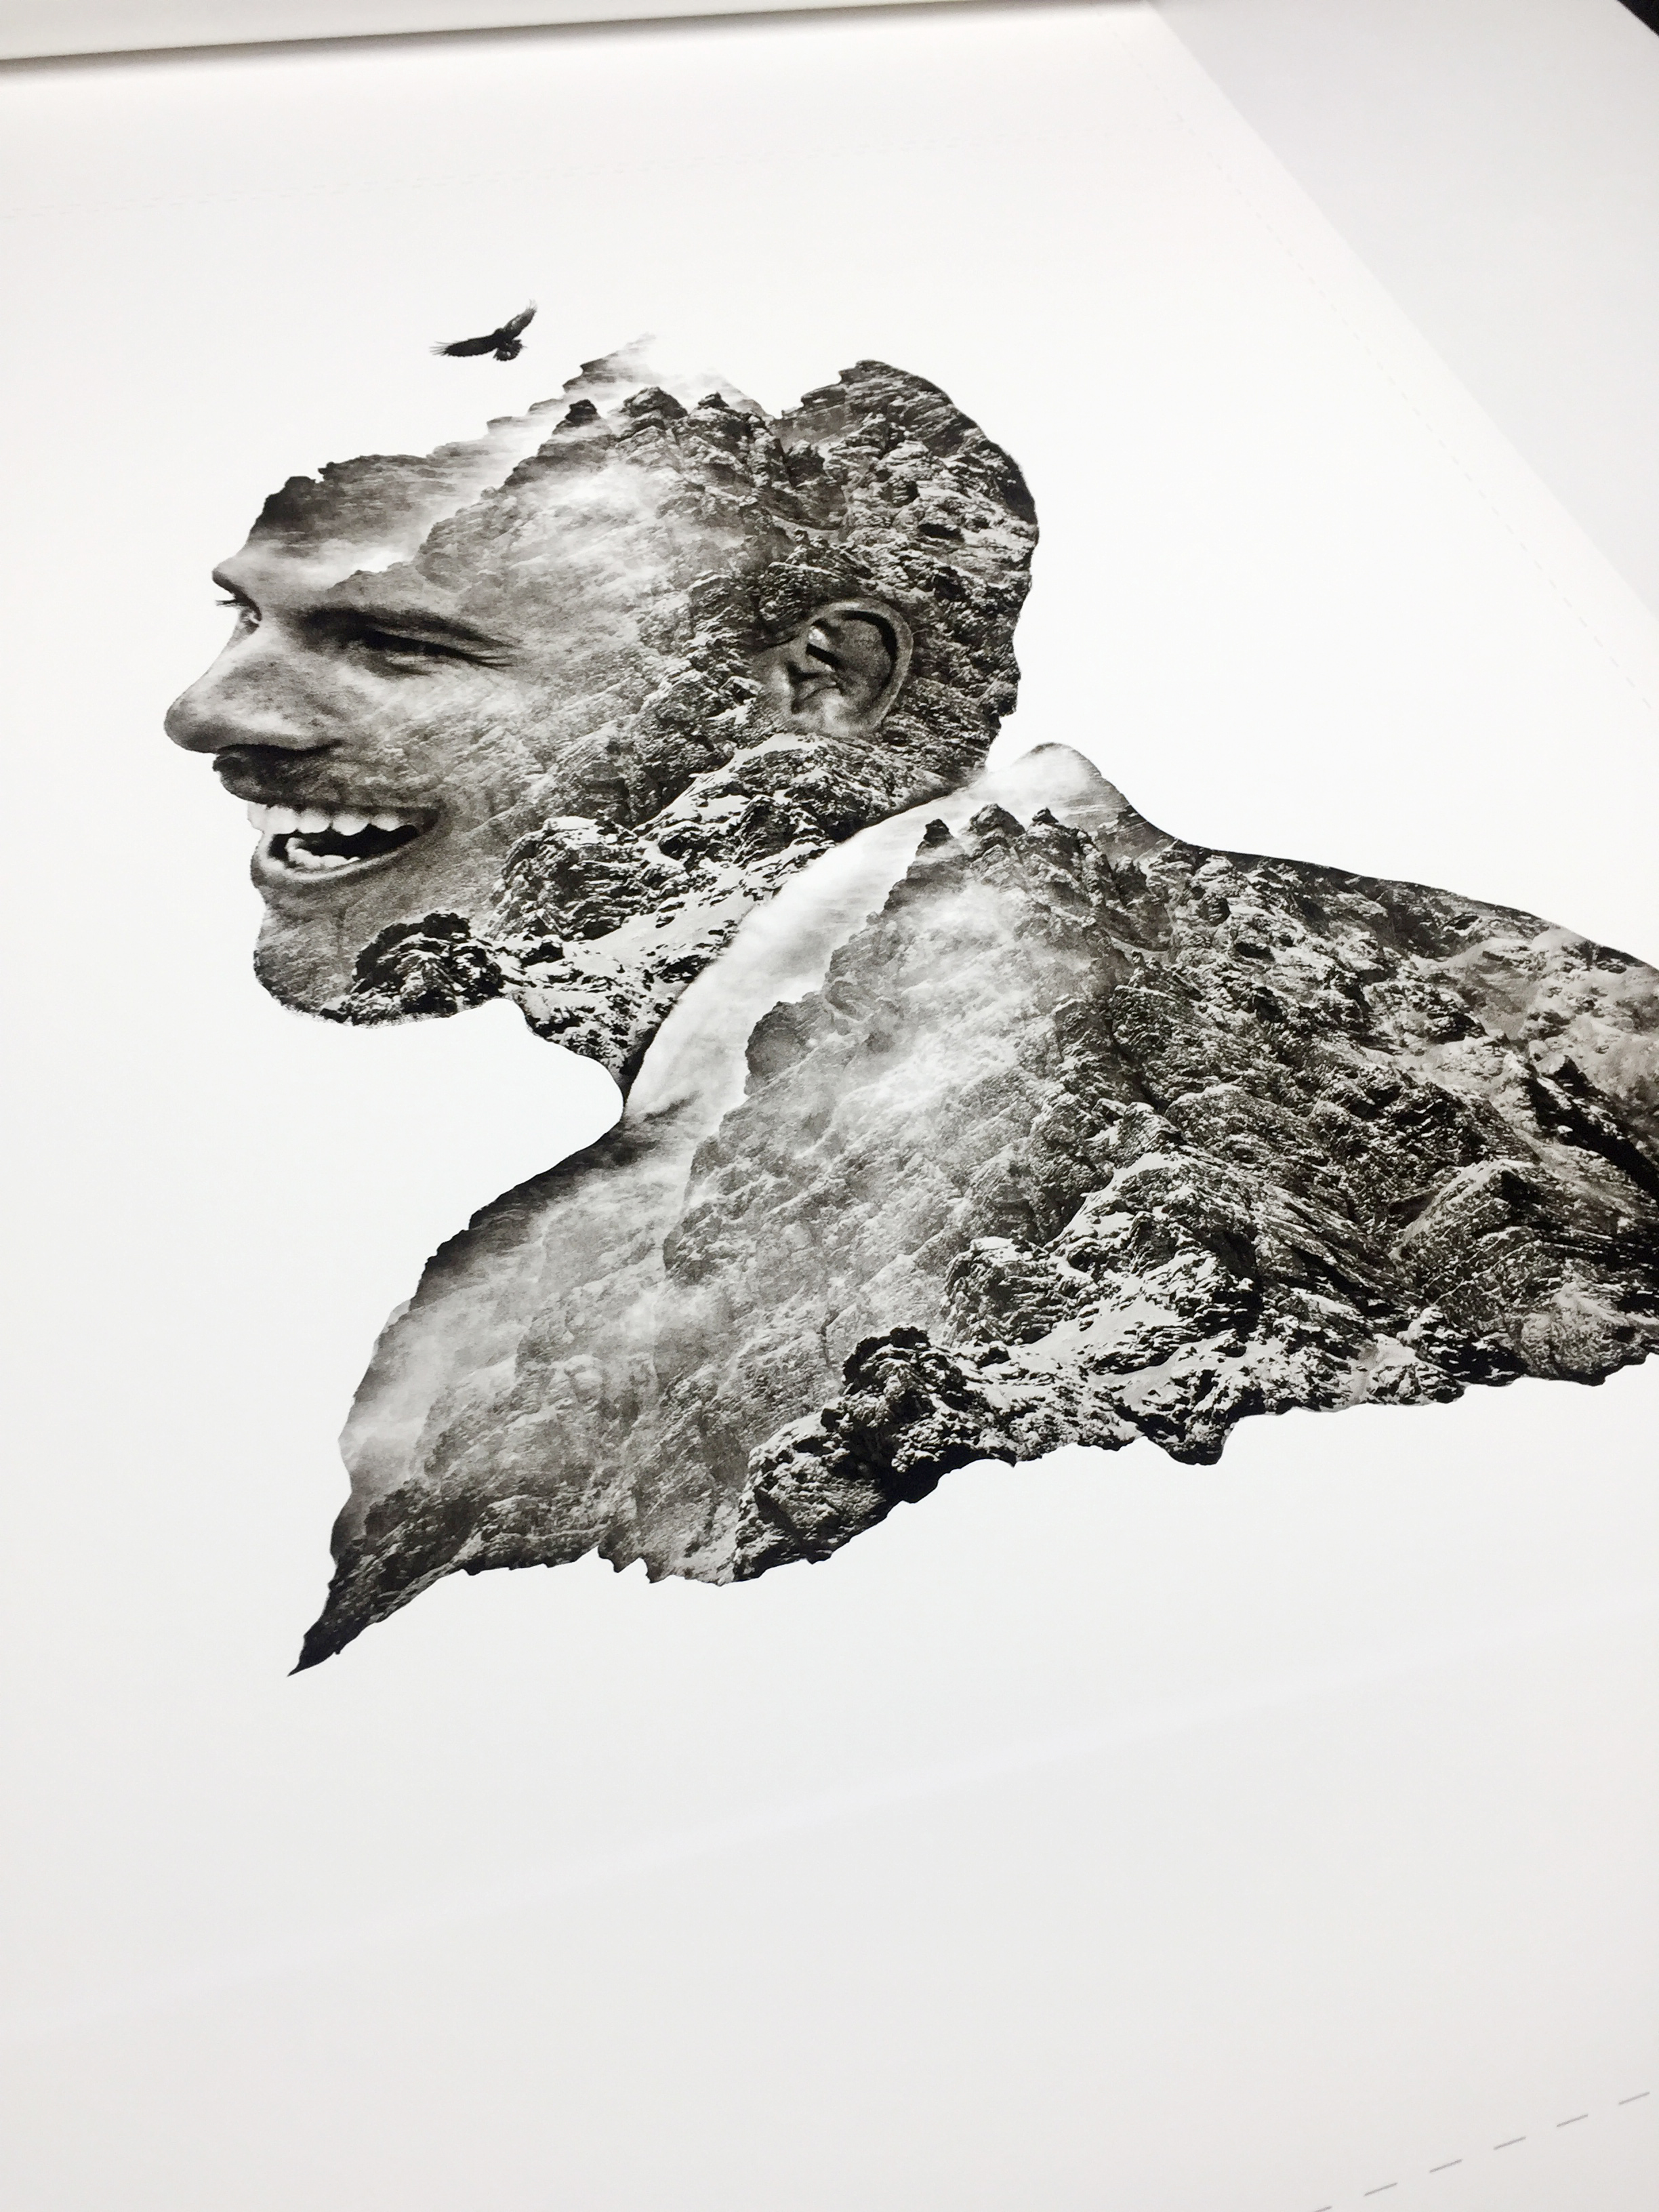
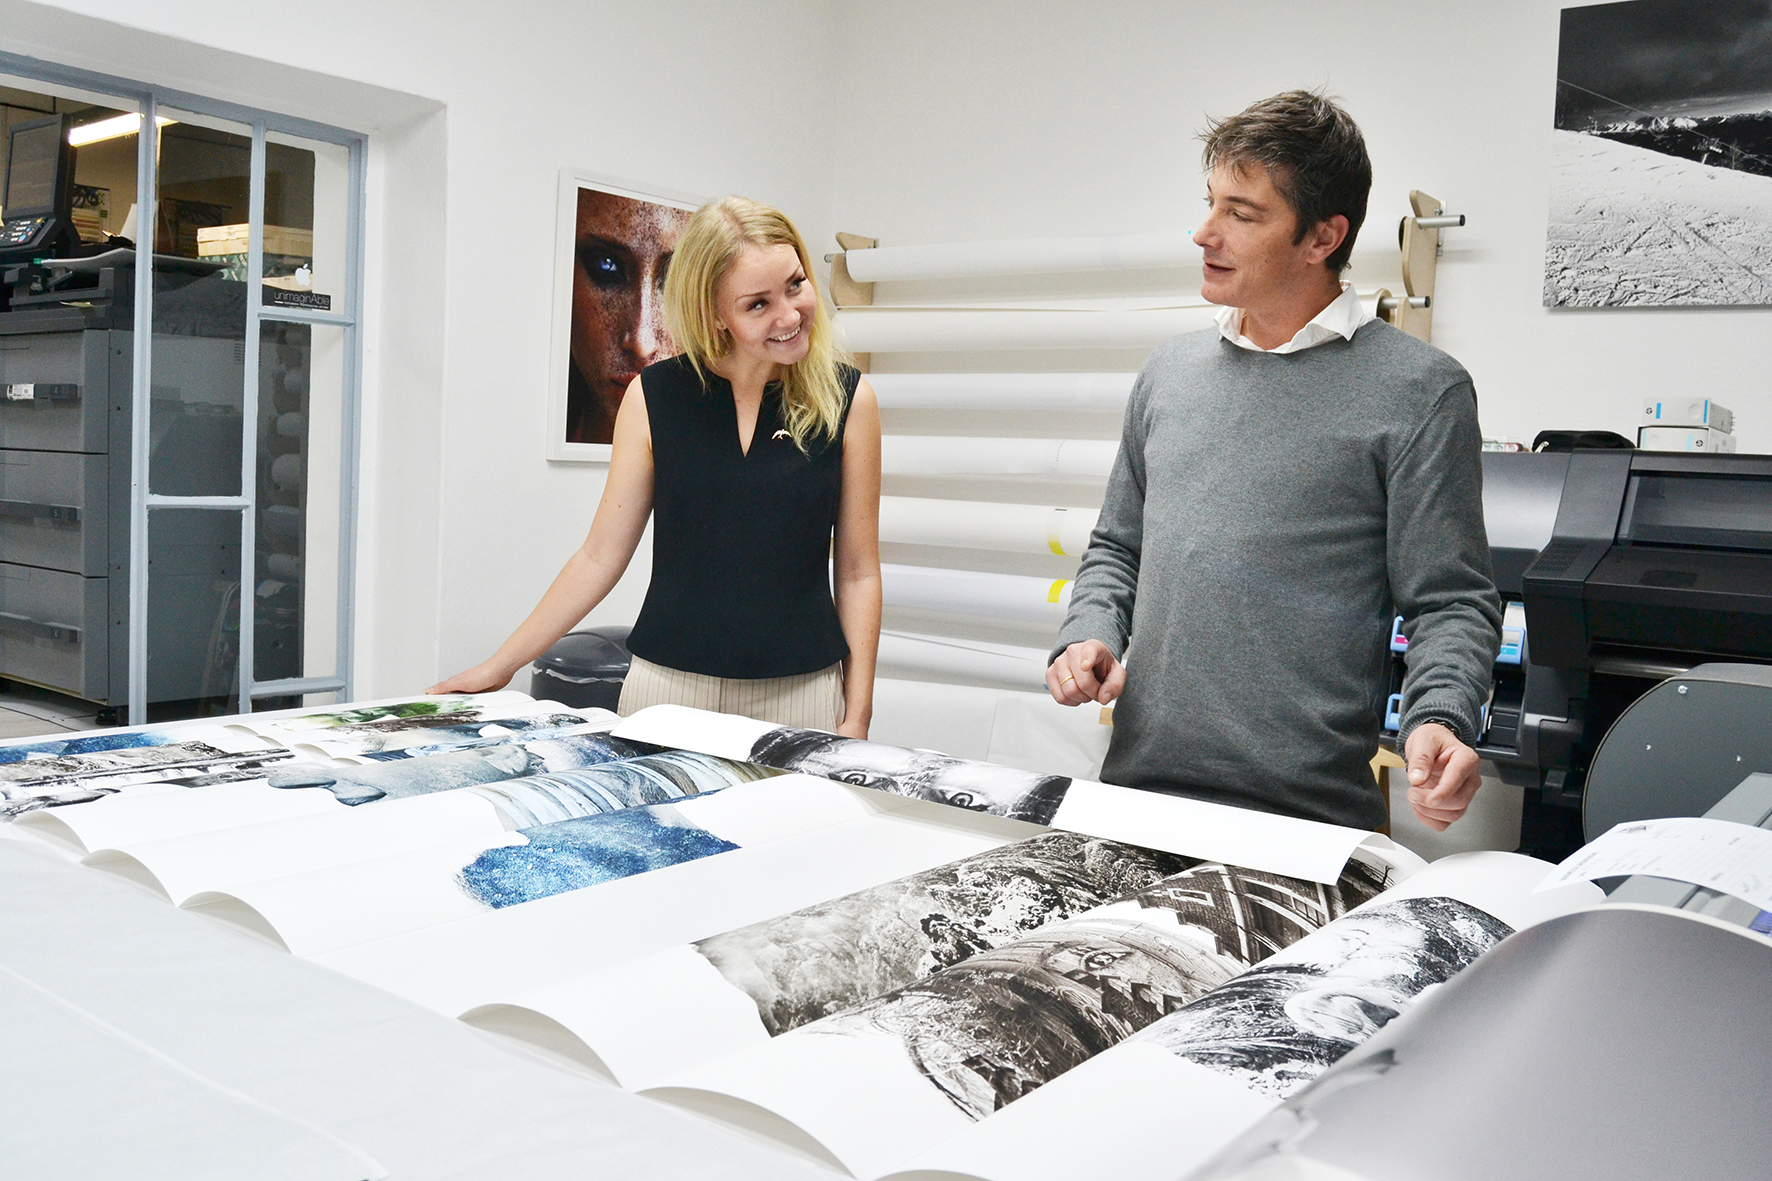
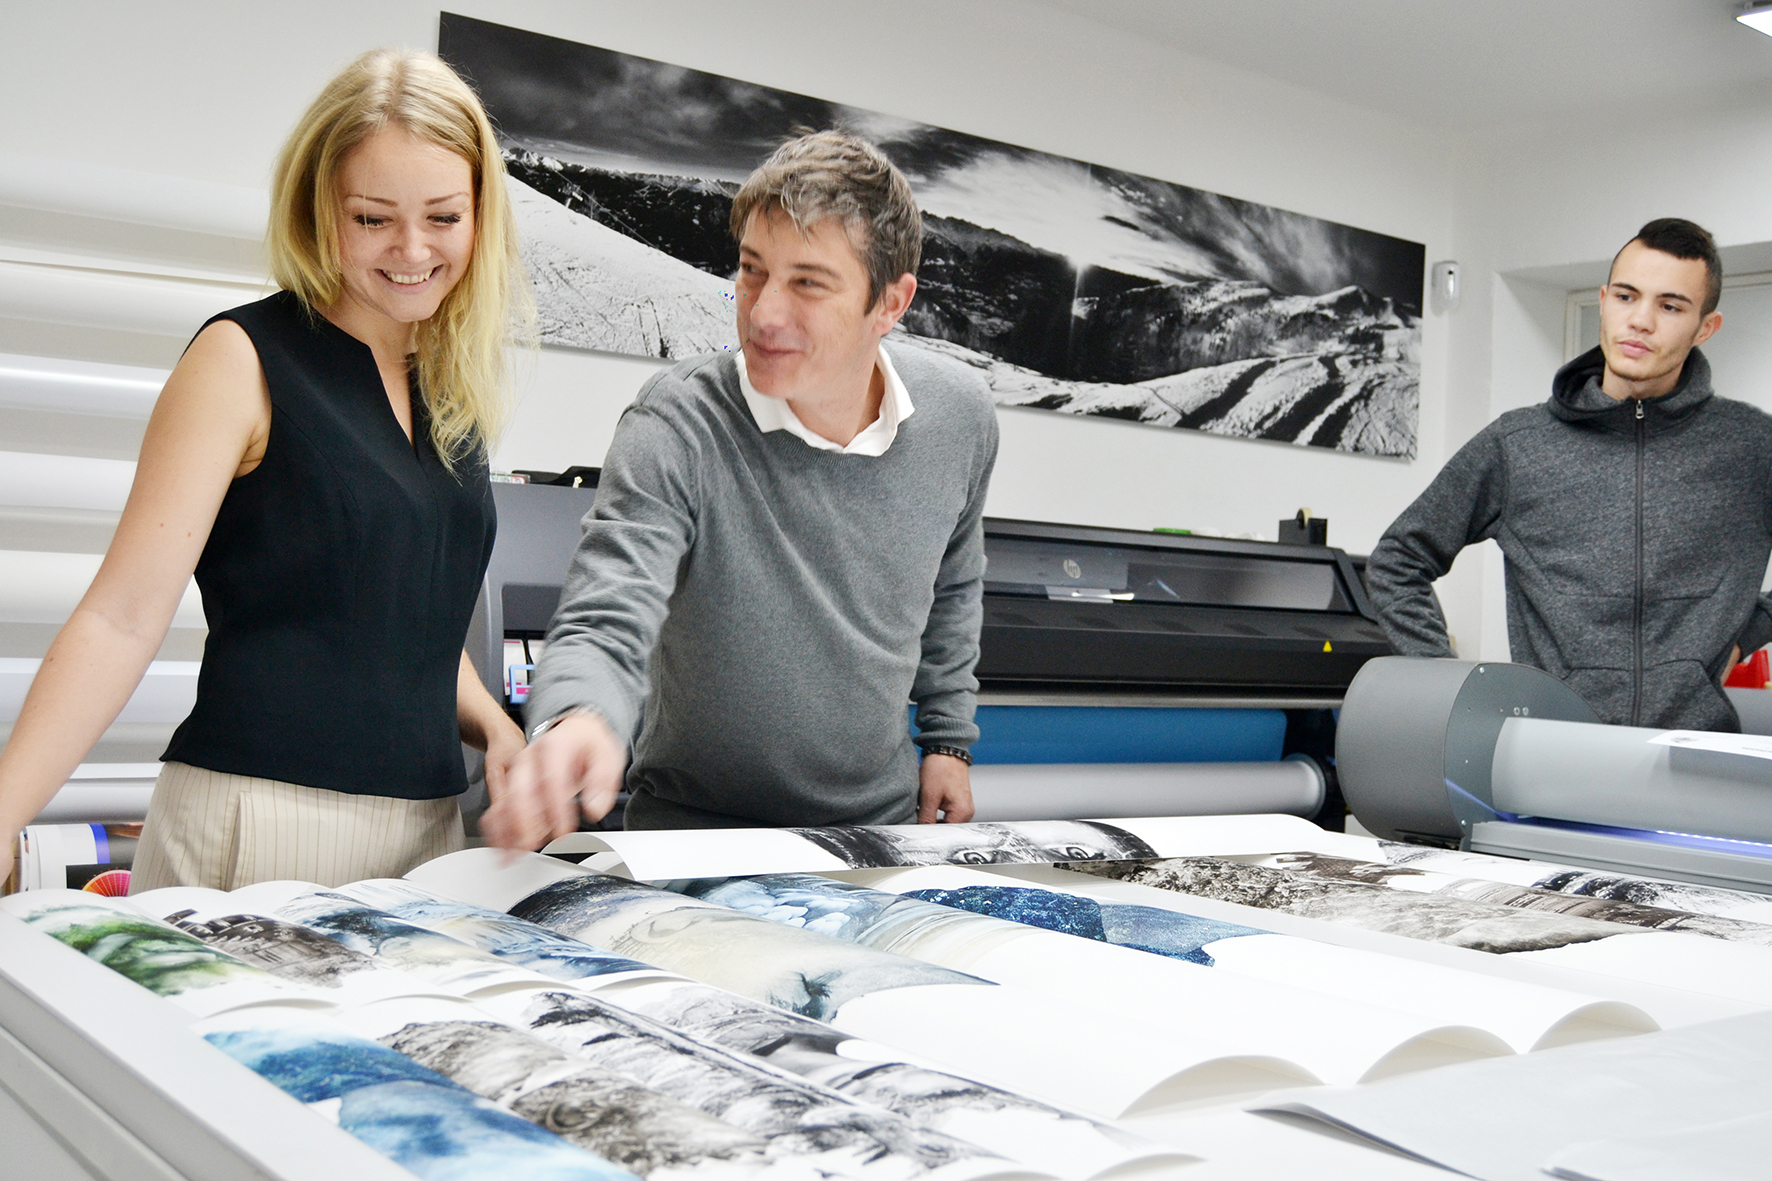
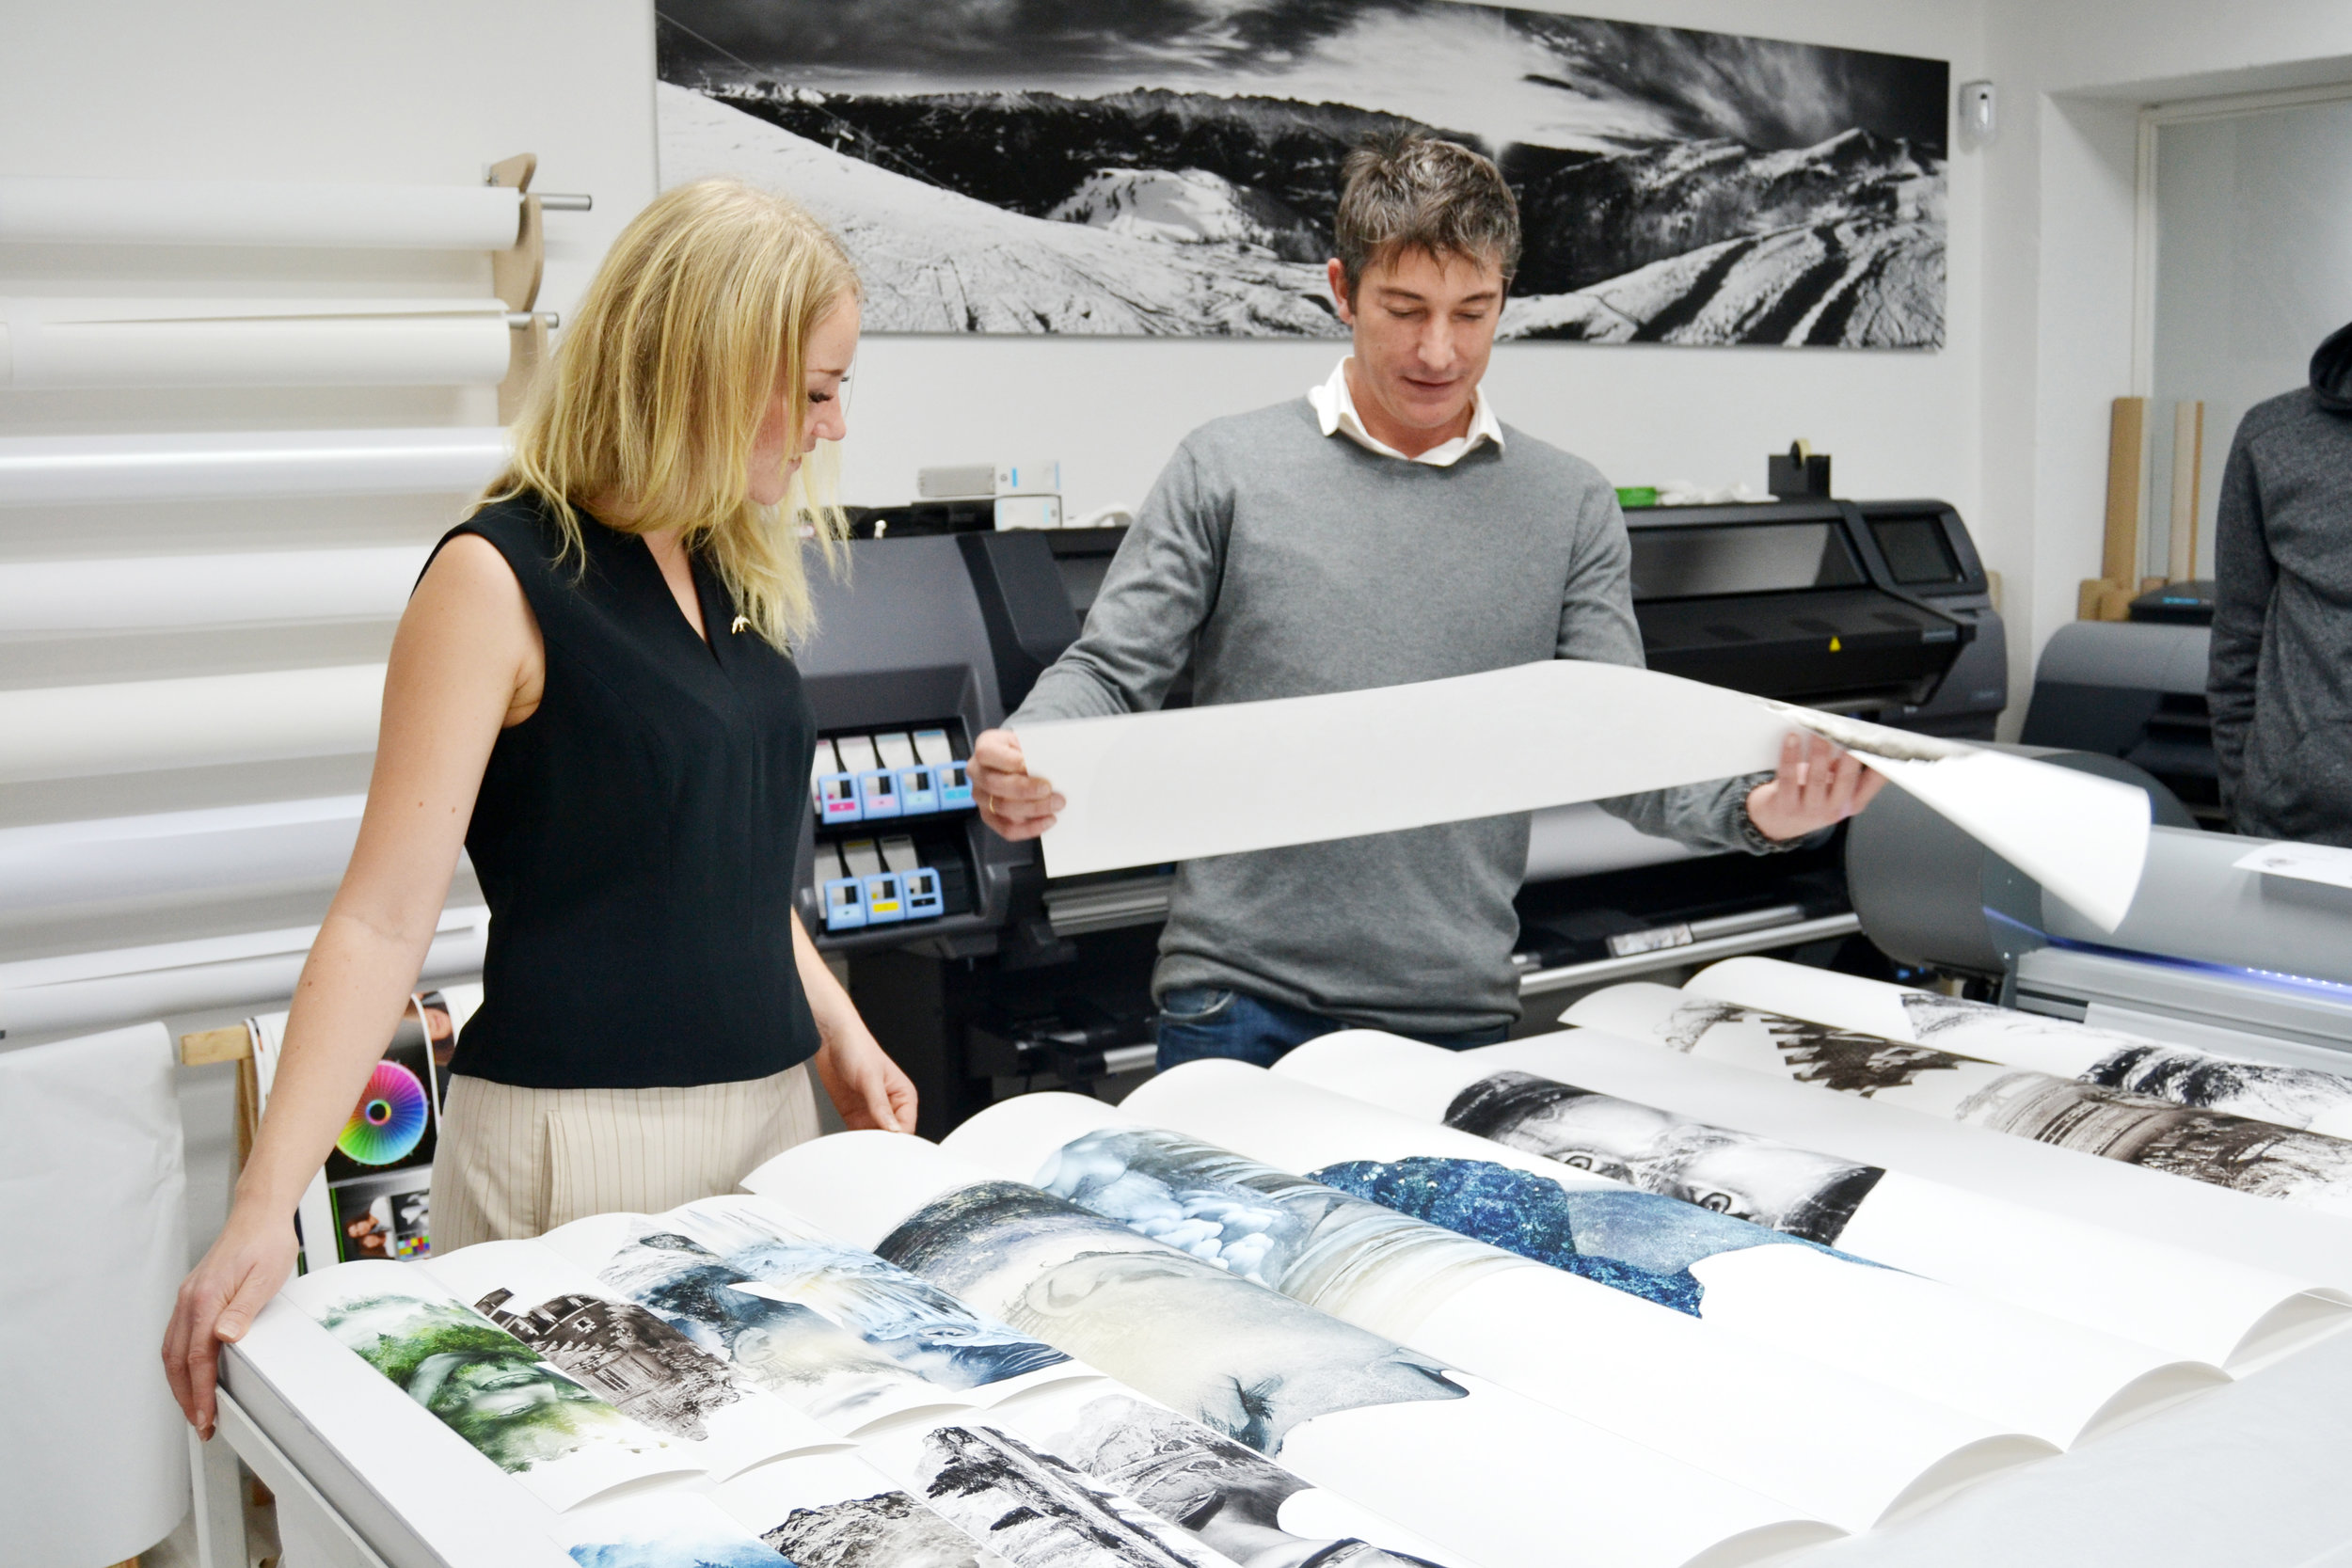
The final pictures for the "Talents" exhibition are printed!
Amazing prints in combination with PermaJet paper printed by Unimaginable!


Preparation for Exhibition in Milano
The preparation and testing of PermaJet paper is ongoing!
Preparation for Workshop in Norway!
Malou Reedorf is doing a test shoot to prepare for the grand workshop in Stavanger, Norway.
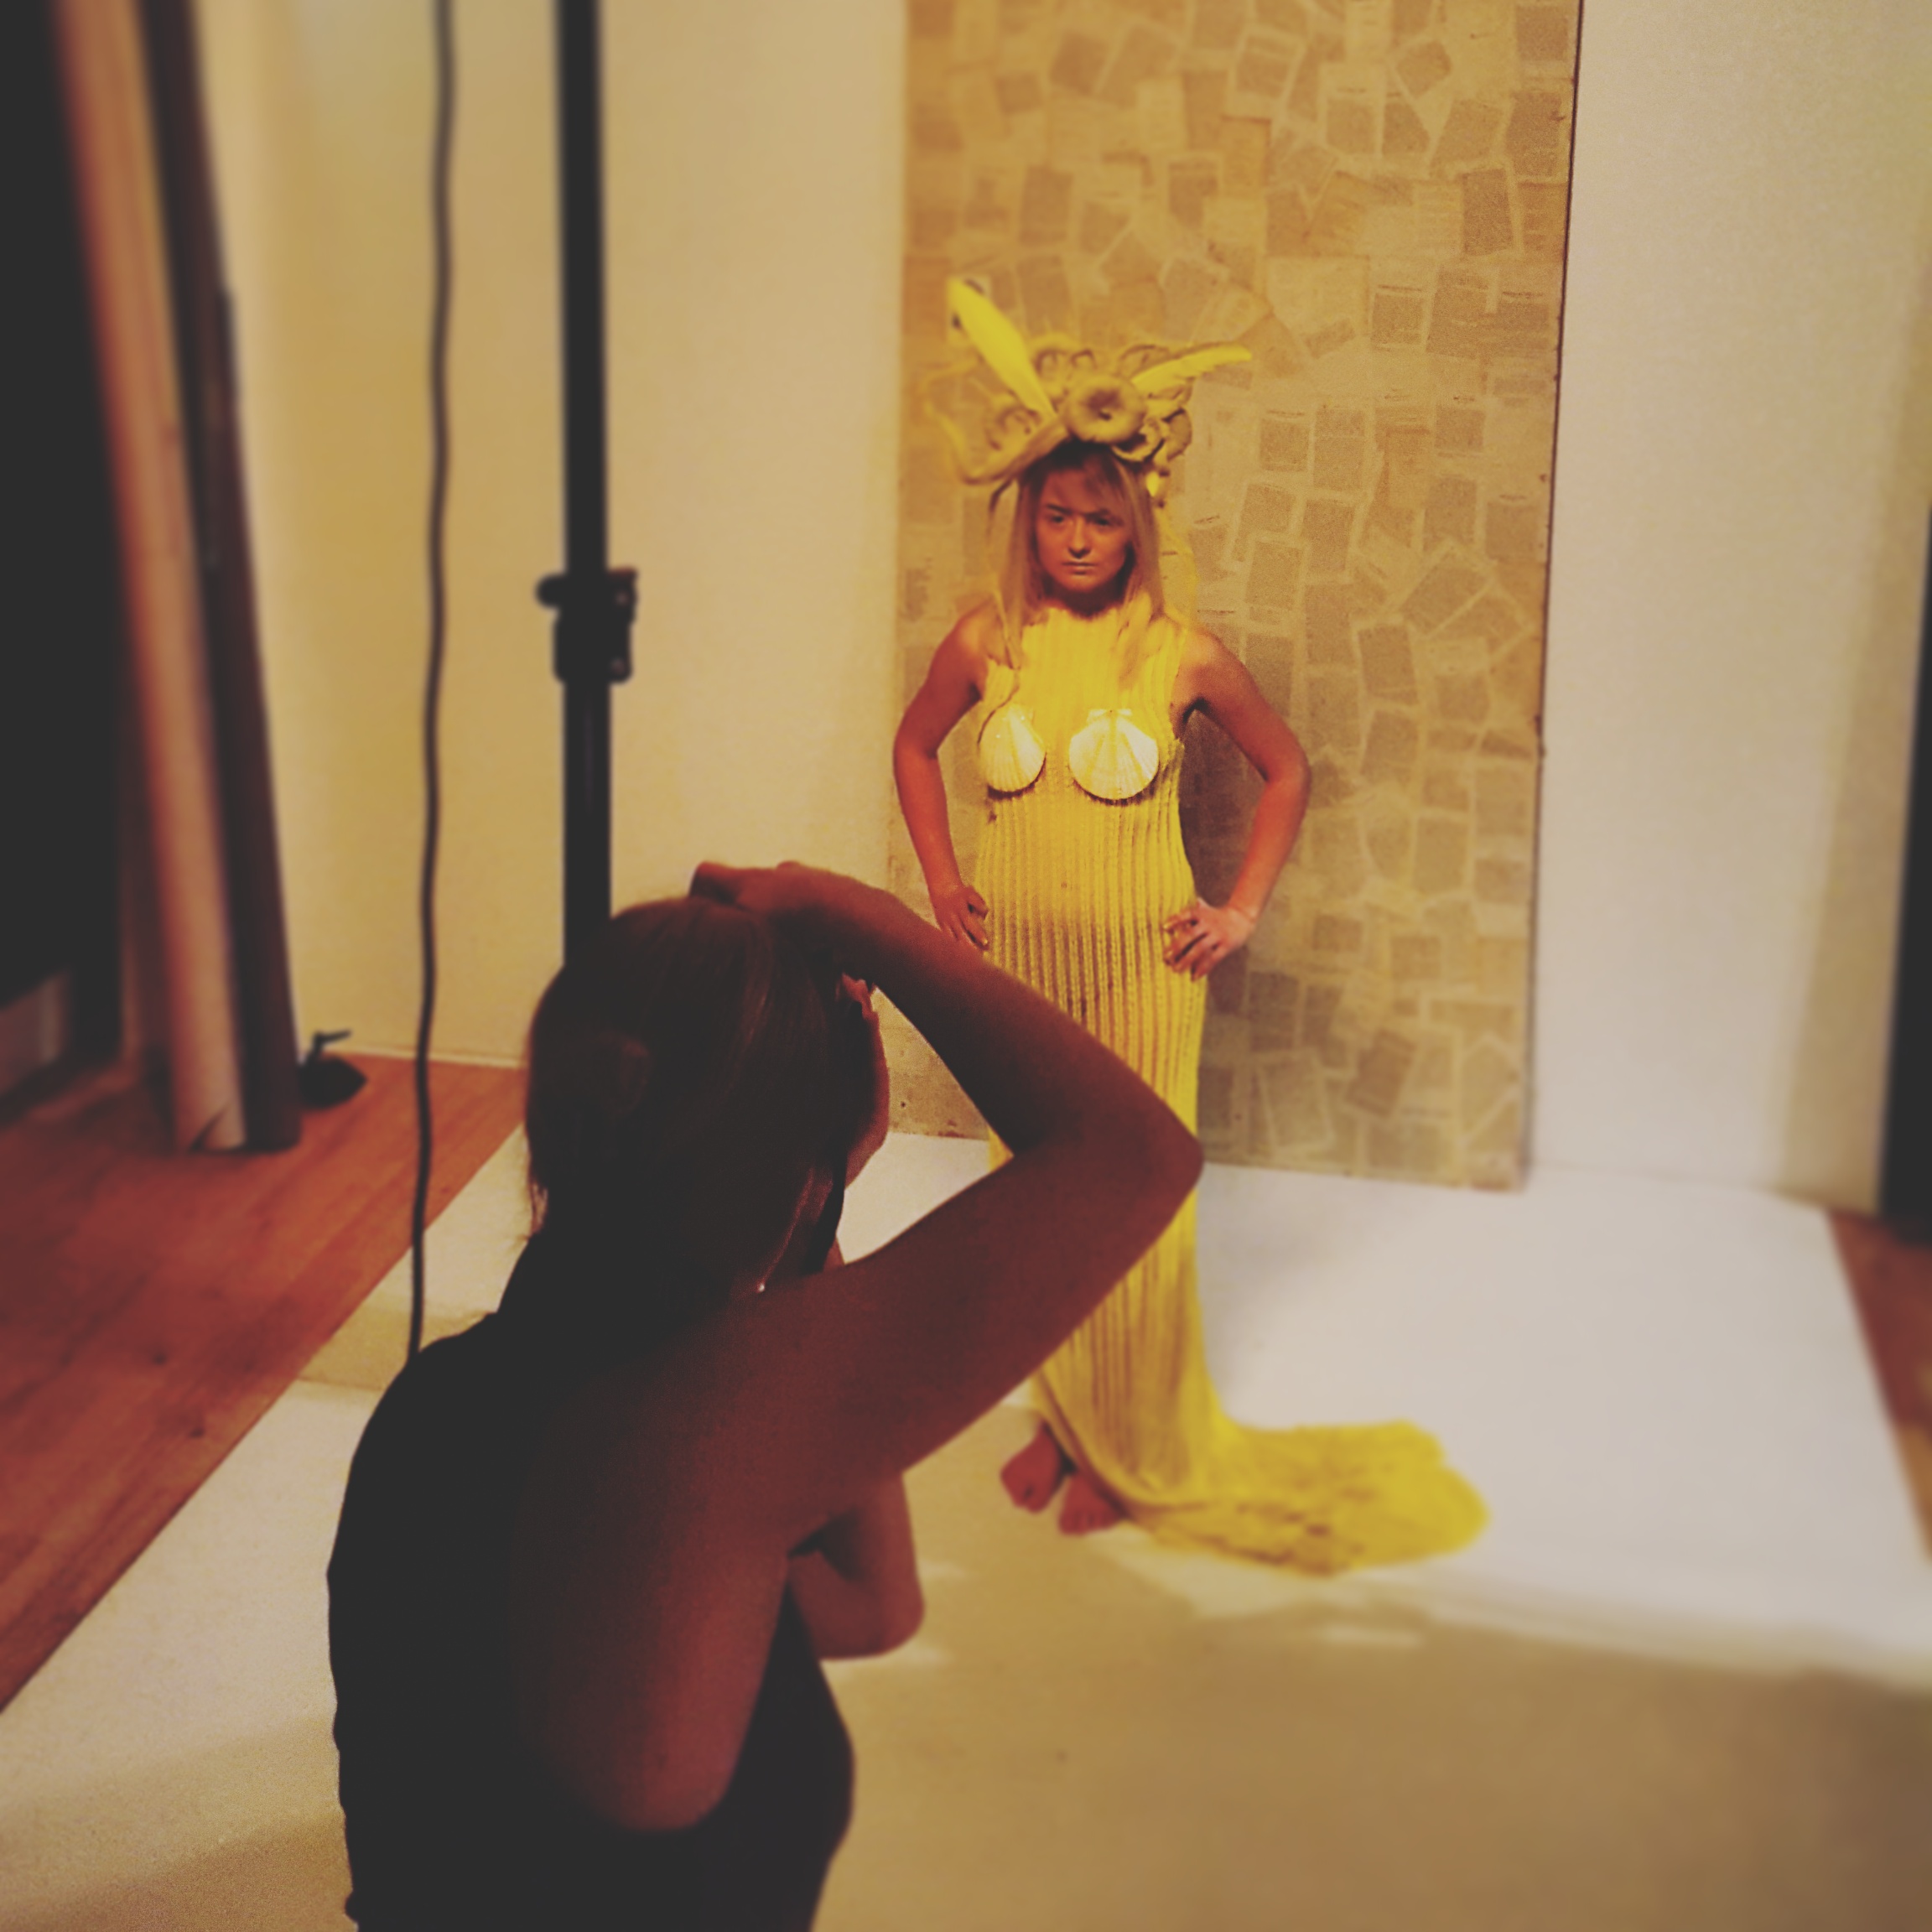
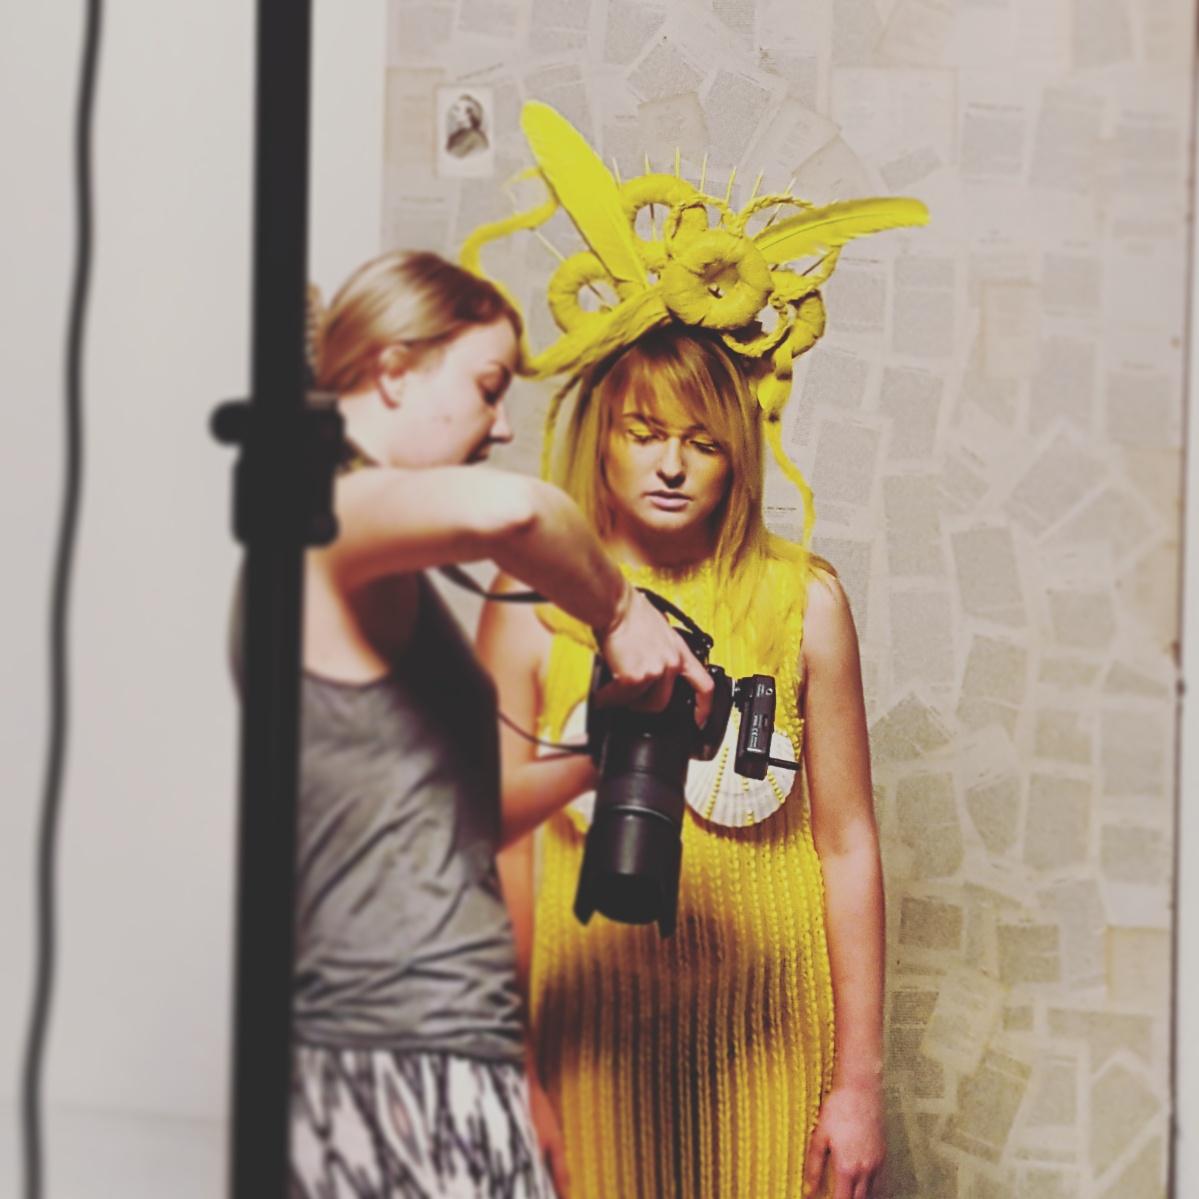

Lady Gaga Crazy
As you all know, I LOVE wigs. They are so easy to put on and style - and it takes zero time! I just found this, and had a shoot with it a few weeks ago. It was absolutely great!

Follow the link to see where to buy it!
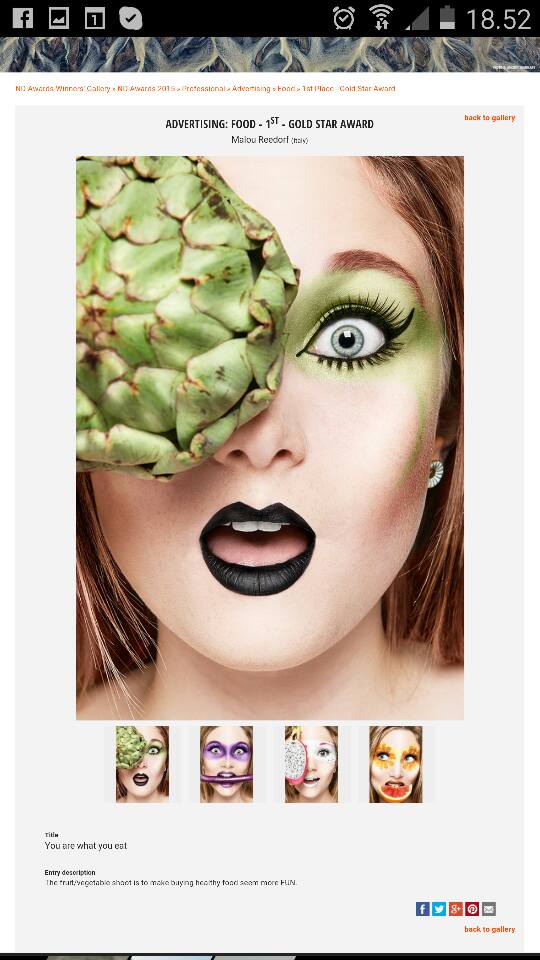
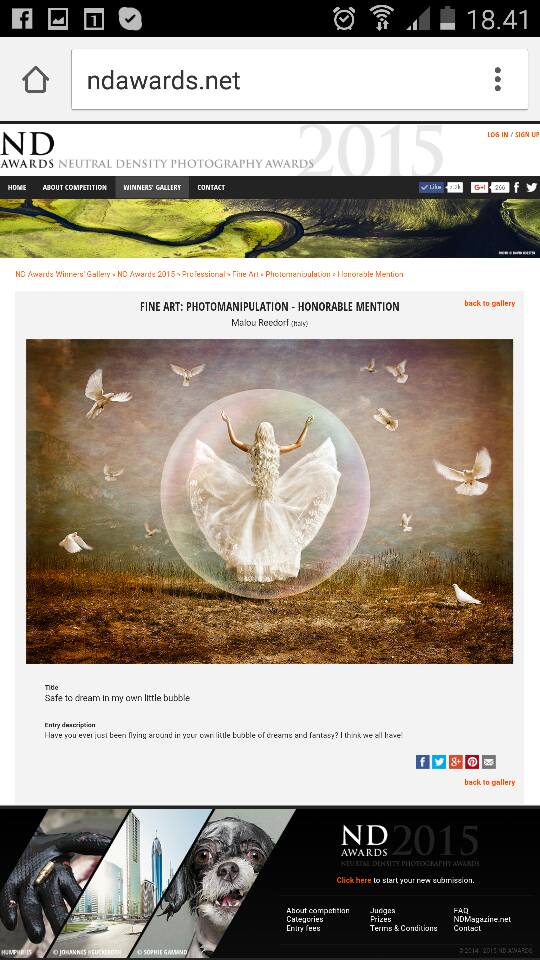
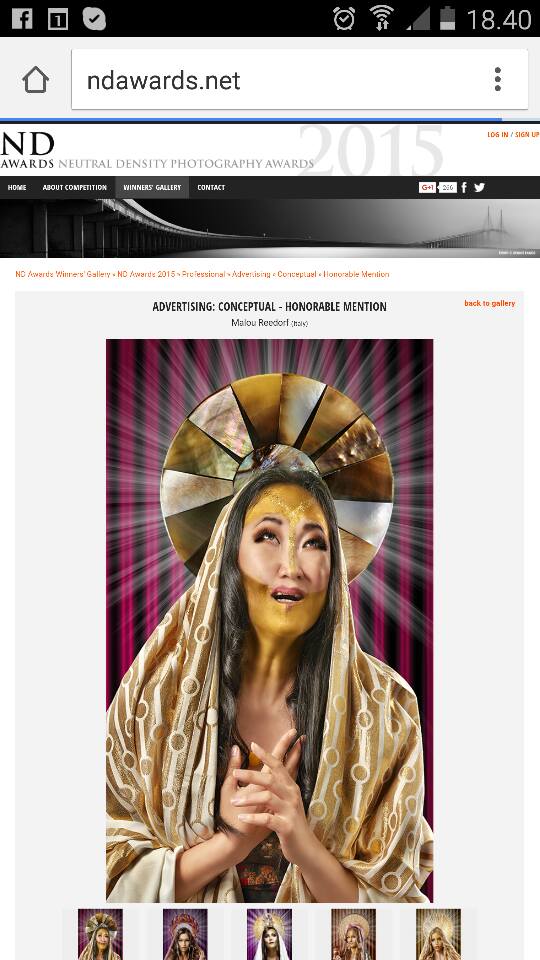
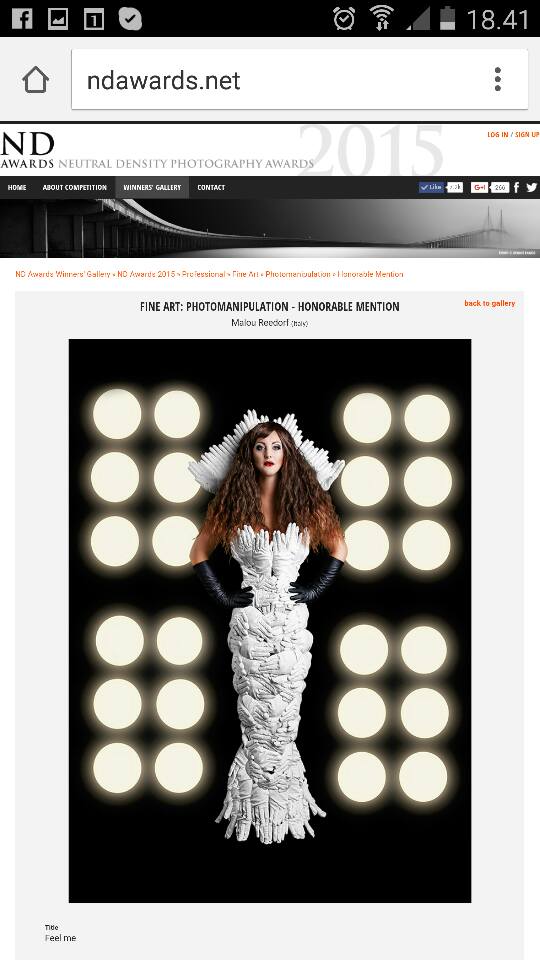
Award!
First place in food advertising and honorable mention in both fine art and advertising!
Participating on The Danish National Team for Photography
Yet again - This year I am also chosen to be on the Danish National Team for Photography!
Follow the link and see the pictures!
http://dff-photo.dk/det-danske-landshold
The official press release:
We all know that EVERYONE is a winner with WPC, just like being part of a national team at the Olympics. Having an image submitted at this level is without doubt a pinnacle of anyone’s career… medalist or not. By being recognized as a team member for WPC, the respect for the photographer is immediately on a higher plateau.
We would like to recognize and respect the 400 photographers from 28 countries and 4 continents which boldly had the opportunity to showcase their amazing images and worked towards enhancing their associations respect and brand around the globe.
Anyway, WPC is a competition and winners are wanted!
We are happy to announce now the national teams which have at least one finalist image: Australia, Austria, Canada, China, Czech Republic, Finland, France, Ireland, Italy, Mexico, Norway, Philippines, Poland, Portugal, Russia, Slovakia, South Korea, Spain, USA.
The “top ten” finalists in each category will be announced at Imaging USA, on January 2016. The gold, silver and bronze medalists will be announced at Santa Maria da Feira, Portugal (aside Expofoto 2016) and the World Photographic Cup recognizing the top TEAM entry (won by the USA team at both first and second edition) will be shipped to Portugal, for the WPC Awards Ceremony 2016 which will be held on March 14th, 2016!
Continue to follow us and visit worldphotographiccup.org to see all the entered images!
Copyright
Copyright – What is it and why?
The copyright laws cover different types of works, images generated by various techniques, music and lyrics. Copyright is an attempt to balance the rights and responsibilities of artist and user. Including photographers. When a photographer and copyright holder is protected under the copyright law is it because the artist has an interest in developing the art and offer the customers unique quality products. This interest fades logically, if one was not guaranteed payment for the resources that is put in the development of the products.
Everyone that takes a picture - even with the mobile phone – has the copyright for the image 70 years after the death of the artist. Photographers who make a "work" that is an image and work creatively with control of light and composition etc., has copyright 70 years after their death.
This means that only the photographer has the right to make the copies produced and take reasonable commercial payment. At the same time the model is protected of their own copyright
As with patent or trademark protection, protects artists - including photographers – they are protected against others copying and printing. This makes it possible to earn a living as a photographer, writer, musician etc.
Compared with another industry: If you as a guest in a recognized restaurant includes a random wine, one cannot be sure of a complete experience. The same goes for the experience of being at the photographer. If you make copies or prints at home or in a copy shop on the internet the photographer and copyright owner are not paid for the effort and time put into it. Furthermore, an artist like to have control through the whole process from photographing to the final product. This is to ensure that the costumer gets the quality that is deserved and to ensure that the photographers name is not attached to some low quality prints.
If you hire a high-end photographer, you should not live with pour quality prints.
The fabrication of the pictures is a comprehensive package that the photographer stands for, and a necessary part of the business concept to ensure survival of the business and that the costumer gets the best service and quality.
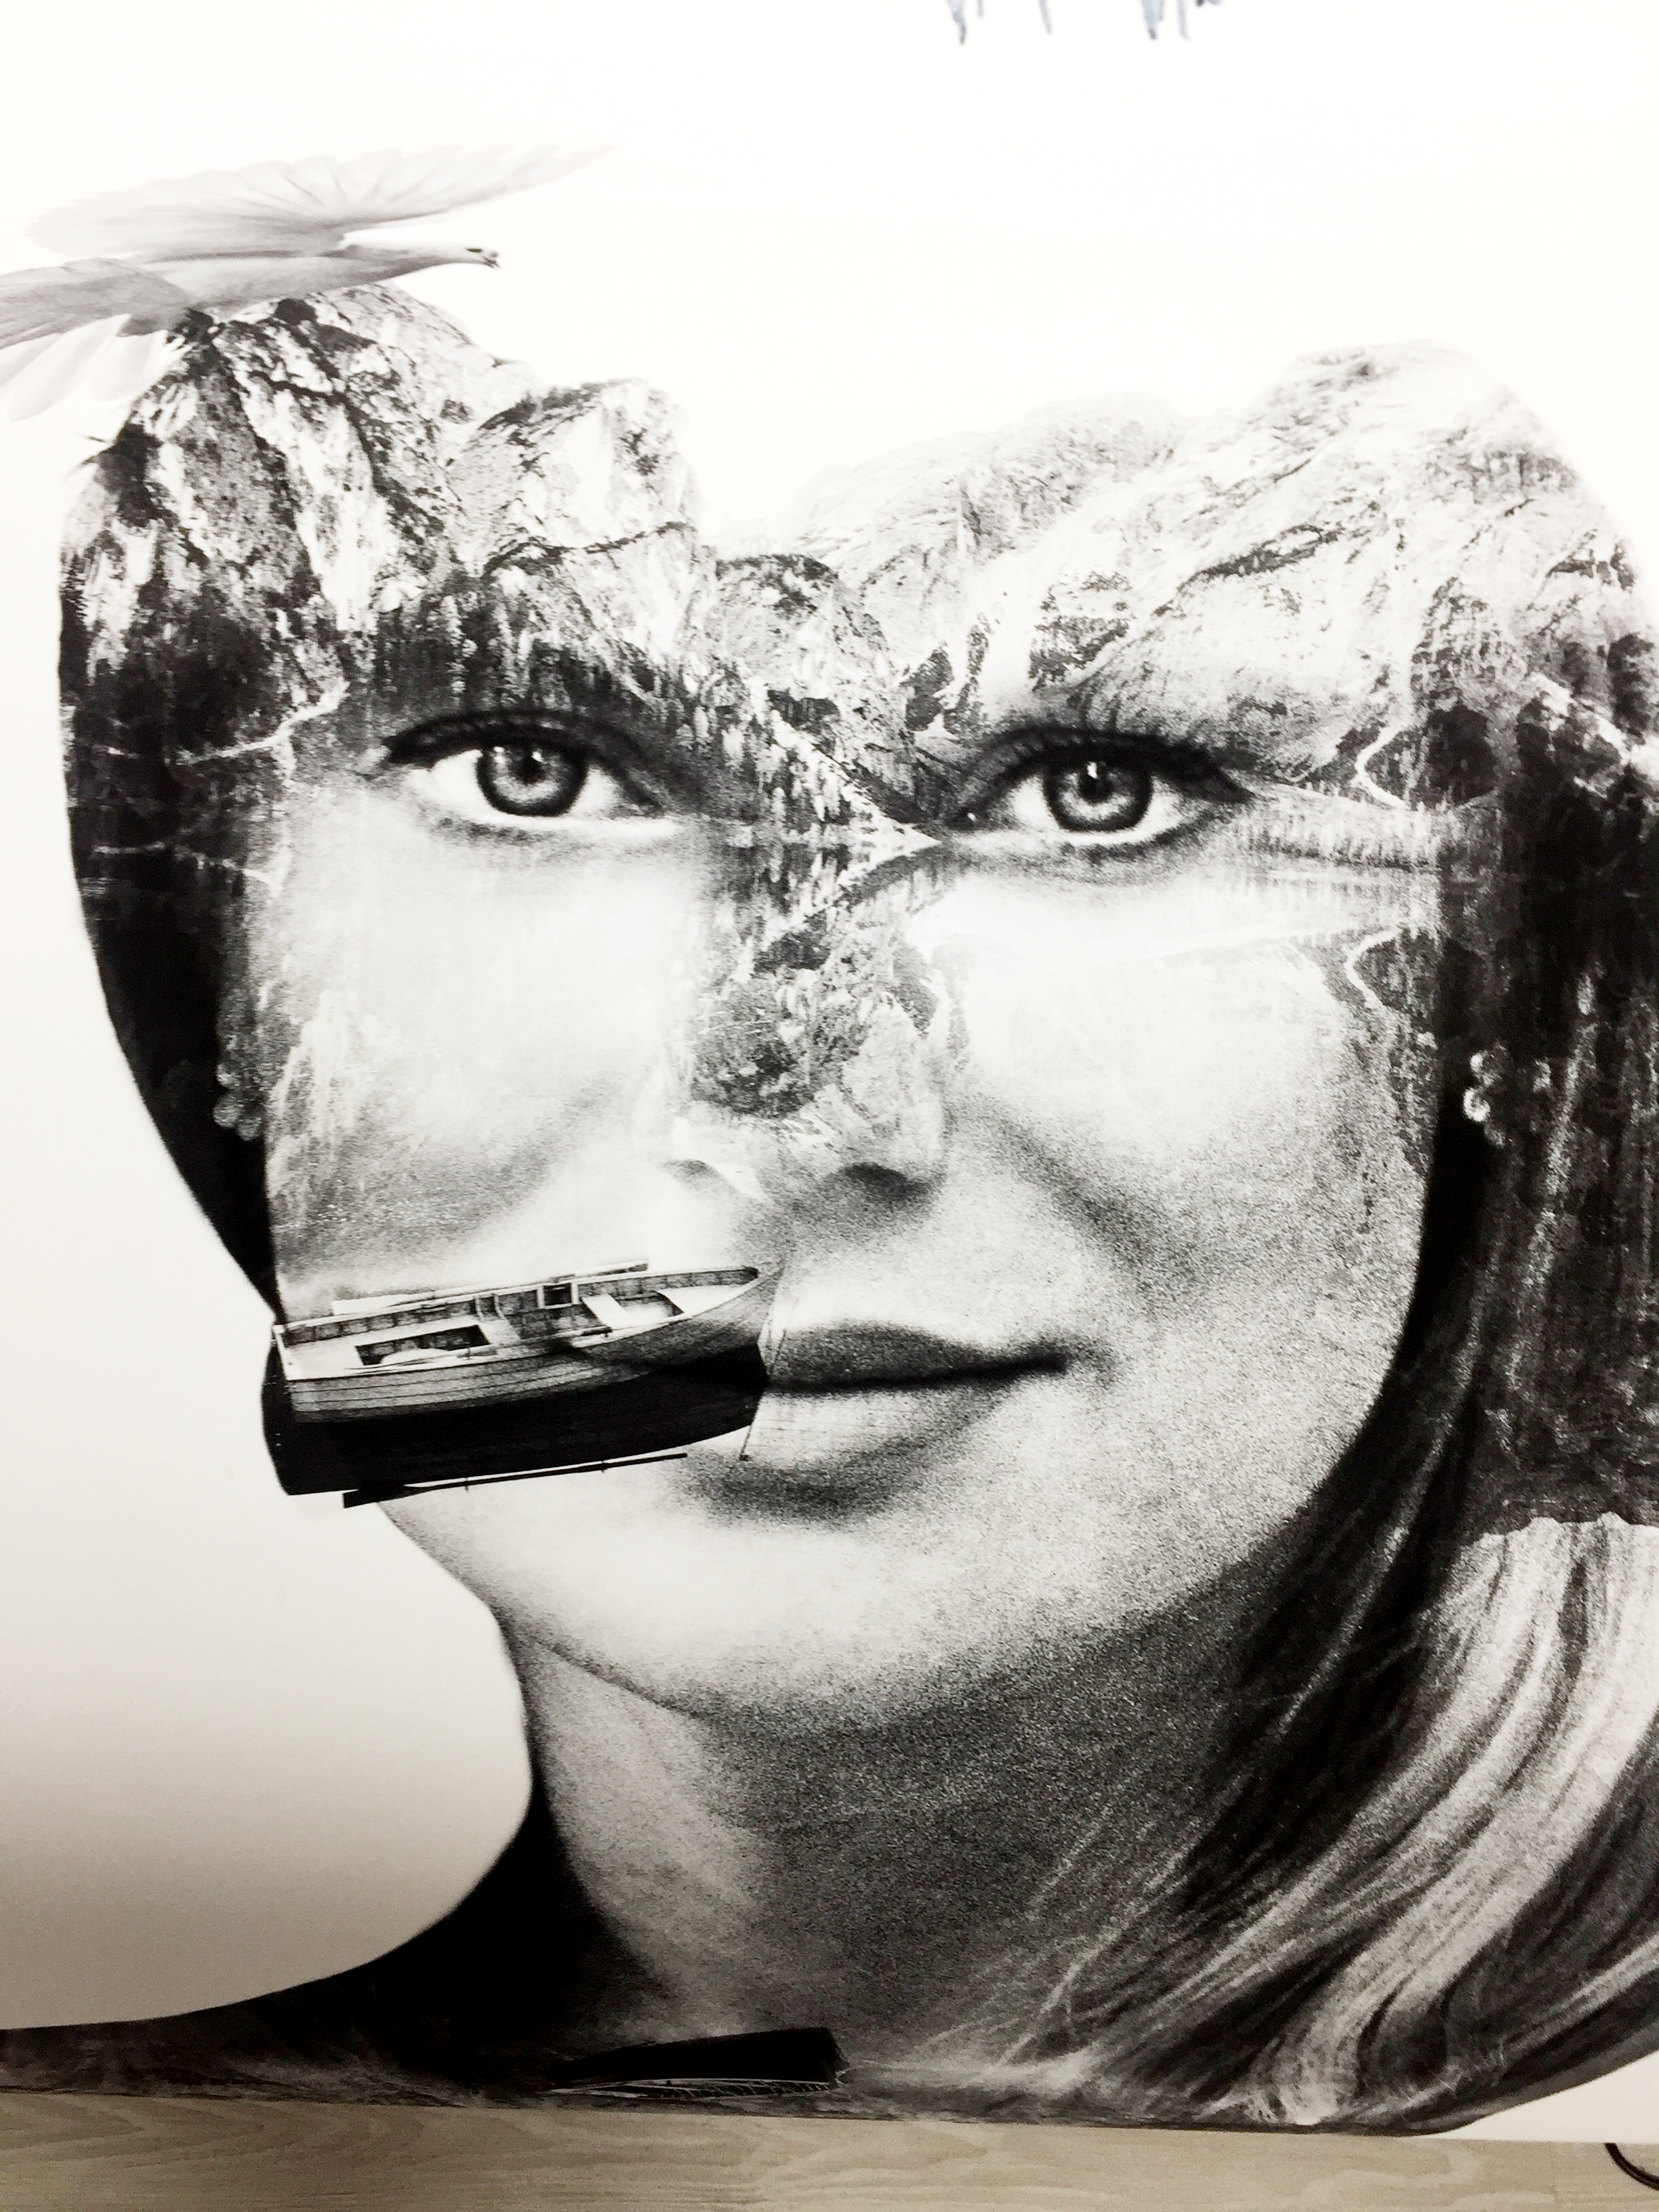
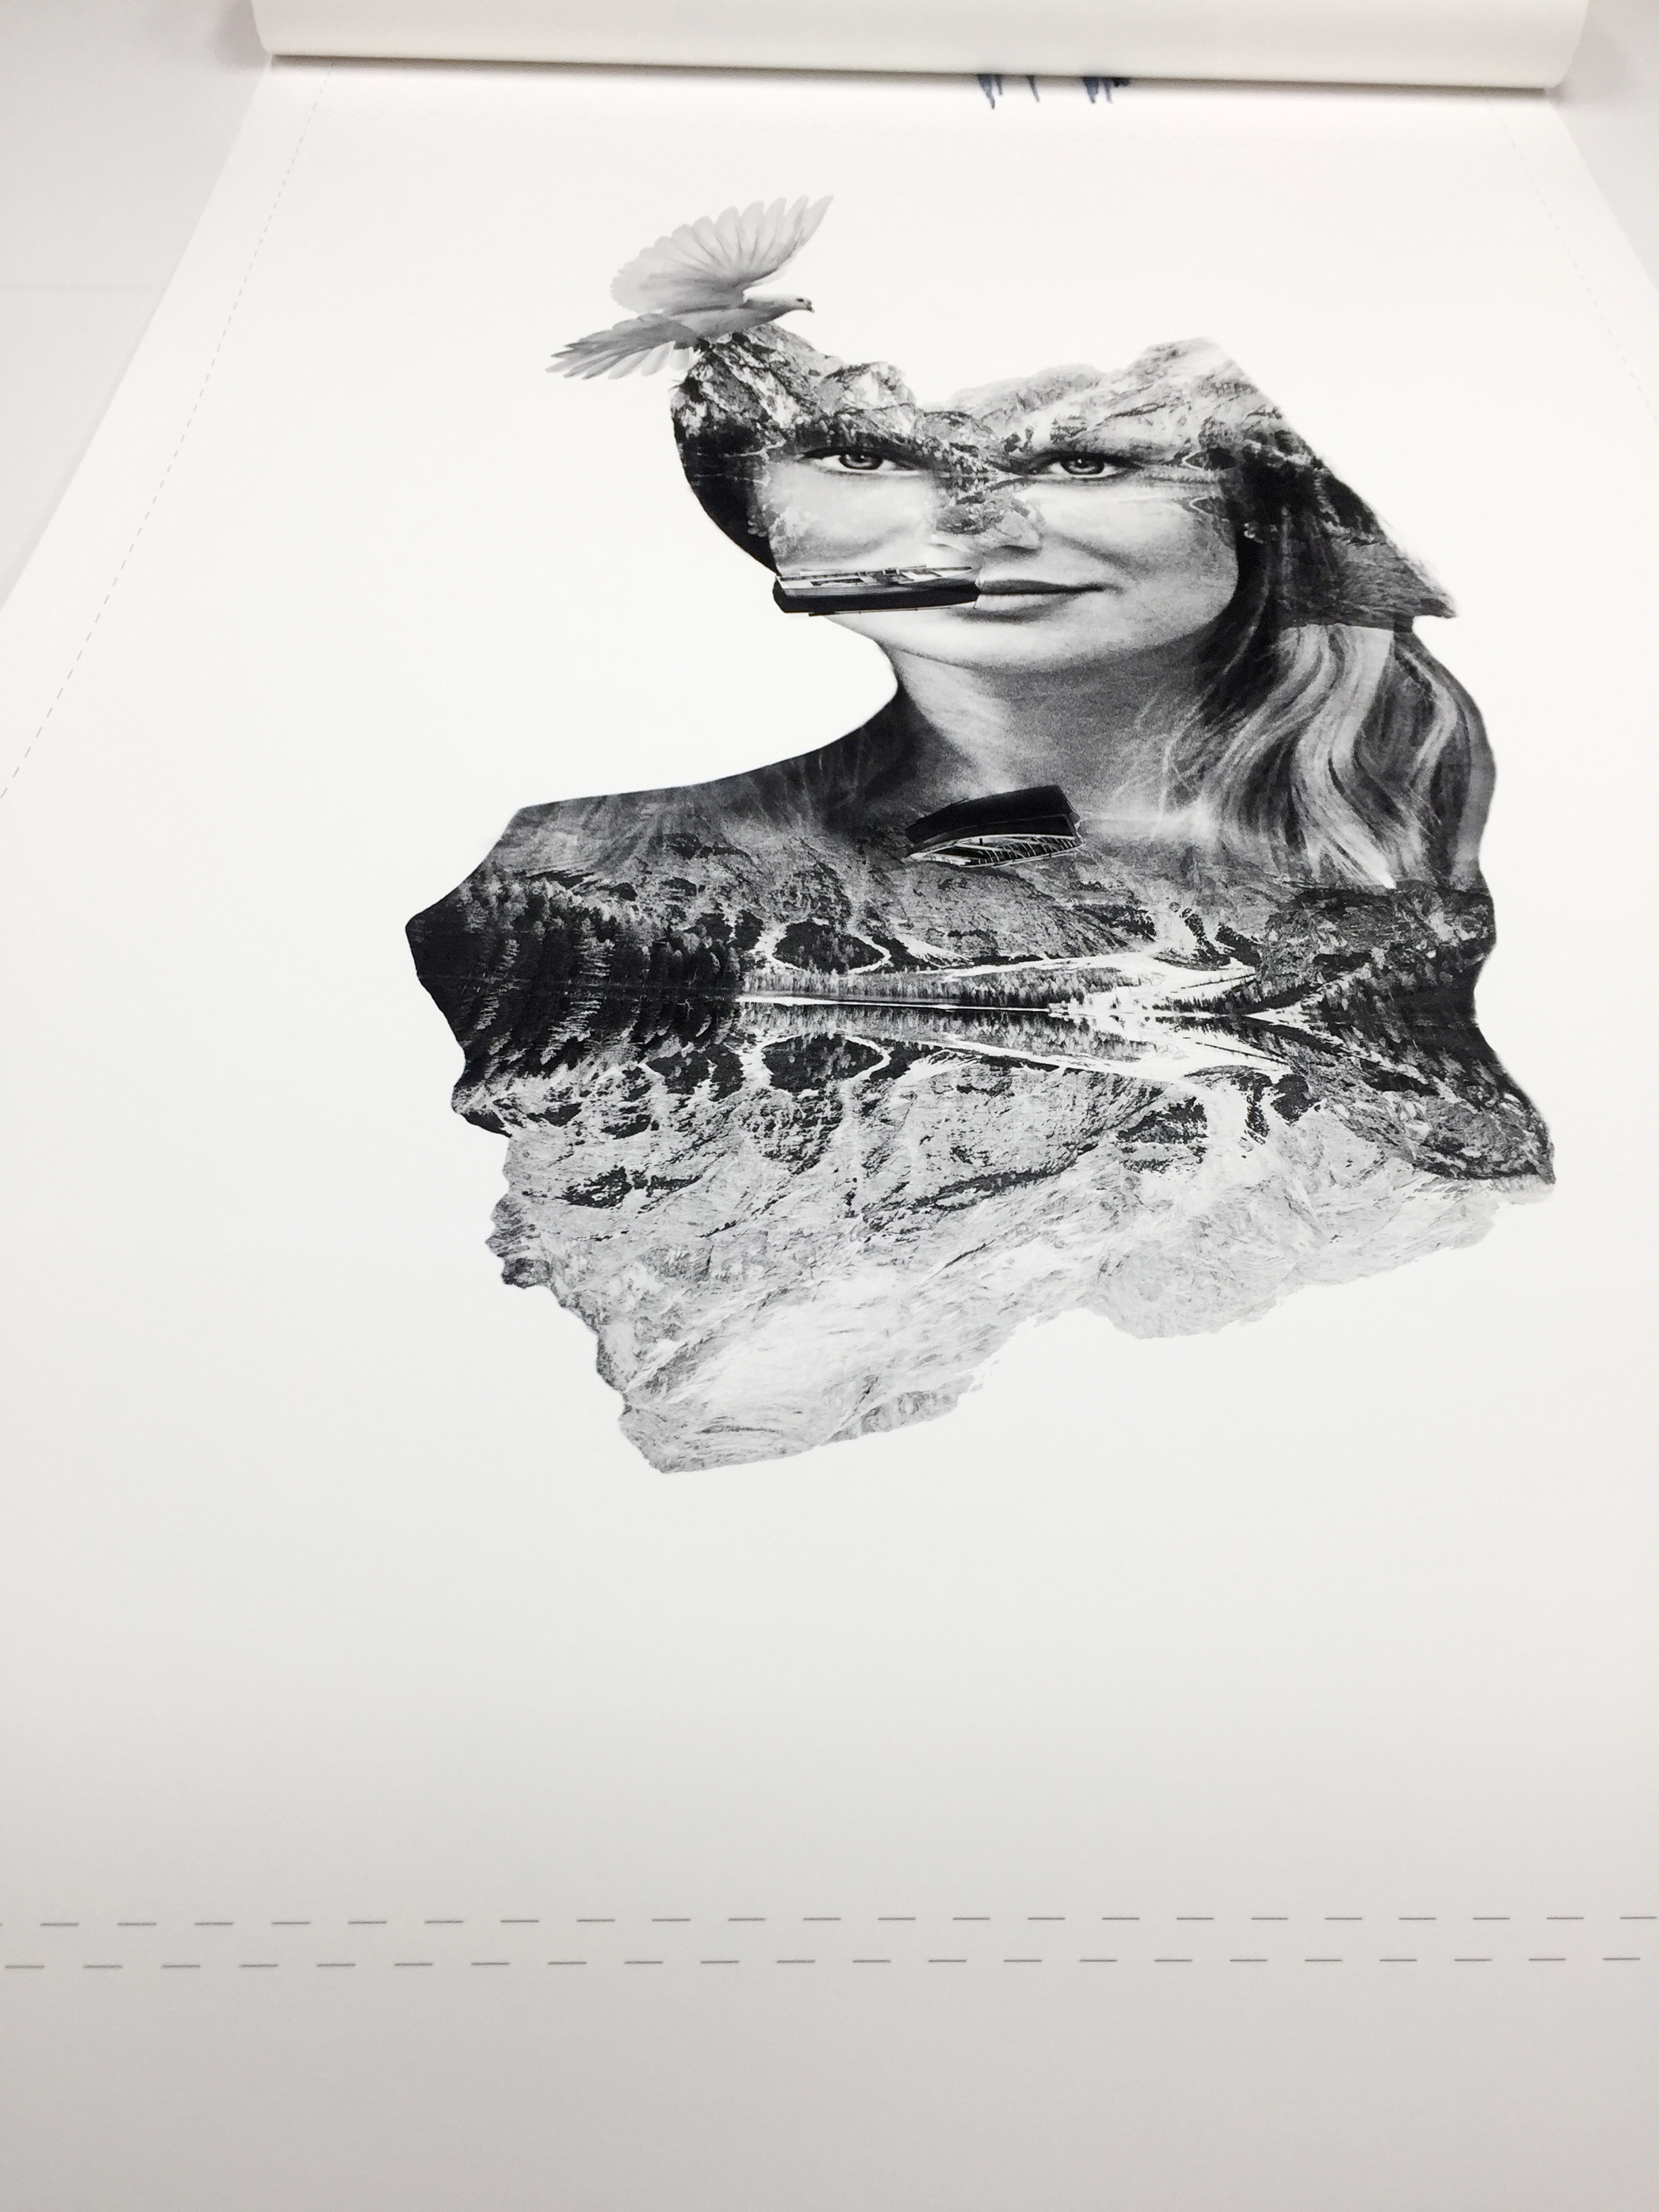
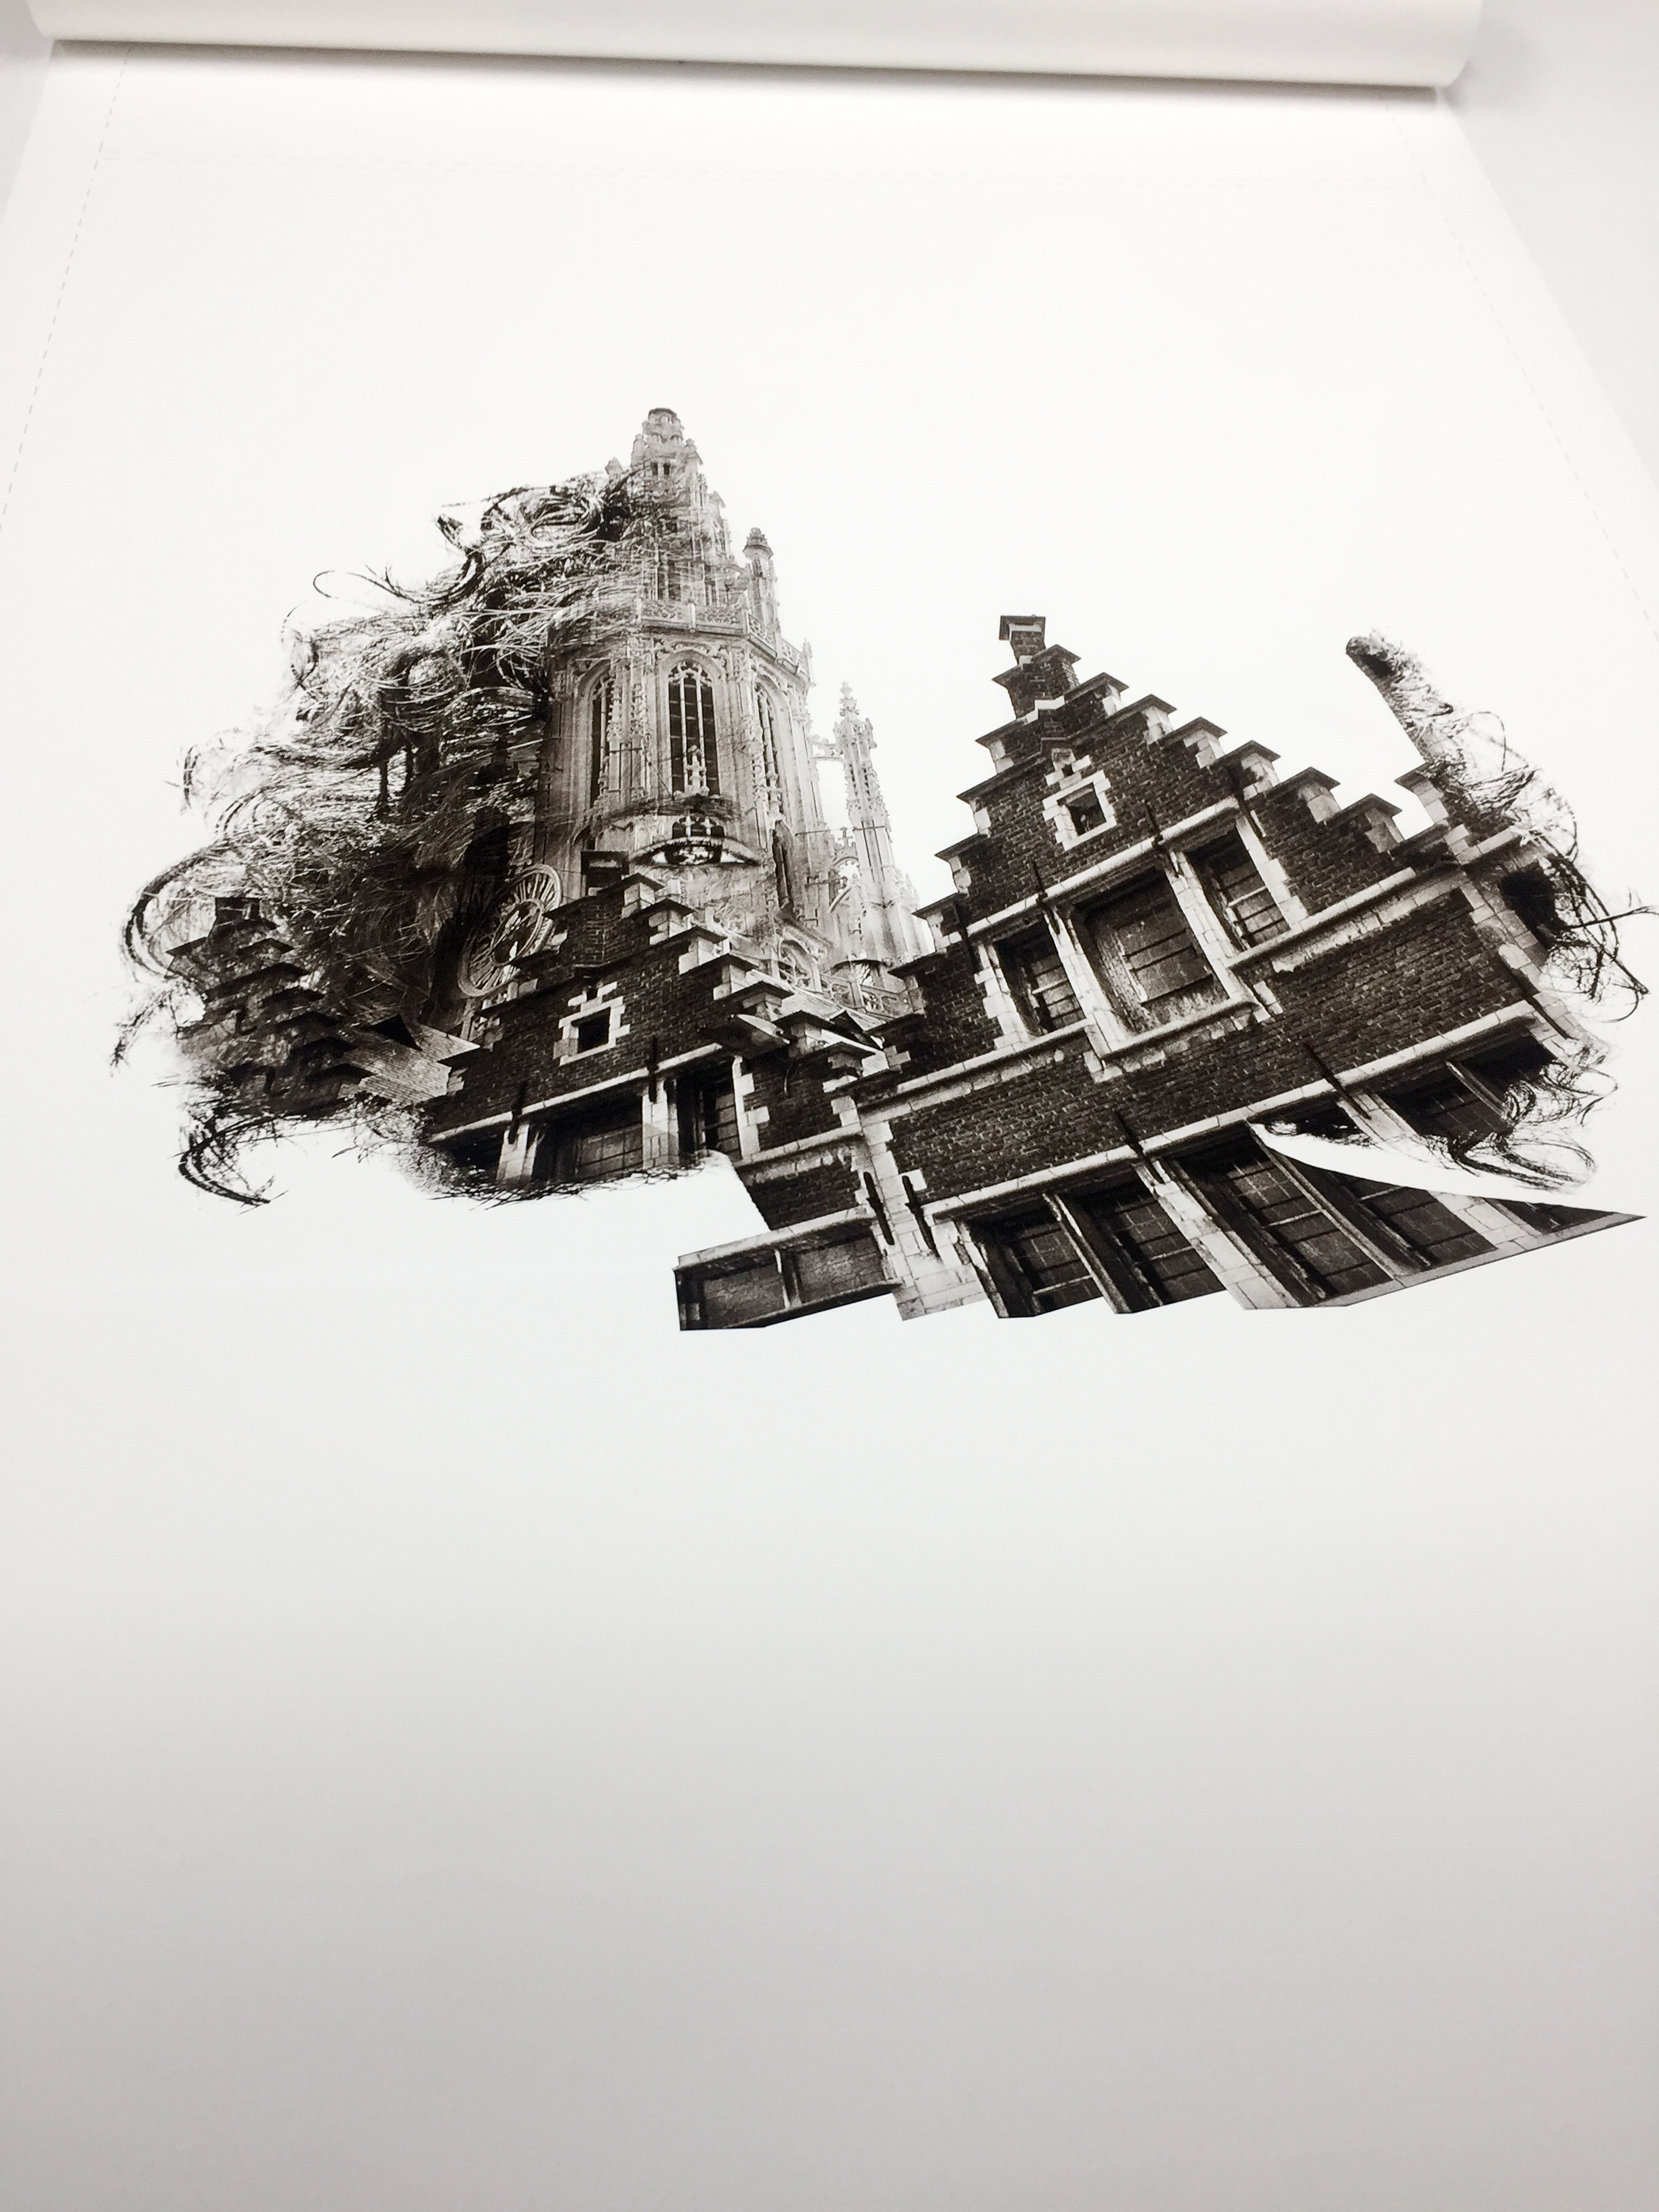
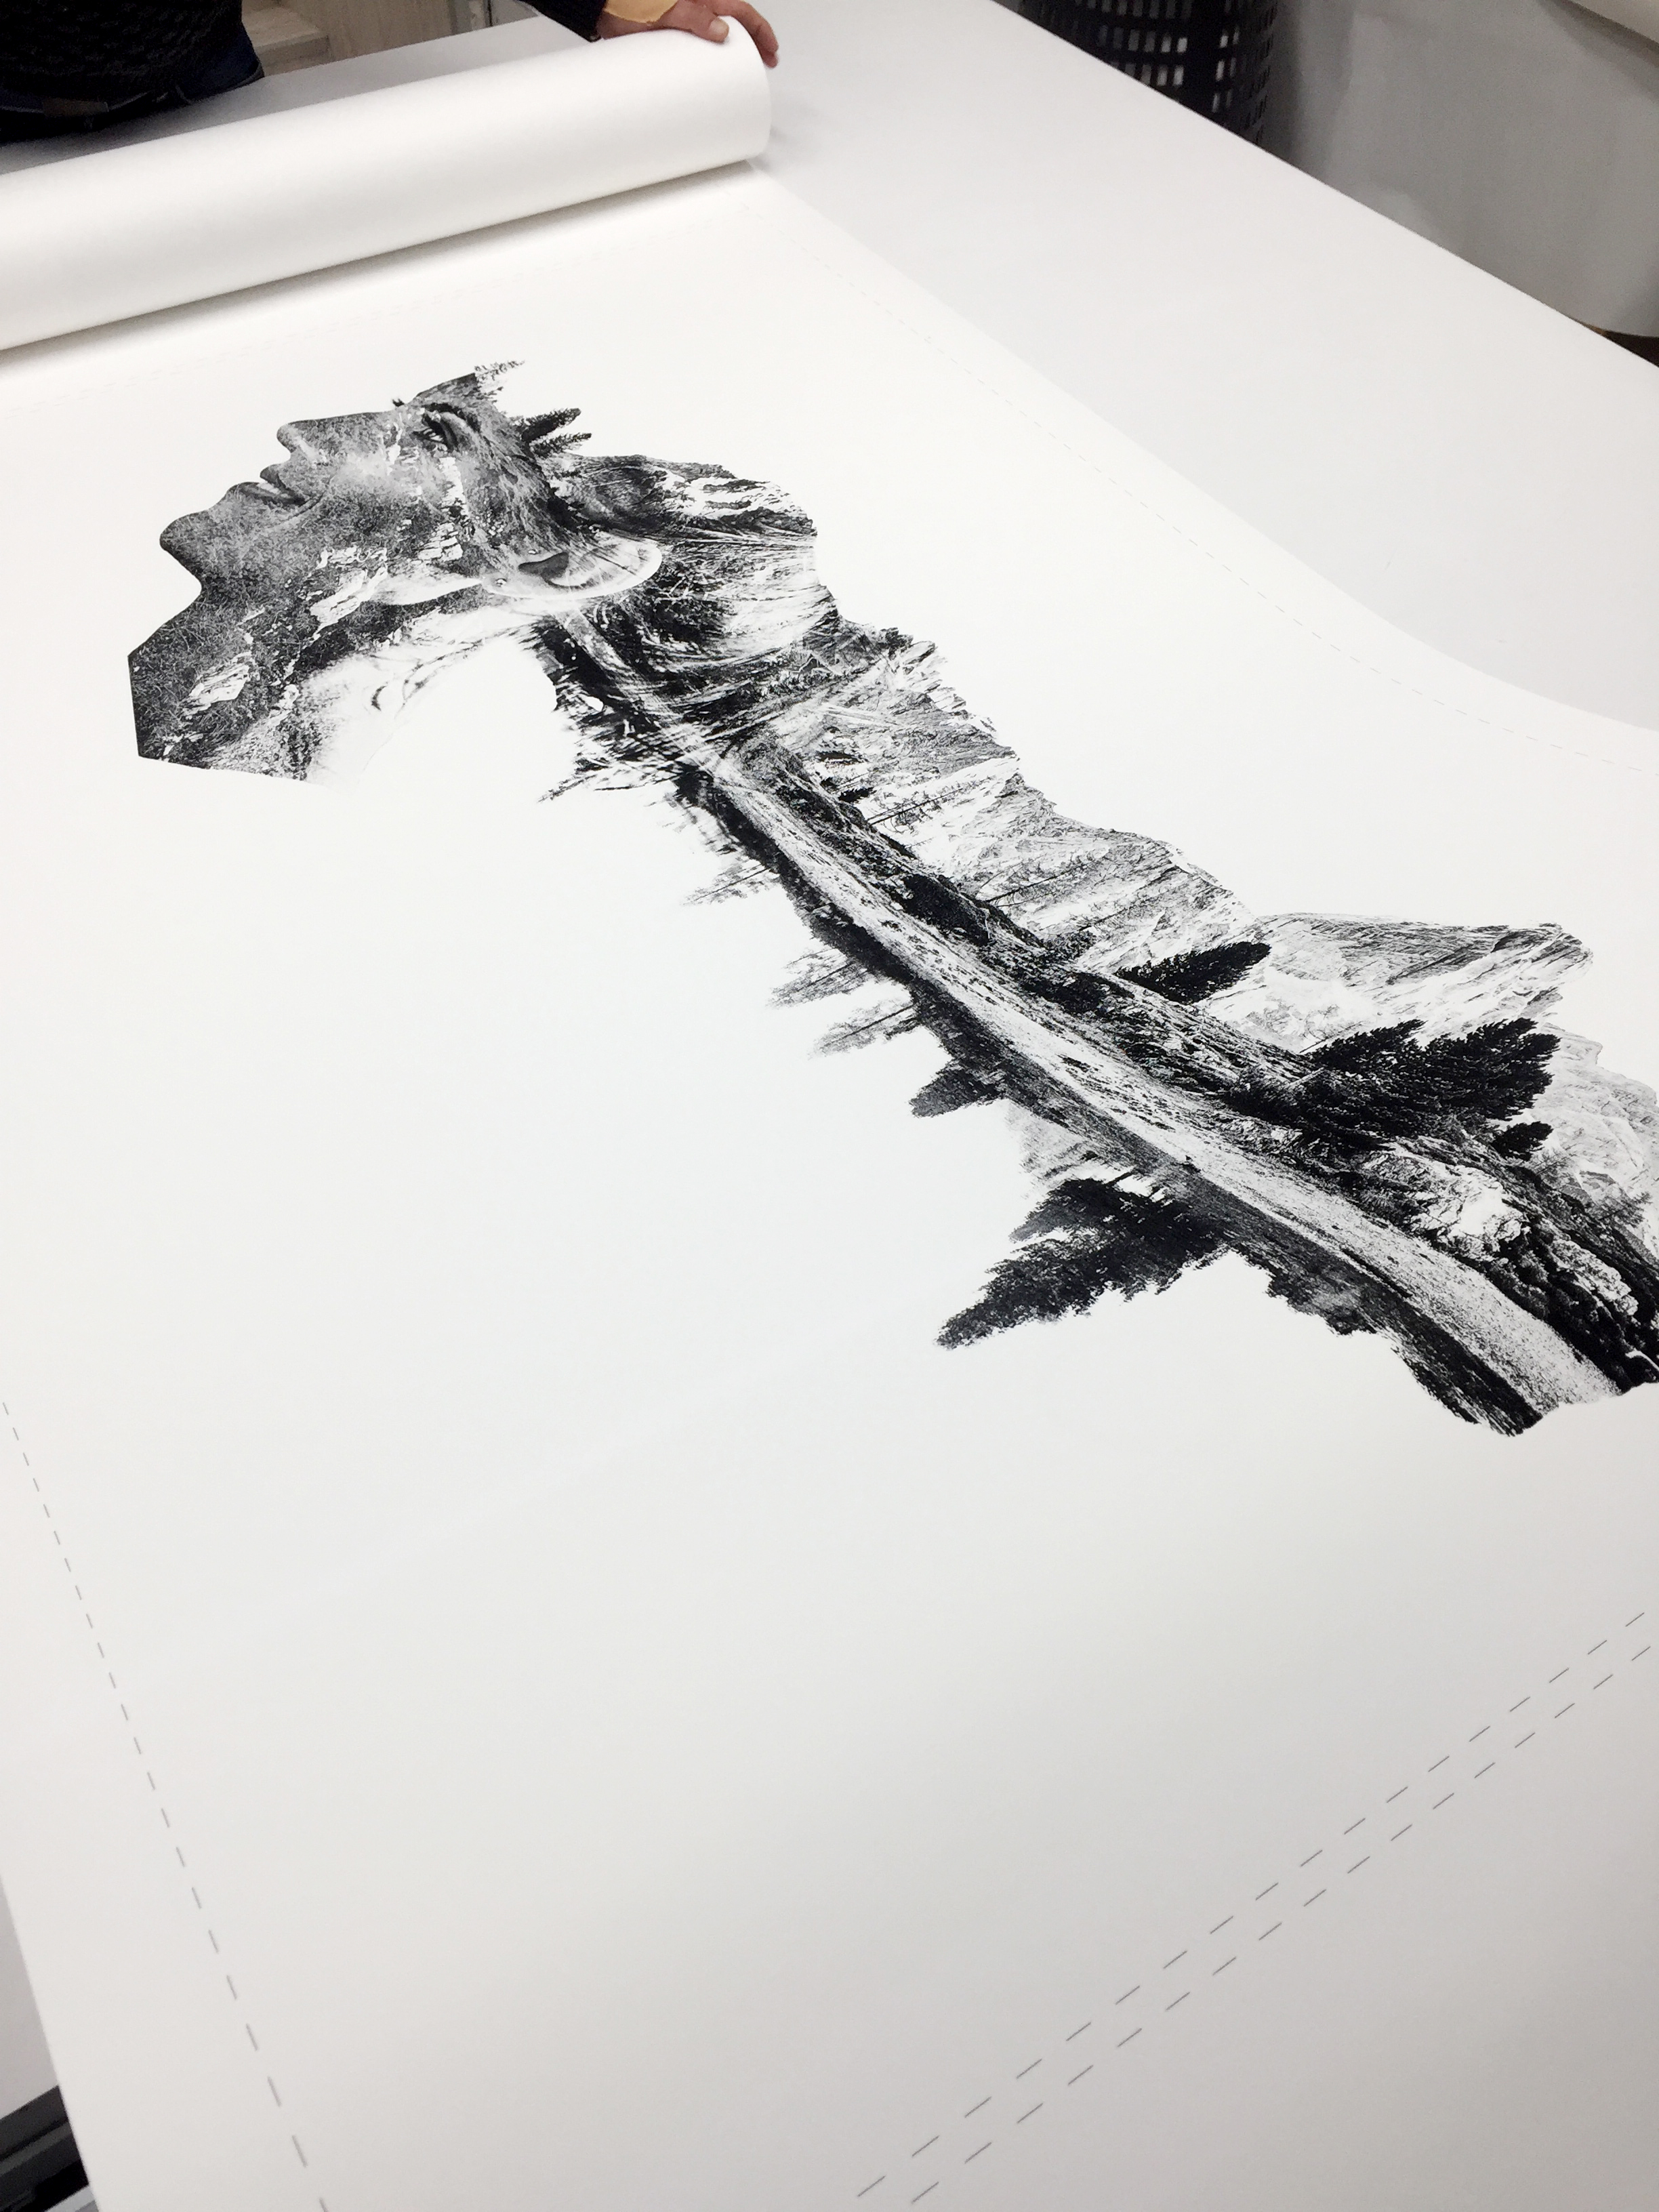
New Artzy project
Today I decided to do something new, to create something different than what i usually do. In my newly written book "Create your Creativity", that is available in my shop in the near future, I talk about breaking your comfort zone.
I am working with composed pictures in a different way, using Adobe Photoshop on the same way that I always do to keep my original style but also combining that with textures and filters. The textures and filters come from my new love Perfect Effects from onOne Software. I have been working with it for a time and really discovered what it can do. It is perfect for giving your picture the extra kick it deserves after having it in Photoshop.
Now, let#s see the pictures! I will talk more about how wonderful this program is and how i use it in a later post!
Stay Tuned!
How to use green screen in a different way!
I am looking forward to showing you guys the final image of this project. The picture is going to be a amazing flower dress all made with the use of single images on a green screen background. The pictures is then processed in my all time favorite program for green screens "FXhome Photokey" and put together in Adobe Photoshop.
Playing with colors and fabric!
Mountains!


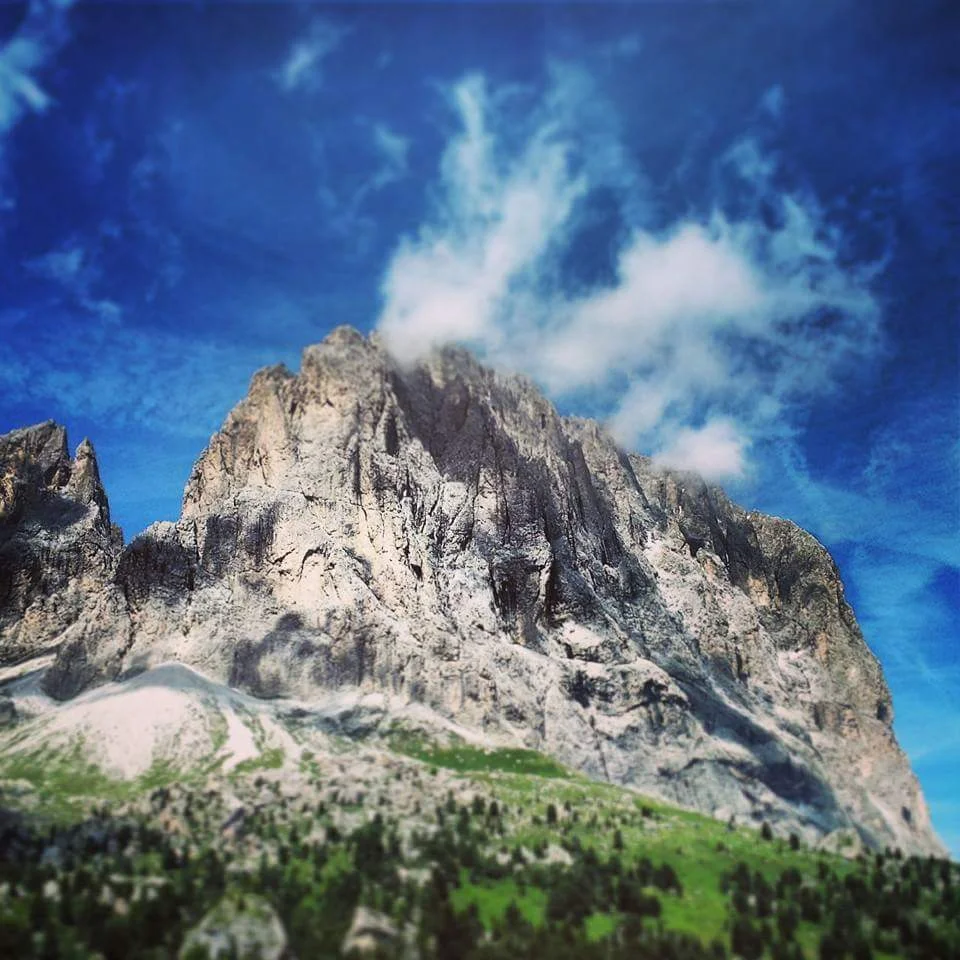
A trip to the mountains in the wonderful Italy! Notice the cat in the backpack.
You don't have to be young to be wild!

I had two lovely ladies in the studio in Italy this month. Just because you are not 20 anymore doesn't mean that you cannot have fun! What can we learn from this?! - Don't hold back!
...And then the photoshoot
"Action!"

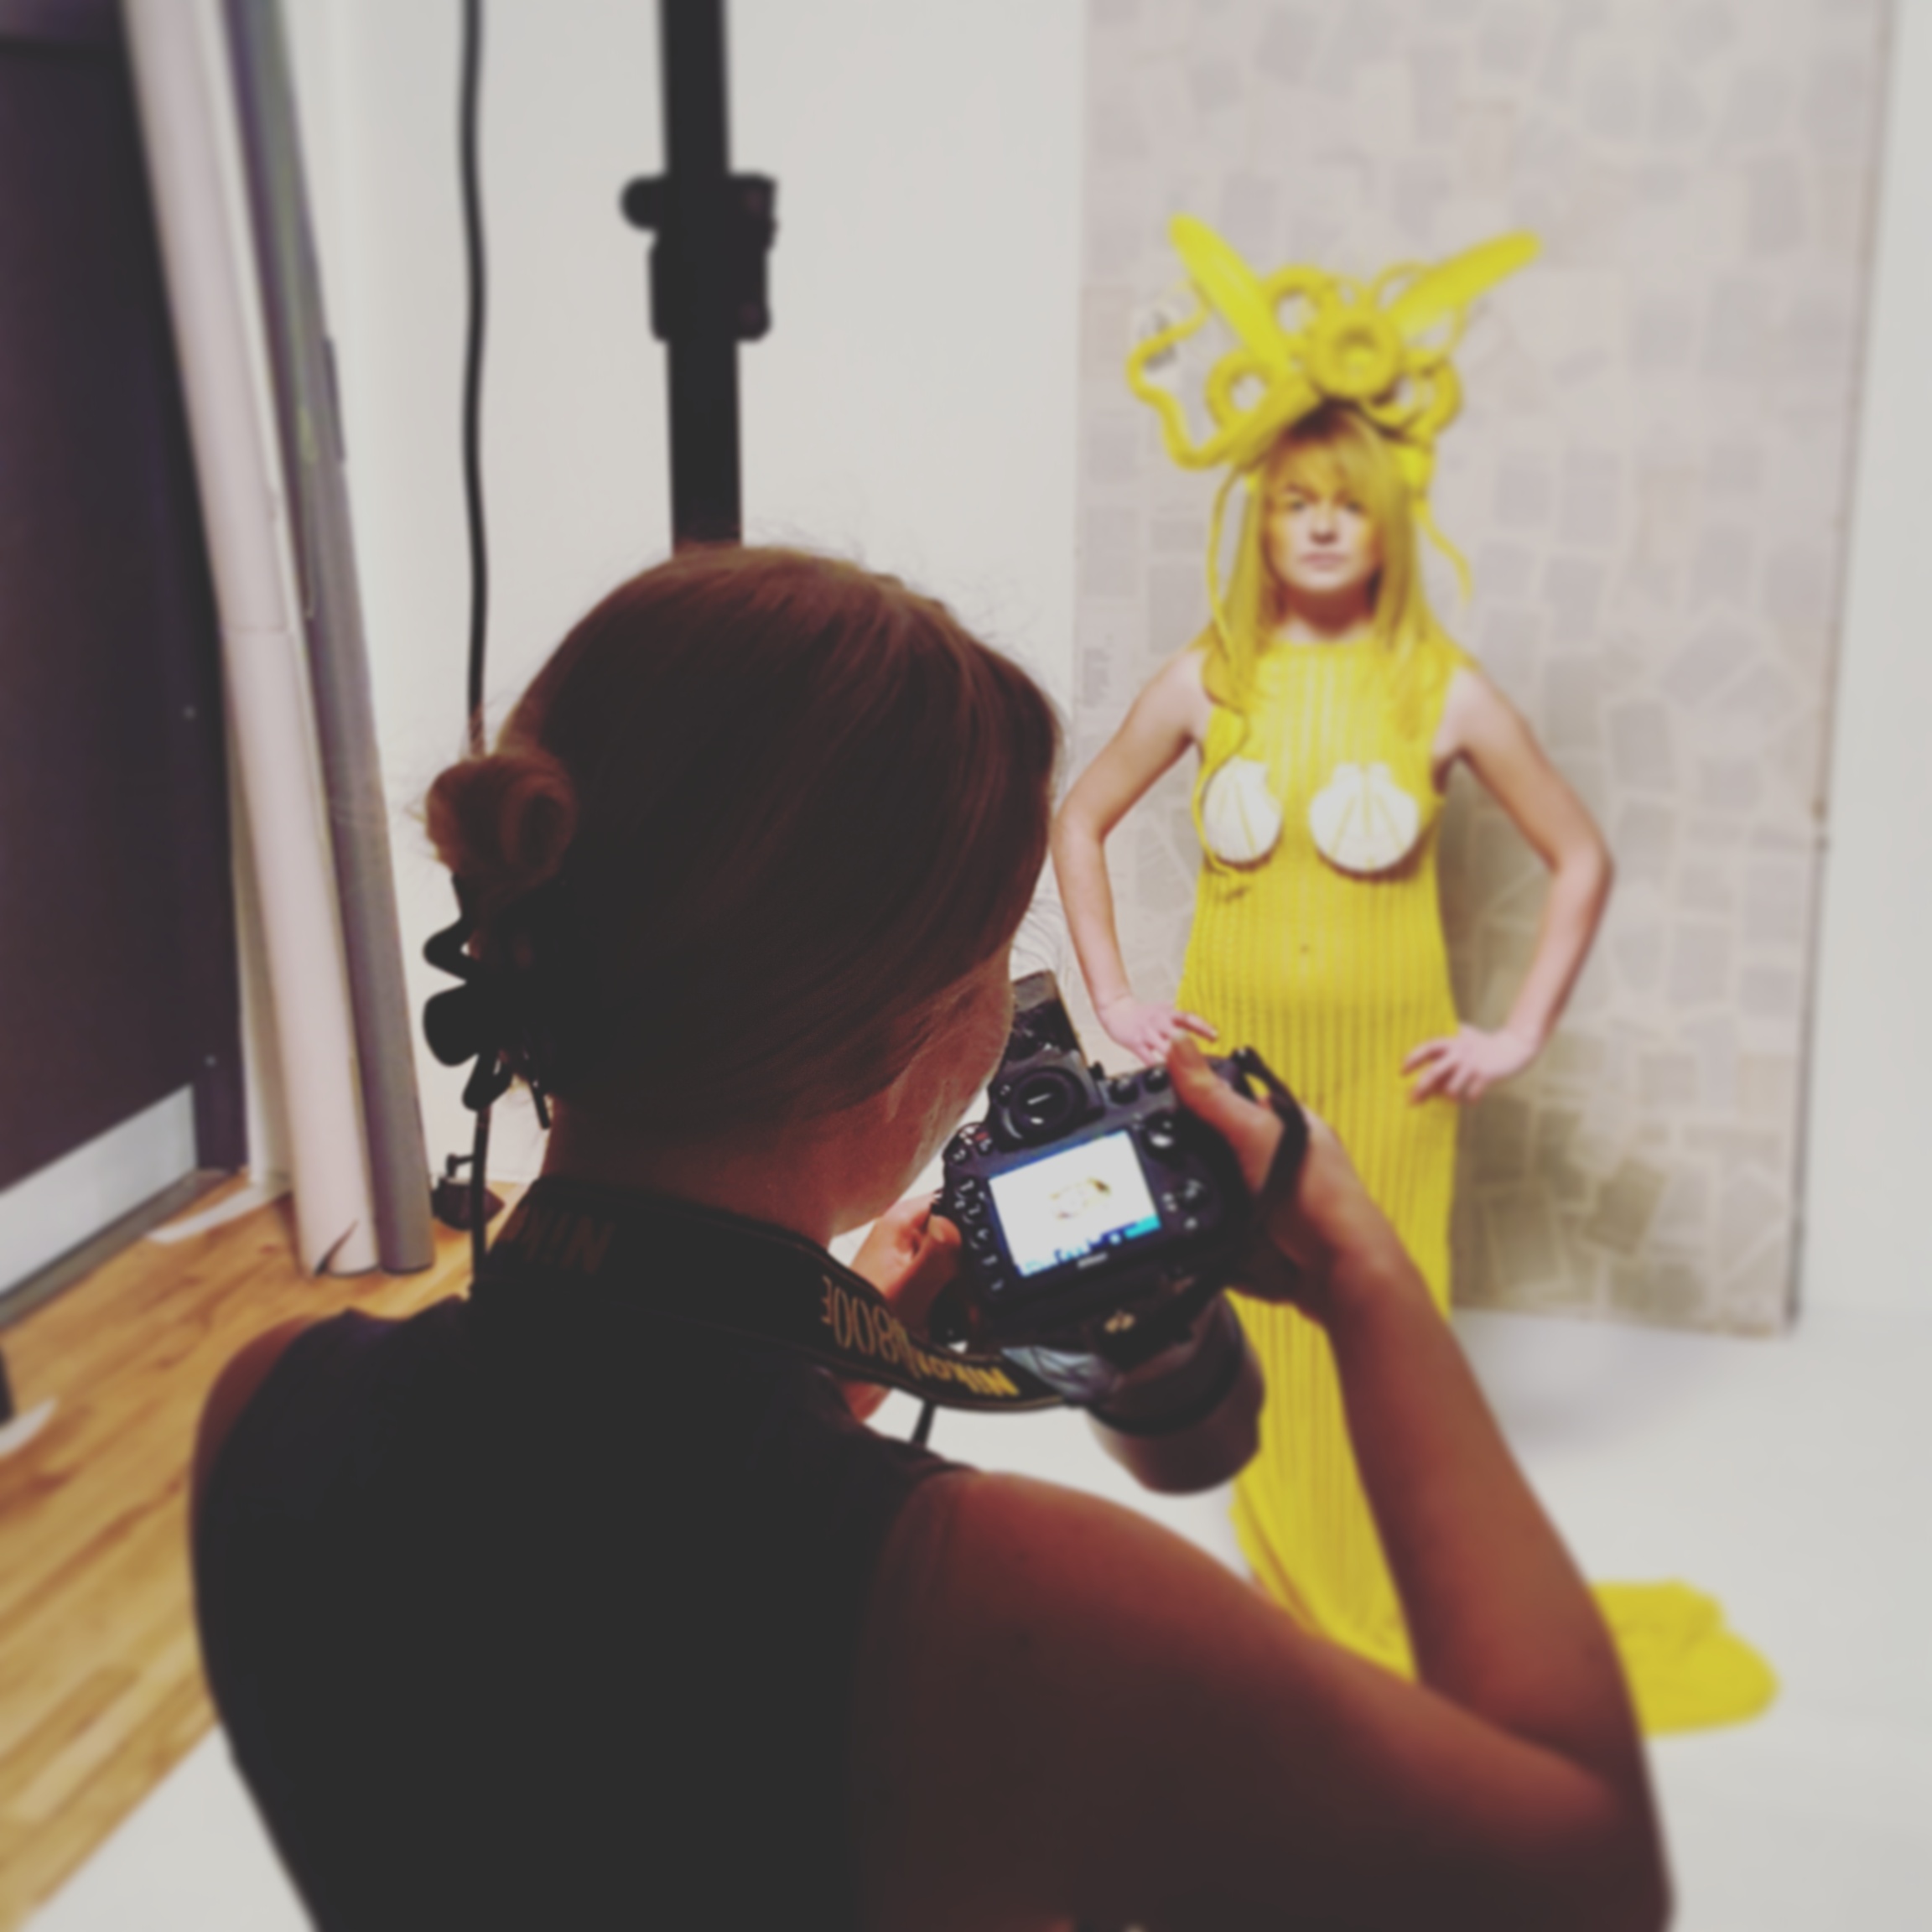
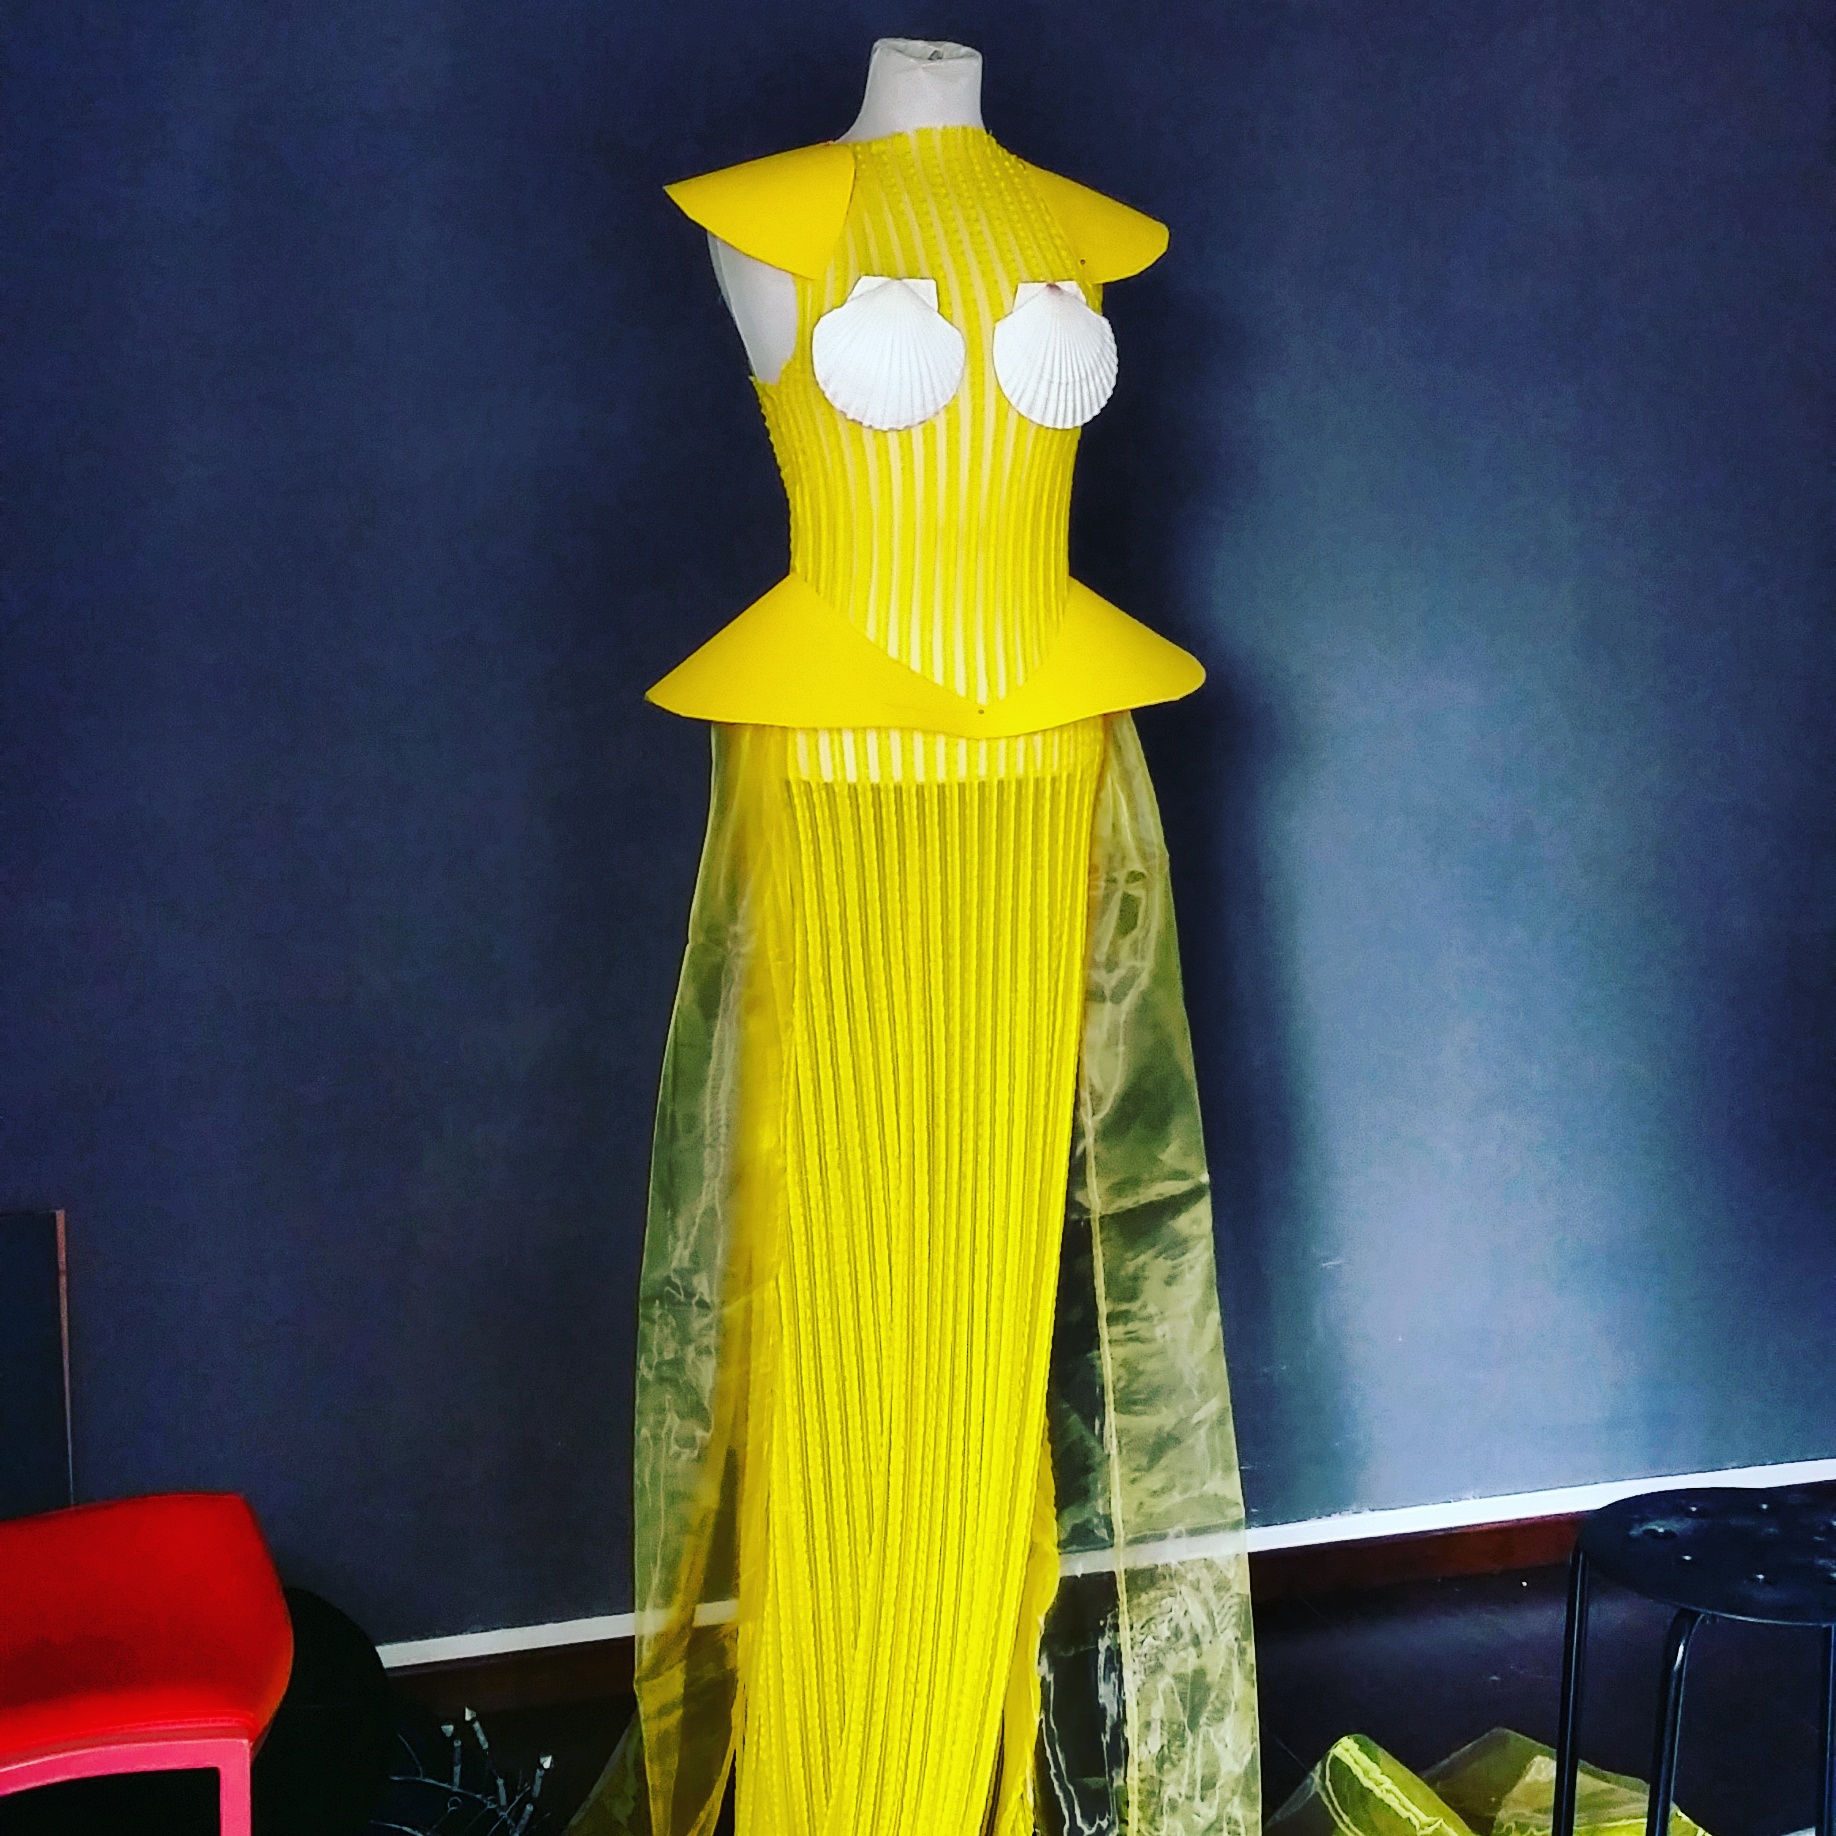
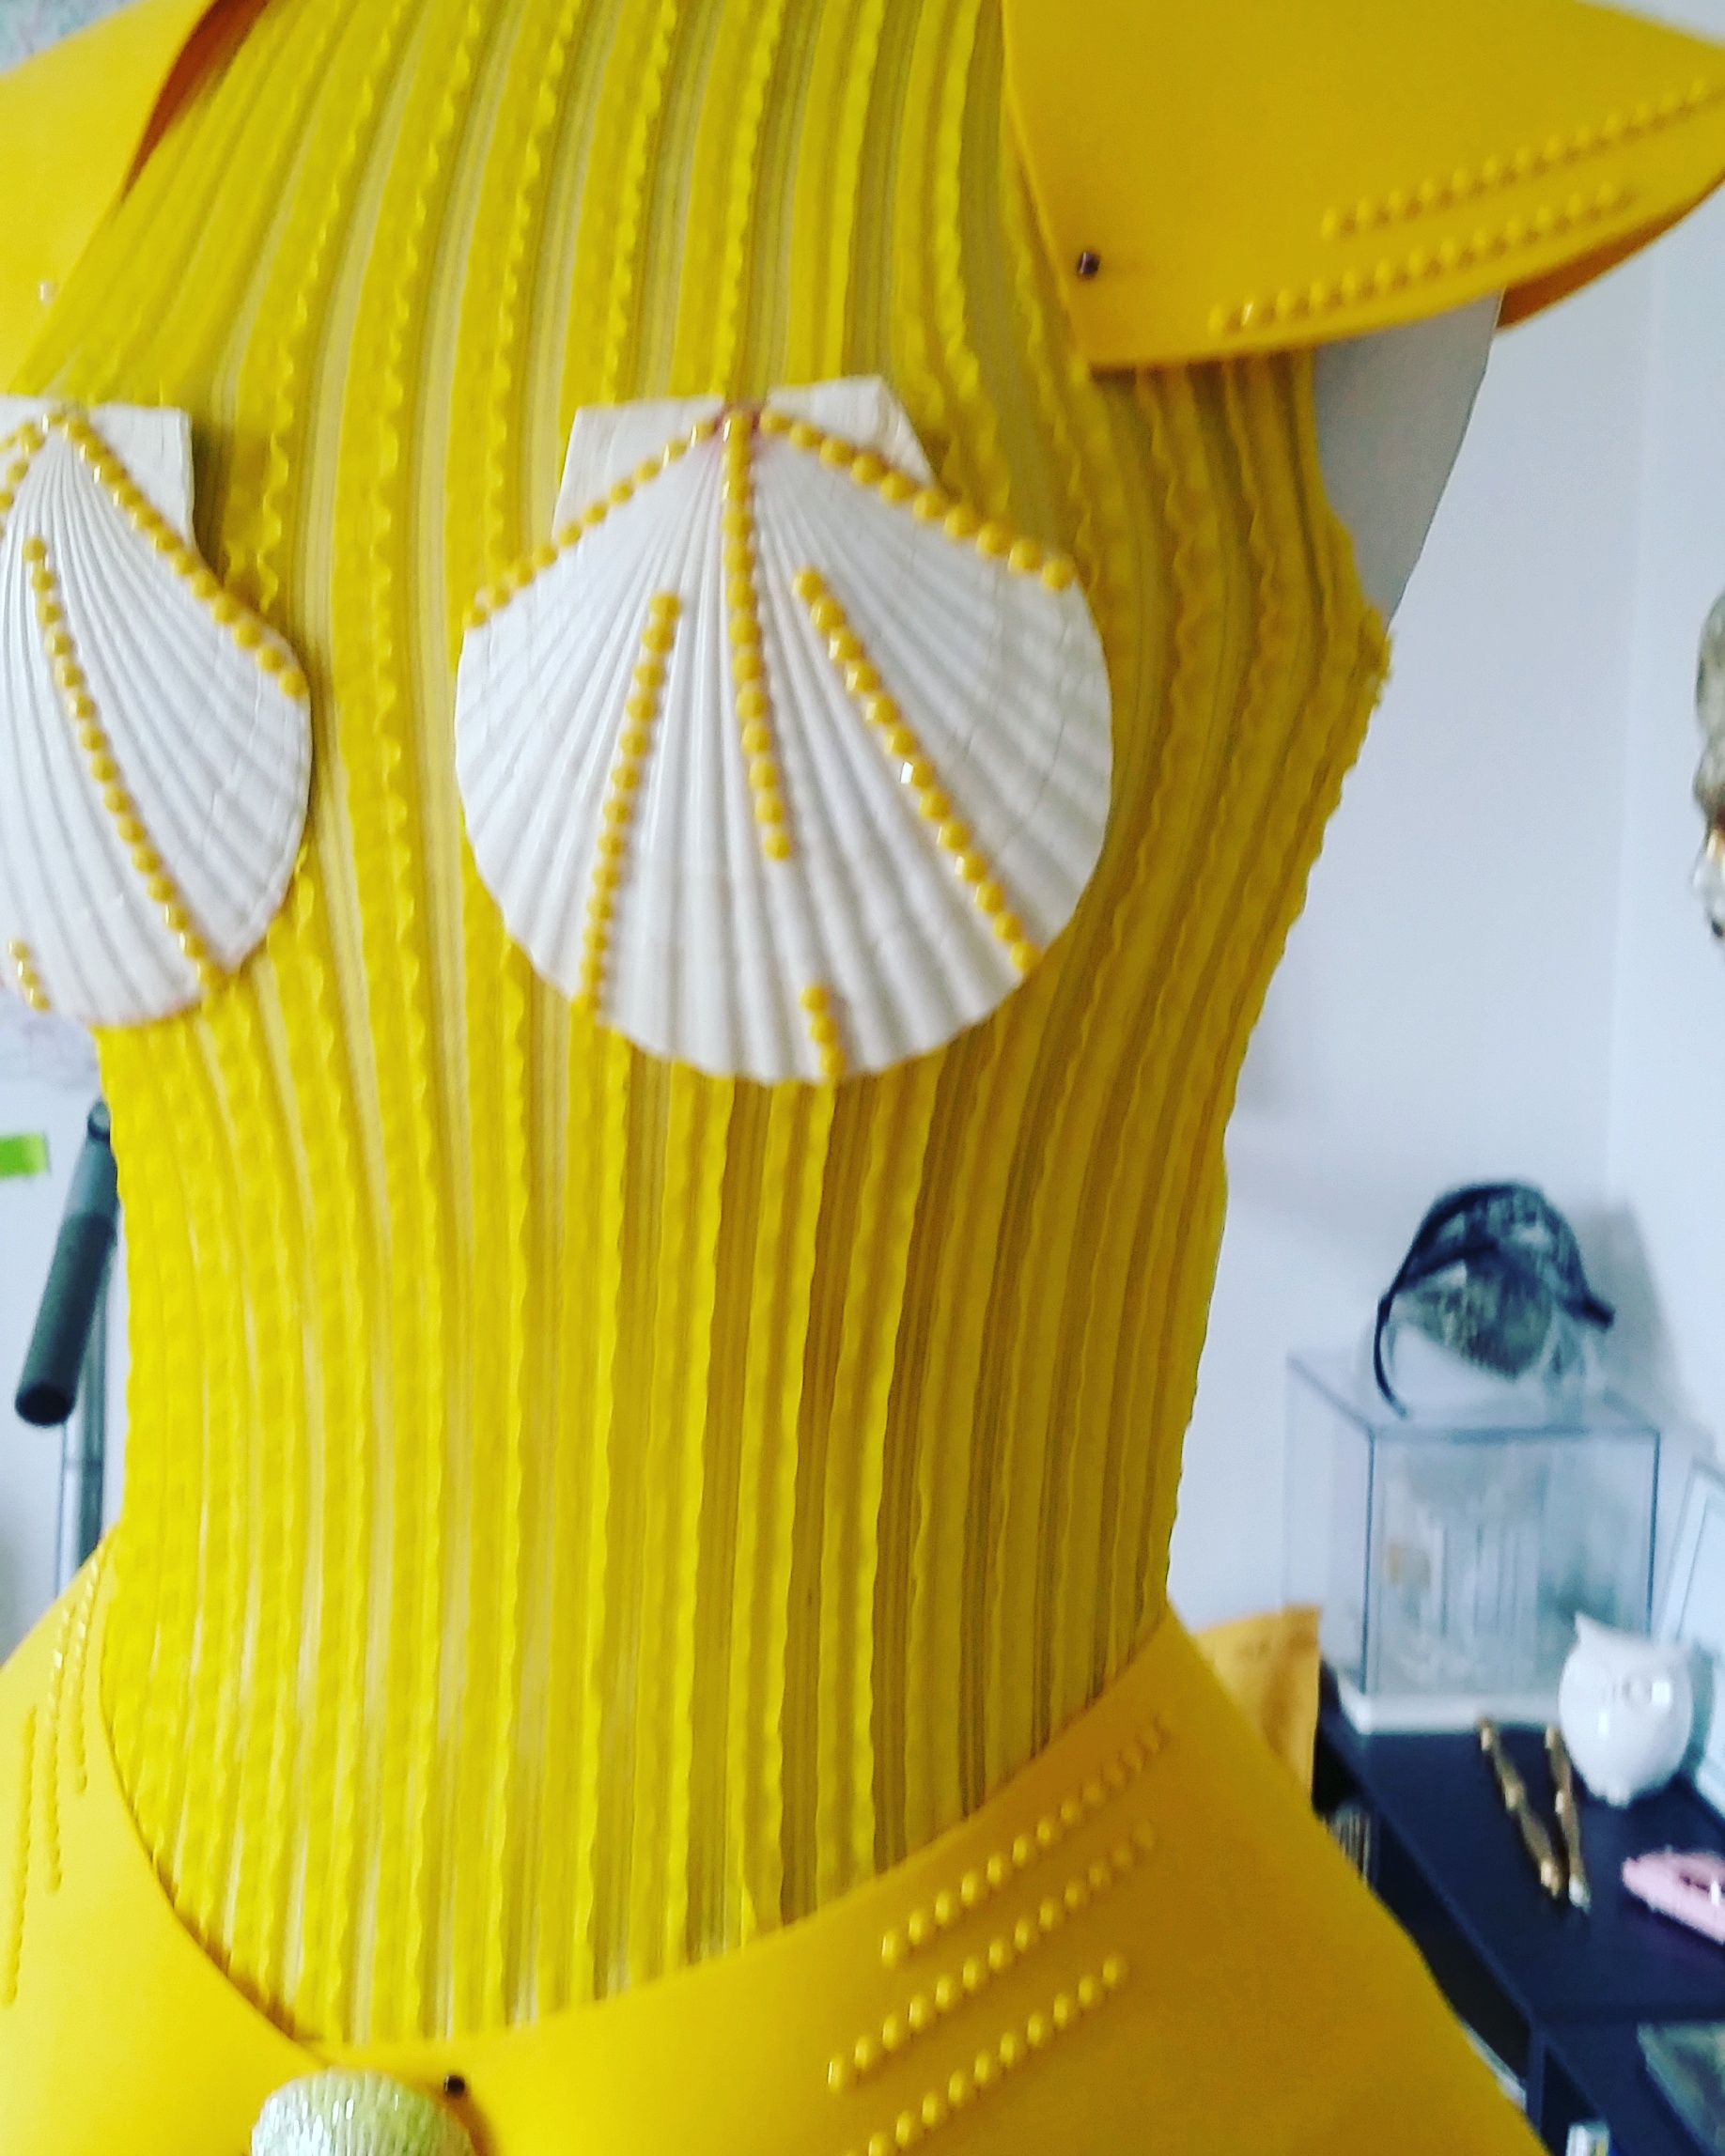
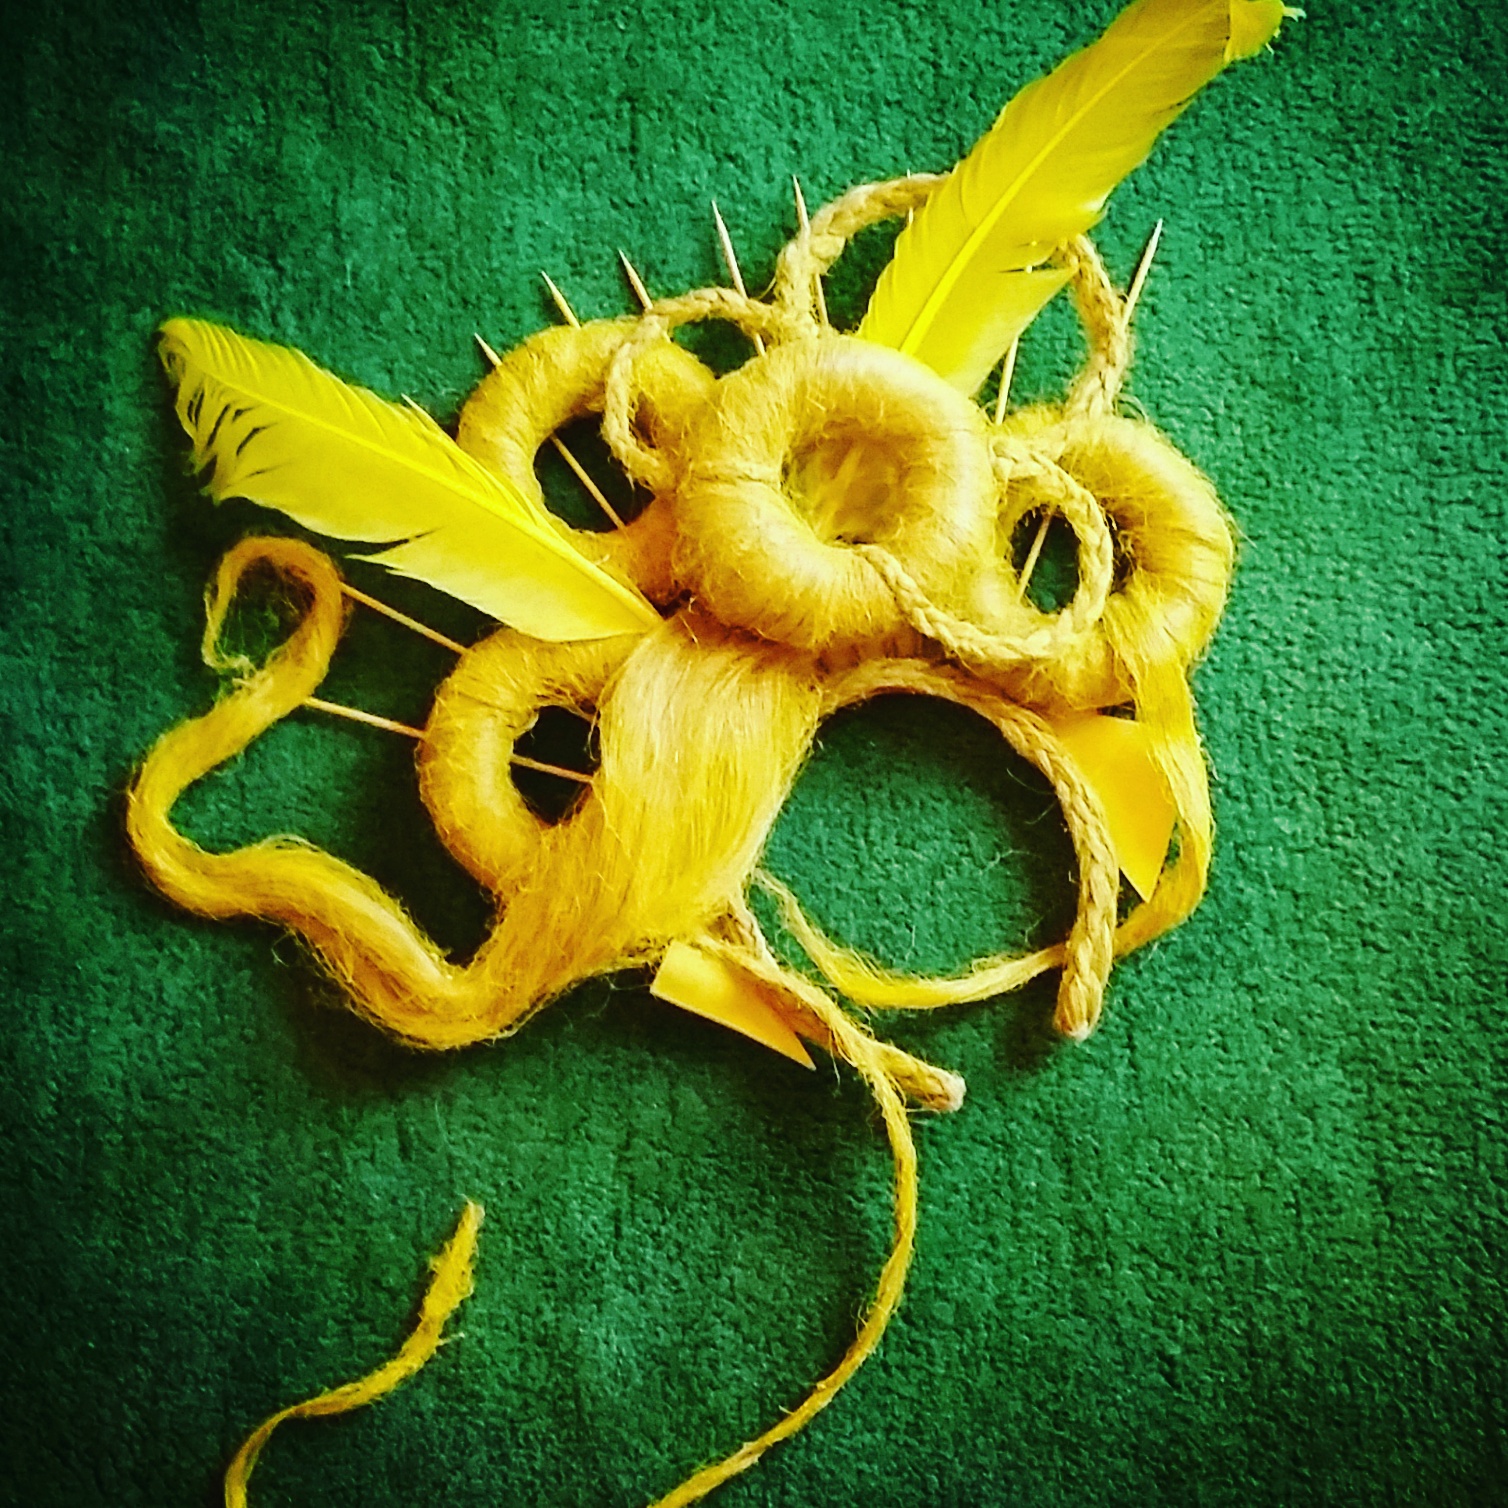
Prop preparation
It takes a lot of time preparing the perfect costume and props for the individual photo shoots. The photo shoots, regardless of it is private or business costumers, are always unique to the costumers wish and our joint creativity. you now have a unique opportunity to come behind the scene with me where a big part of the process is - preparation.
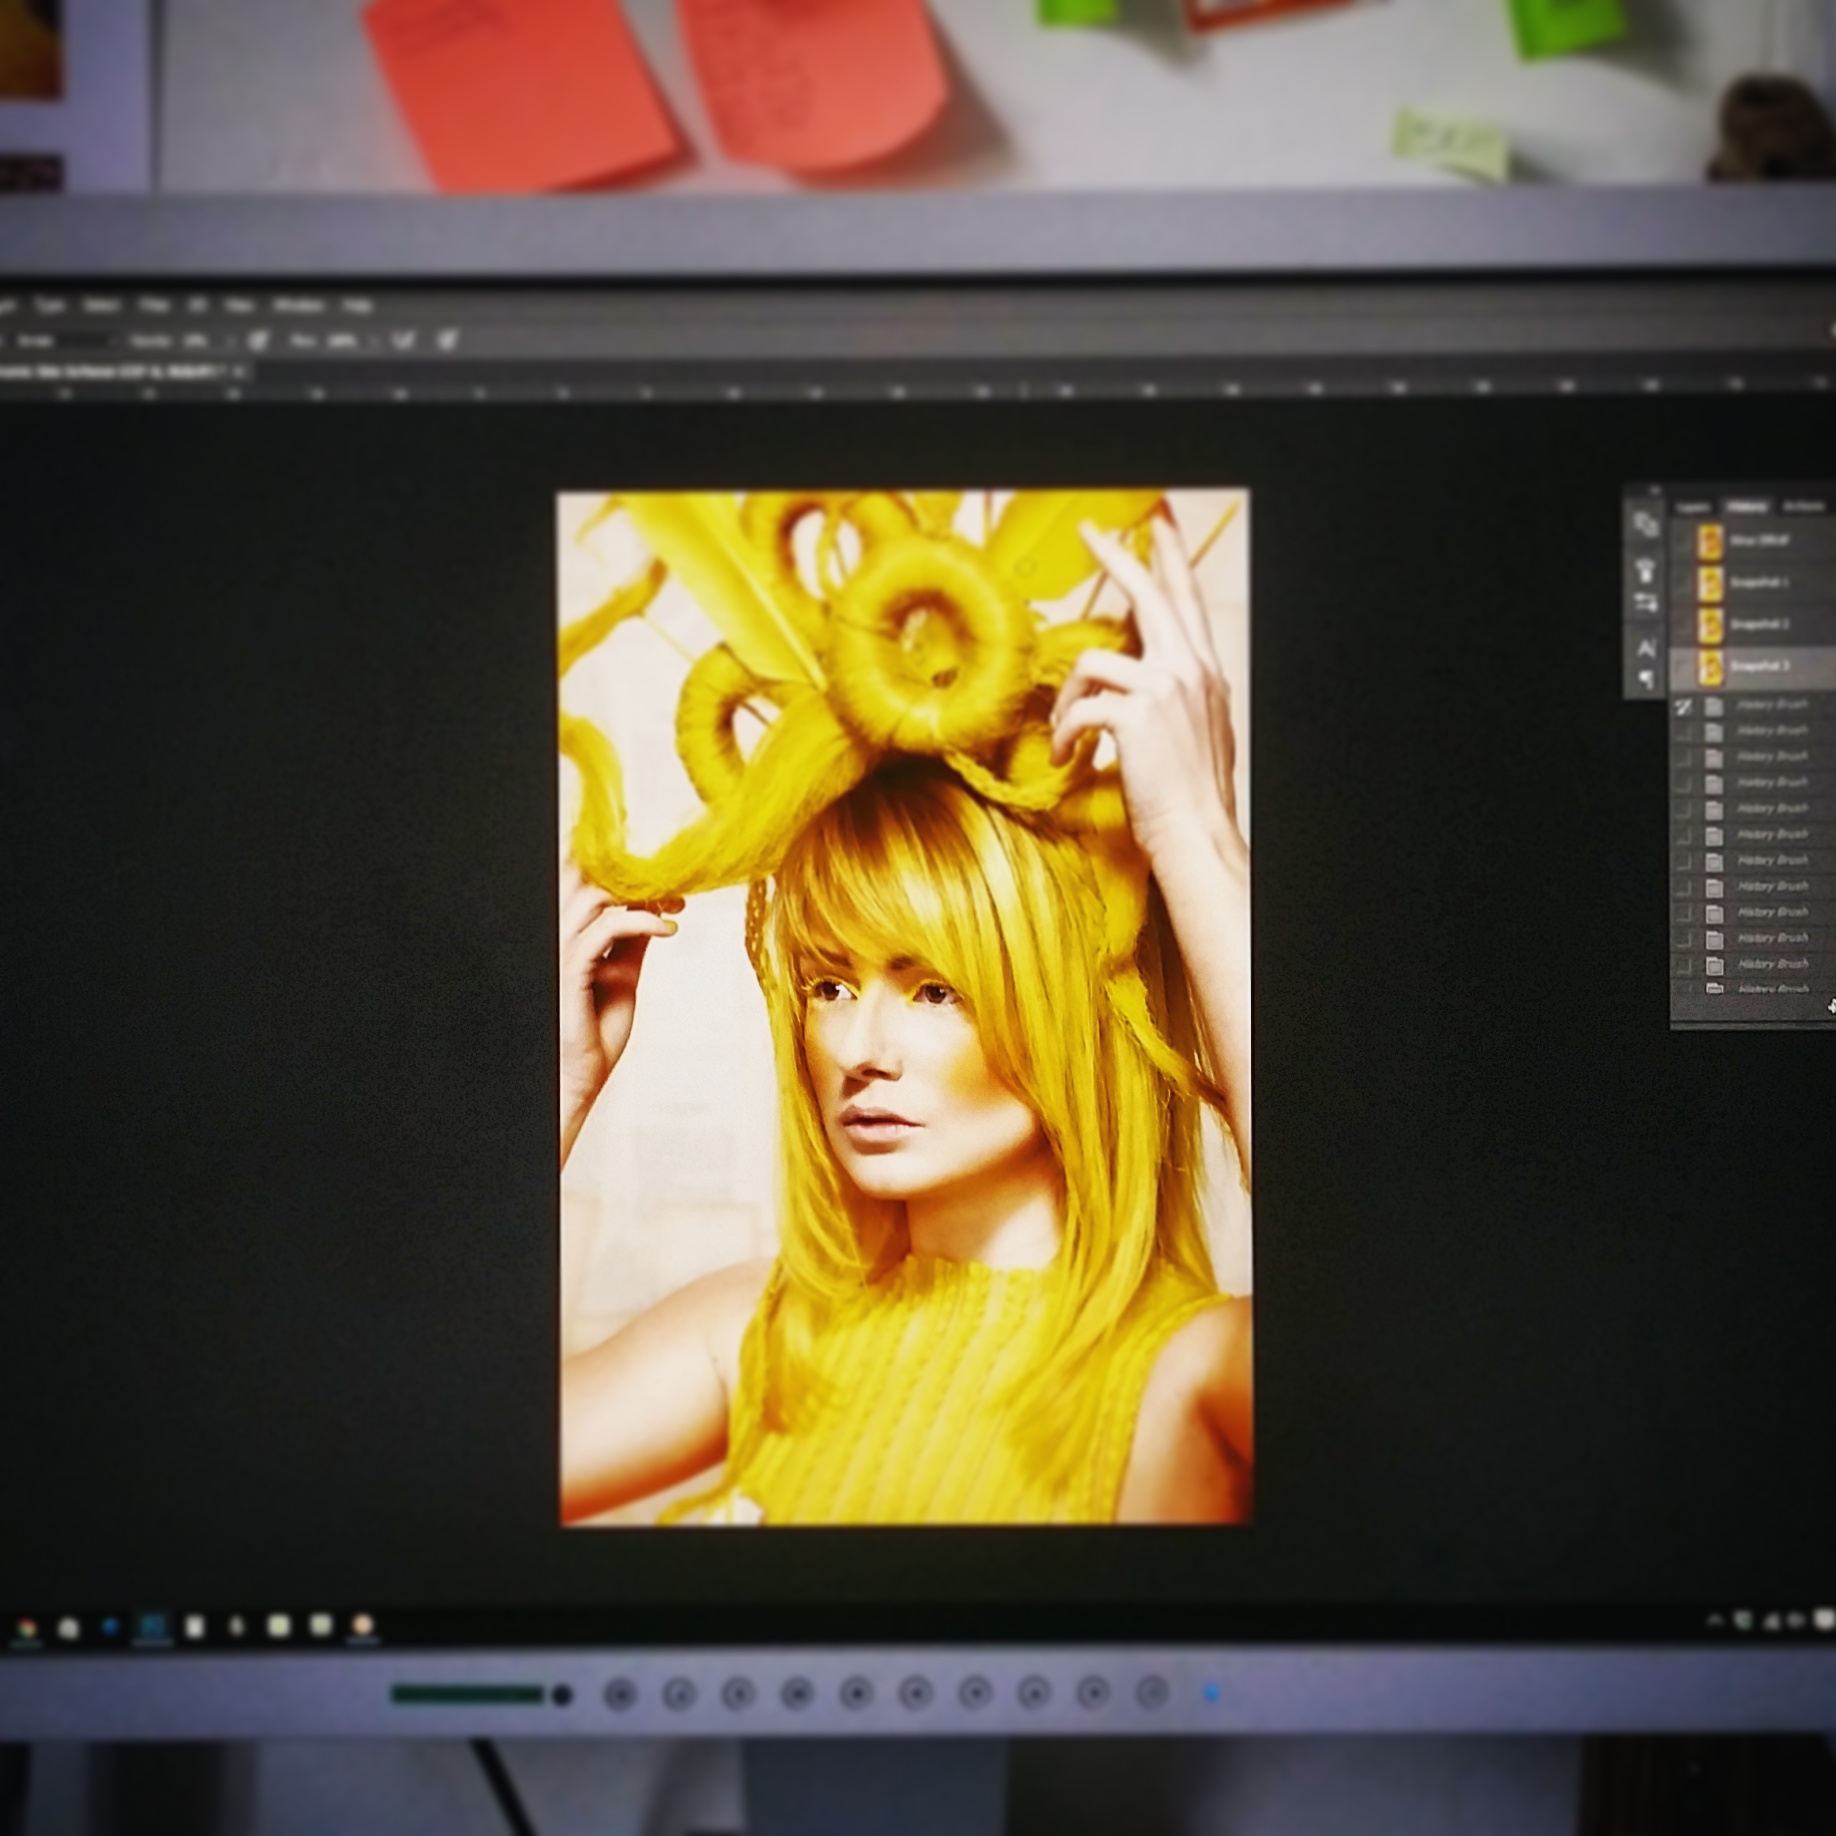
The picture underneath shows one of the many beautiful pictures we took that day.